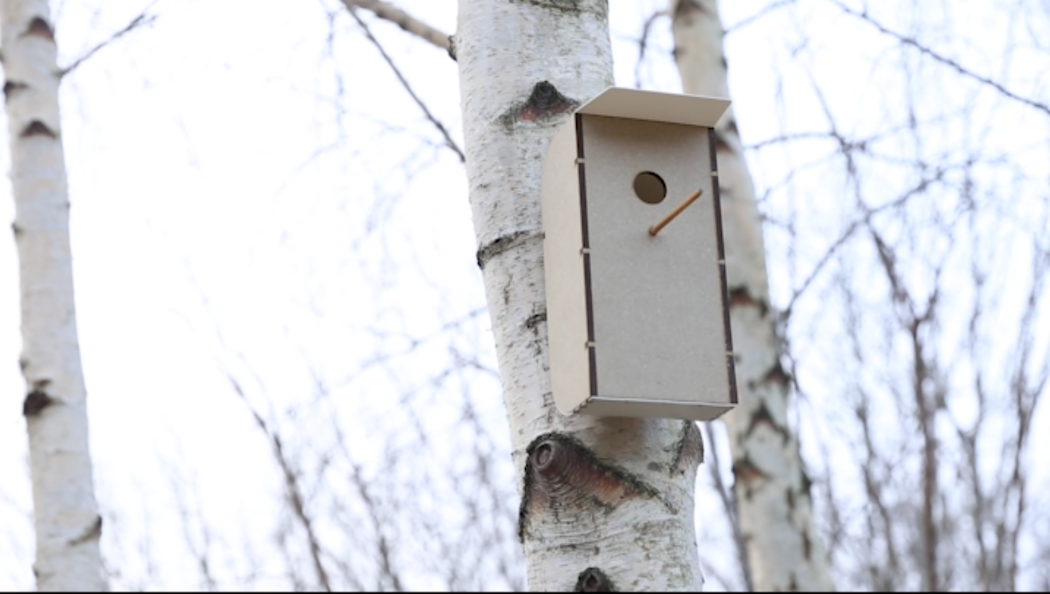
A different type of birdhouse
The contrast between the soft curves on the back and the sharp edges of the MDF gives a great correlation.
The radius of the hole can be redesigned if you are wishing for a certain type of birds
What you need:
Water proof glue
Clamps
Hammer
Small nails
Download the files in the bottom of the page
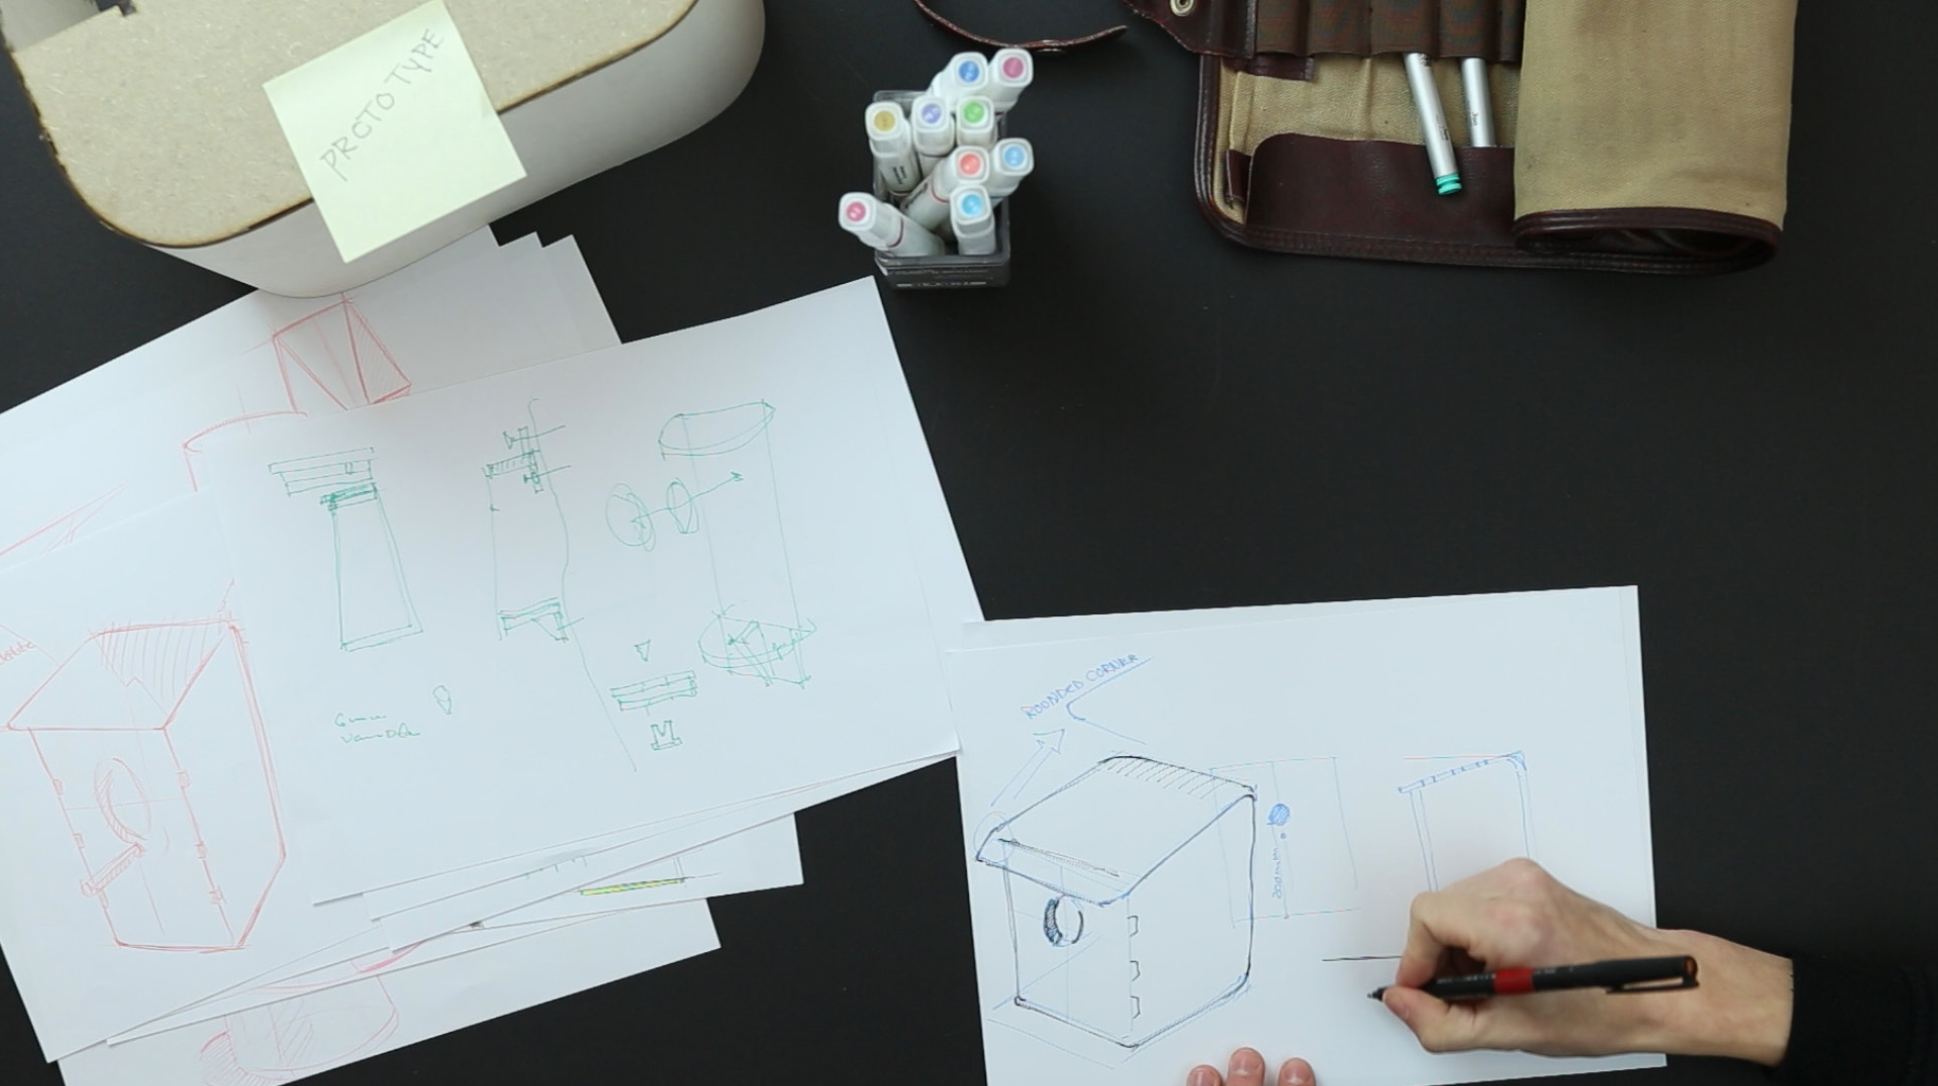
1#
Sketch your design
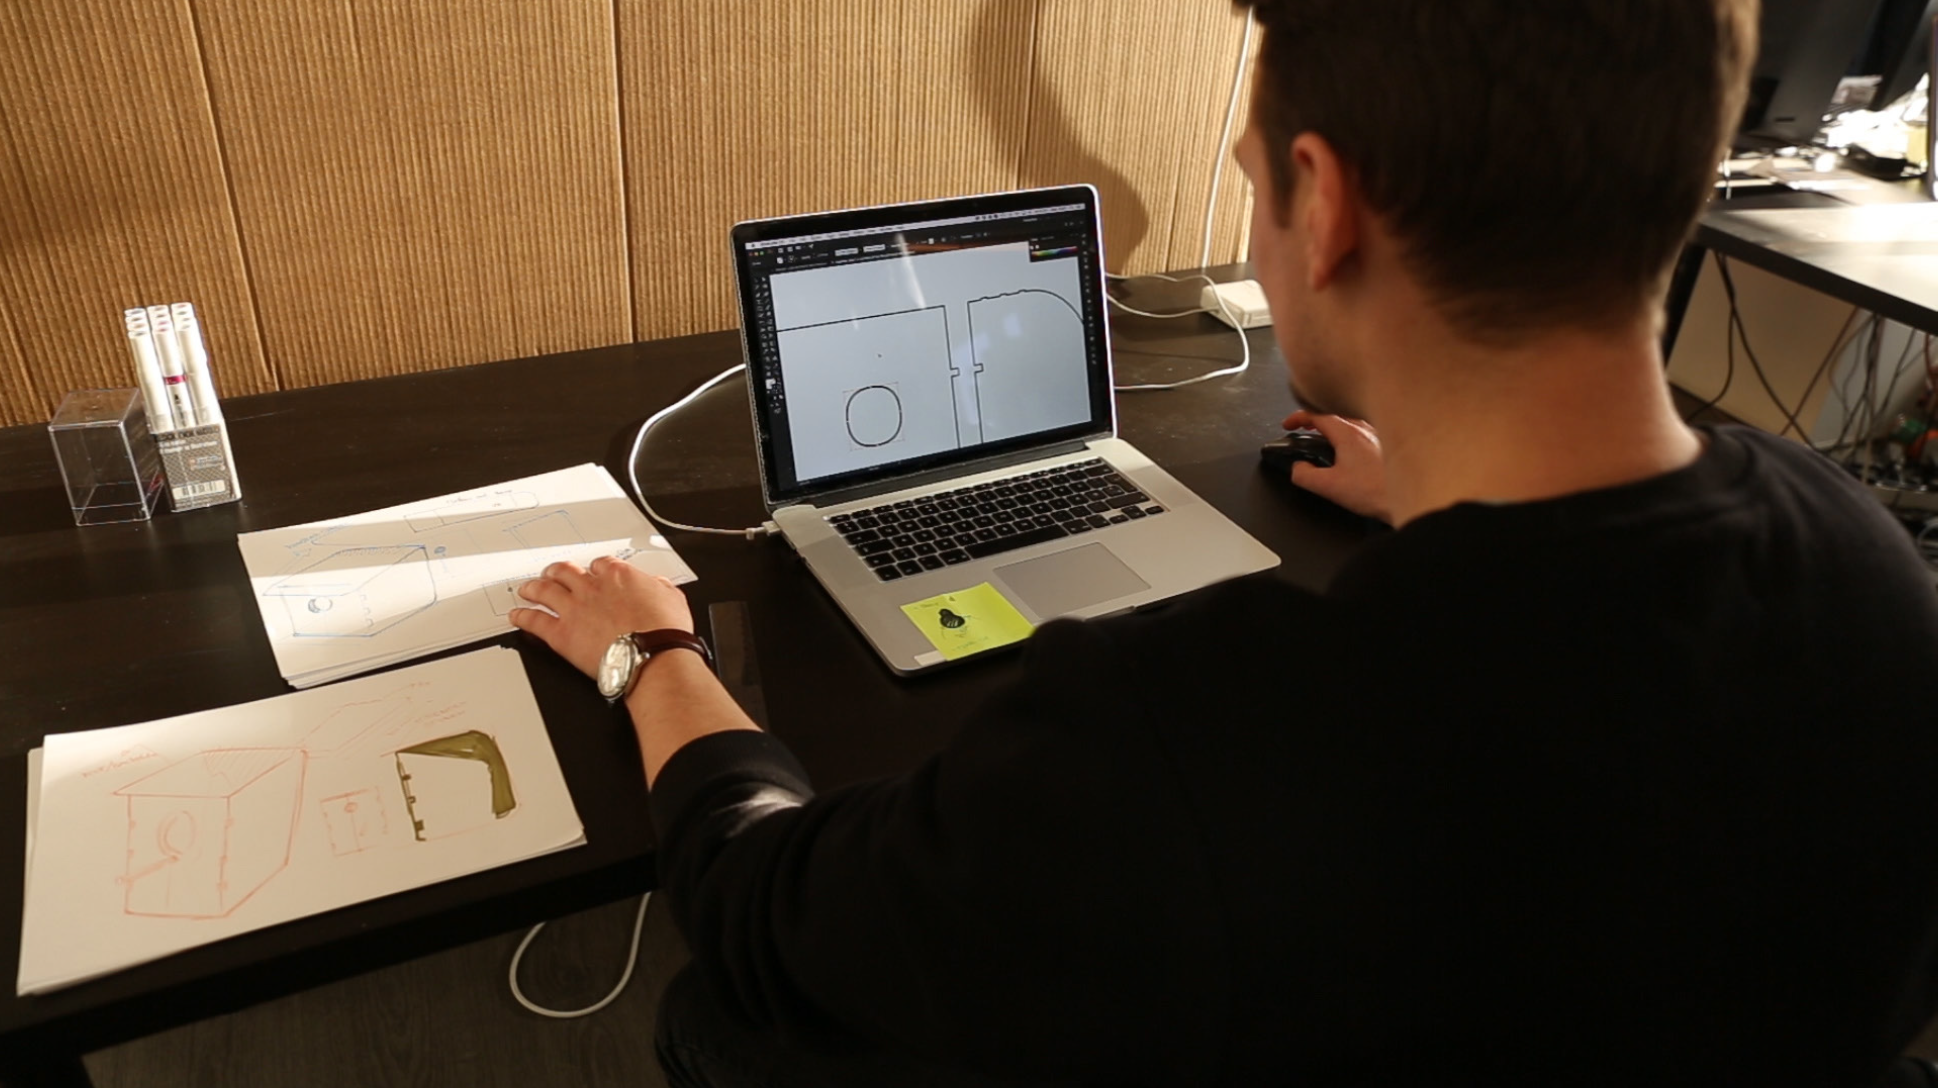
2#
Use a vector based program to finalize your design

3#
The parts for the birdhouse arrives
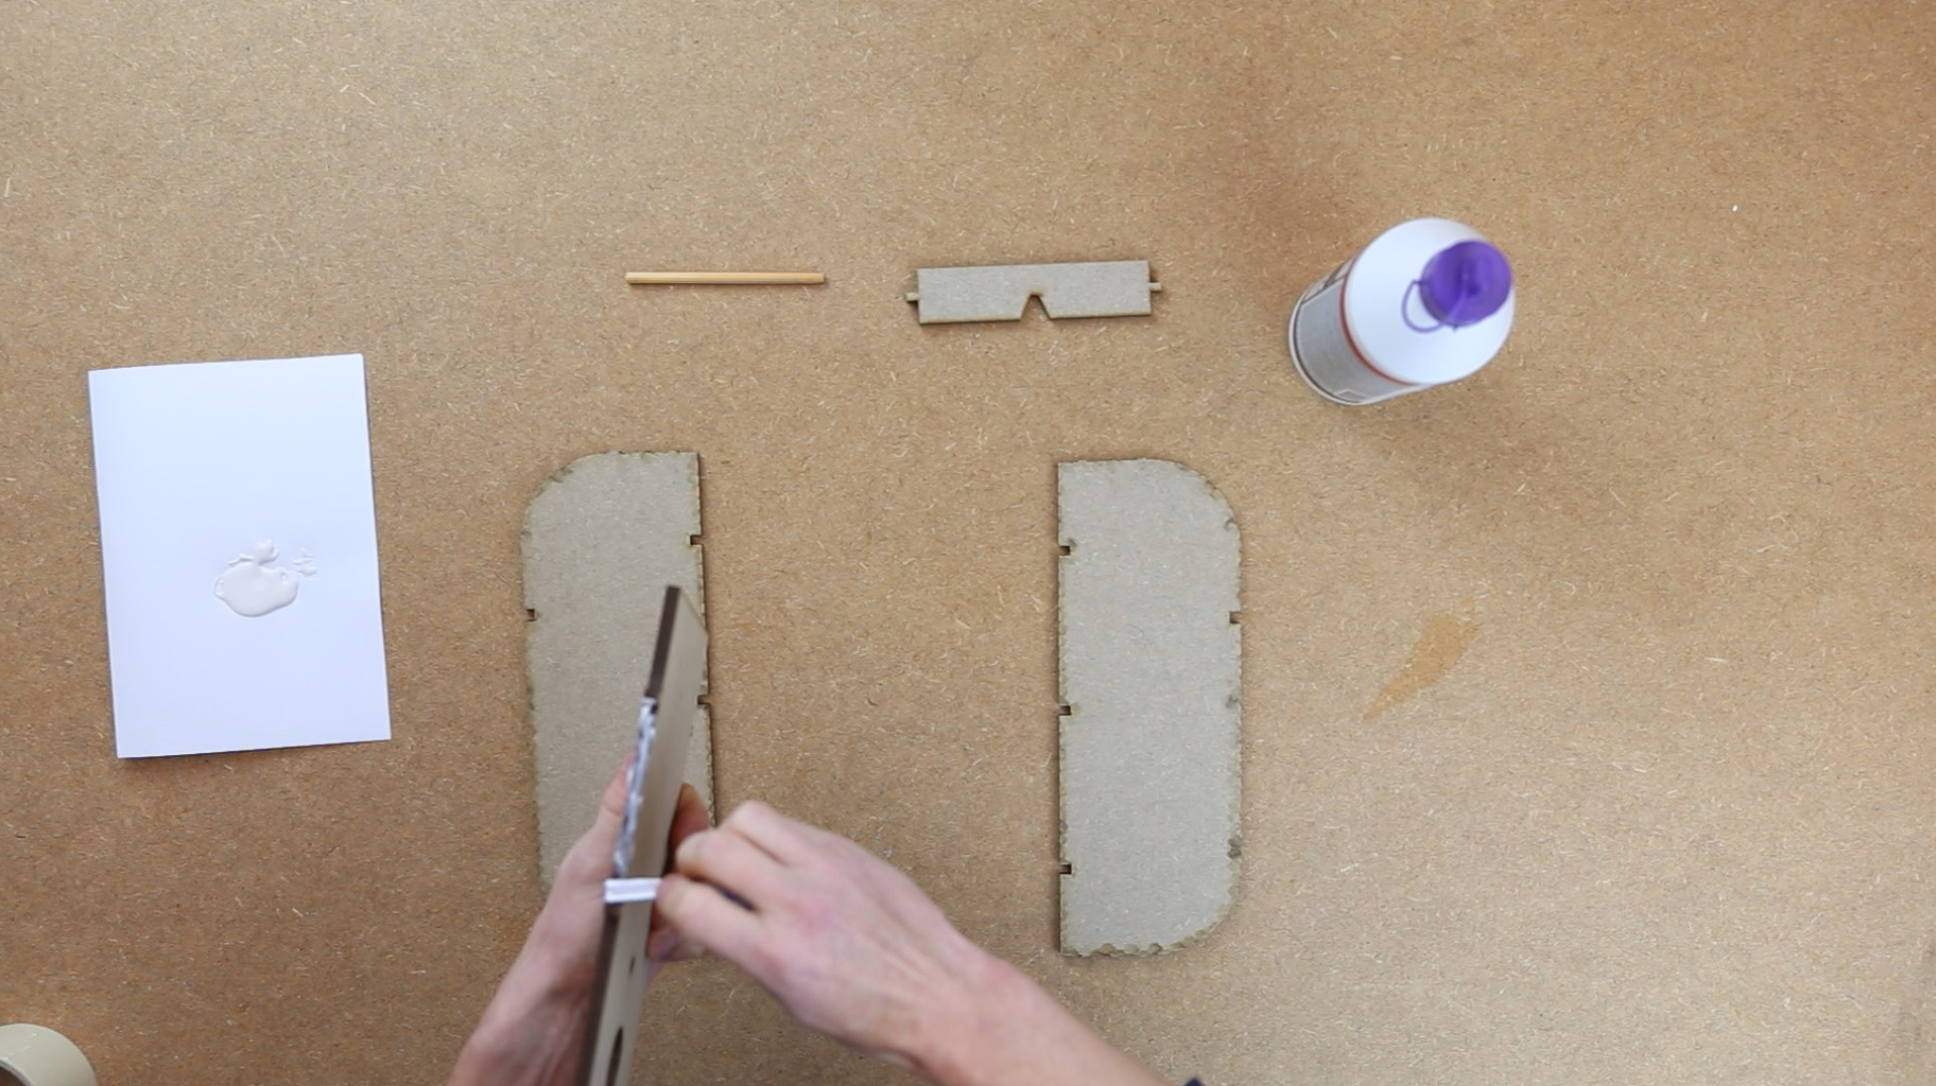
4#
The edges is glued.
Remember also to glue top, bottom and the tenons
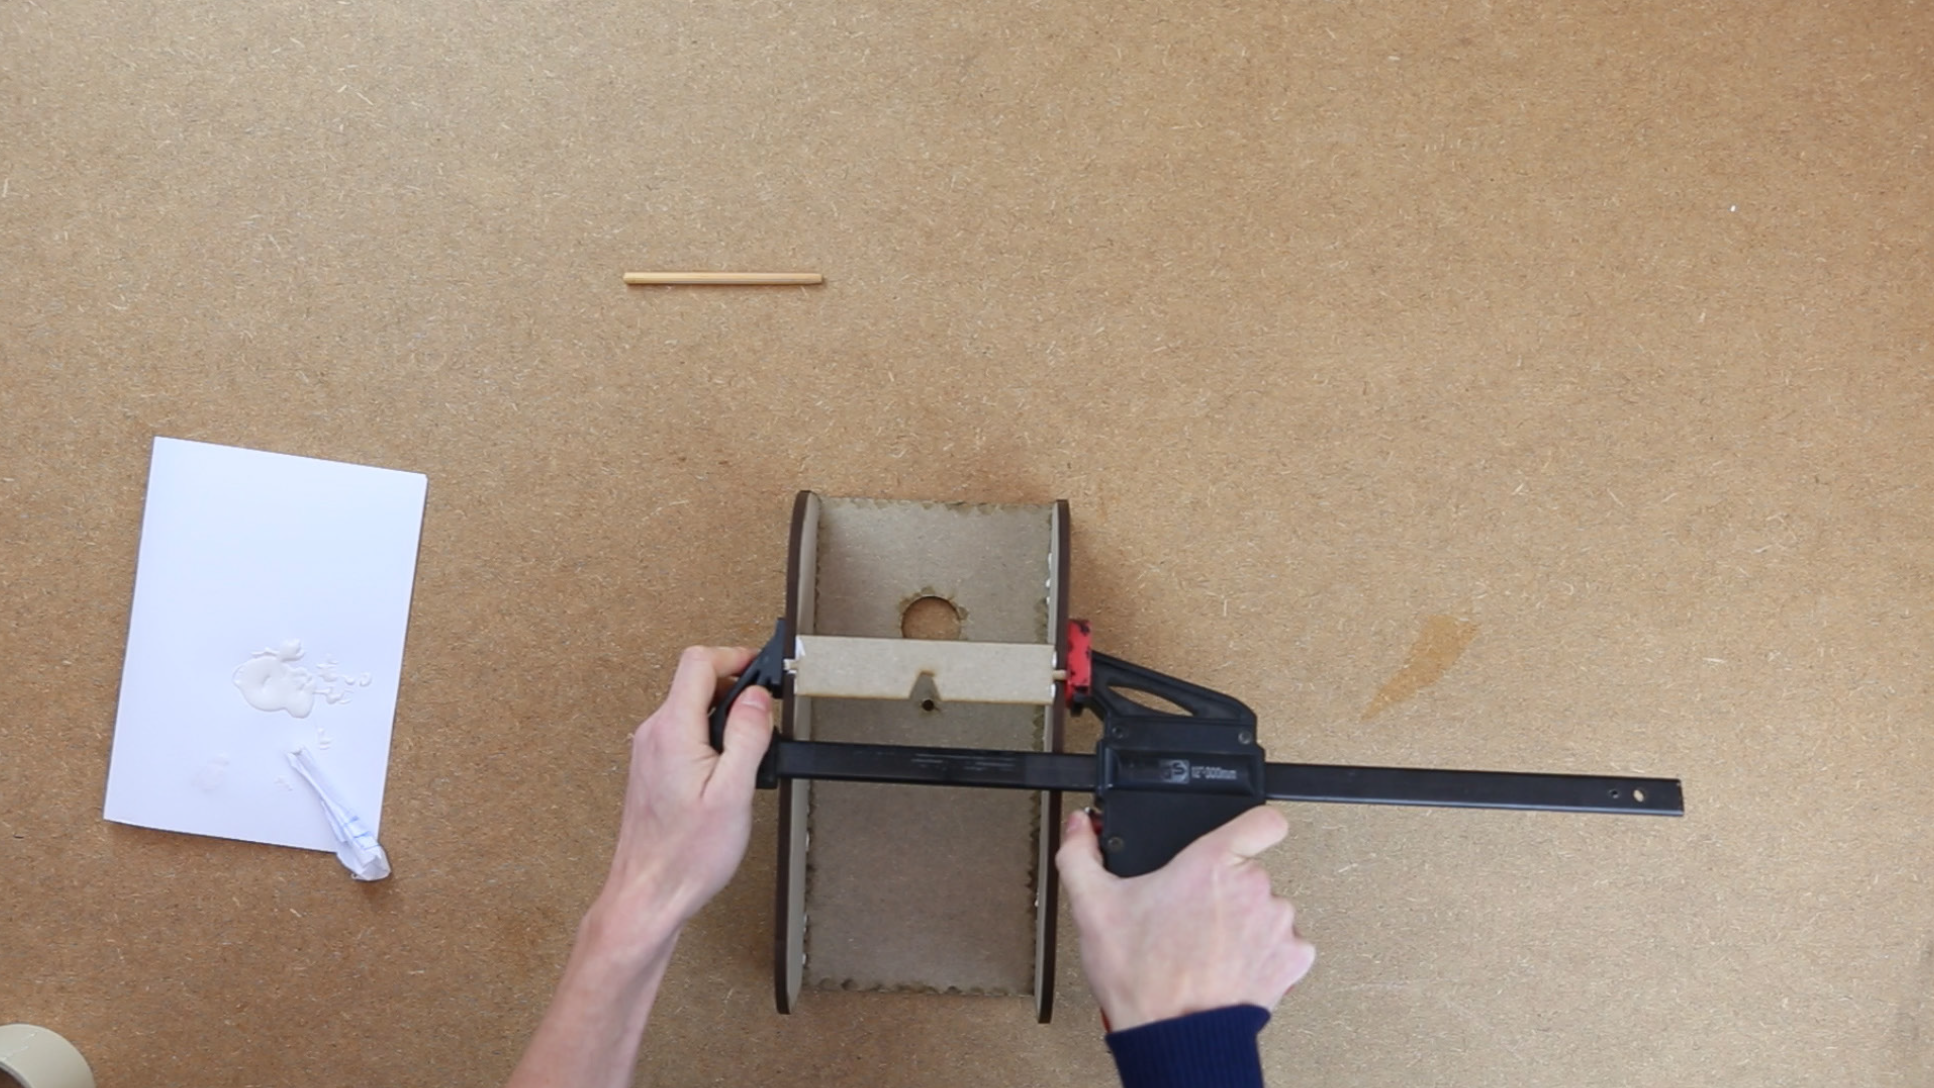
5#
When you have glued the sides you will need to assembly it and by that using clamps.
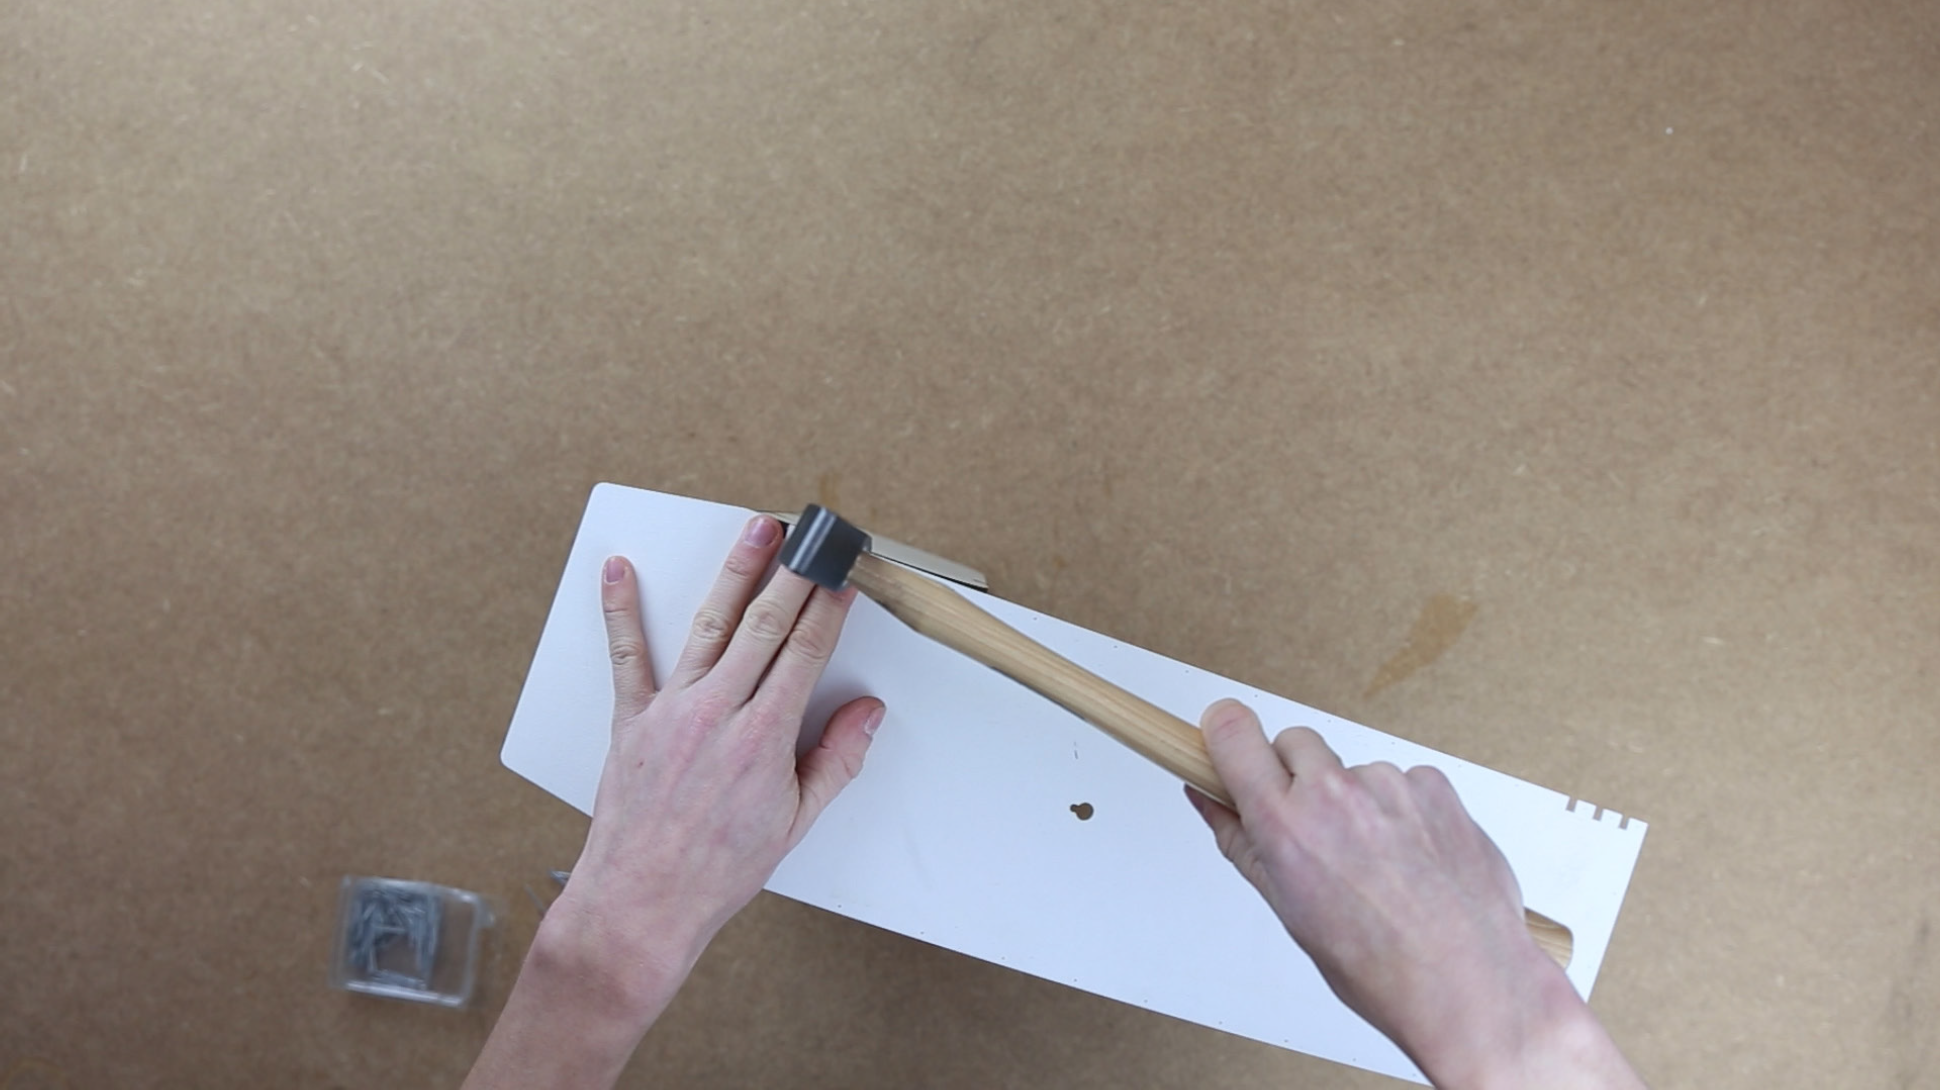
6#
Hammer the nails in the MDF parts when dried.
Start at the tenons and move downwards.
You now have a new minimalistic birdhouse