Laser cut oak in 40mm (not in our material range). The bench was cut with 1mm excess, so the edges could be sanded down, thereby avoiding the black edges caused by the laser cutting.
Laser cut oak in 40mm (not in our material range). The bench was cut with 1mm excess, so the edges could be sanded down, thereby avoiding the black edges caused by the laser cutting.
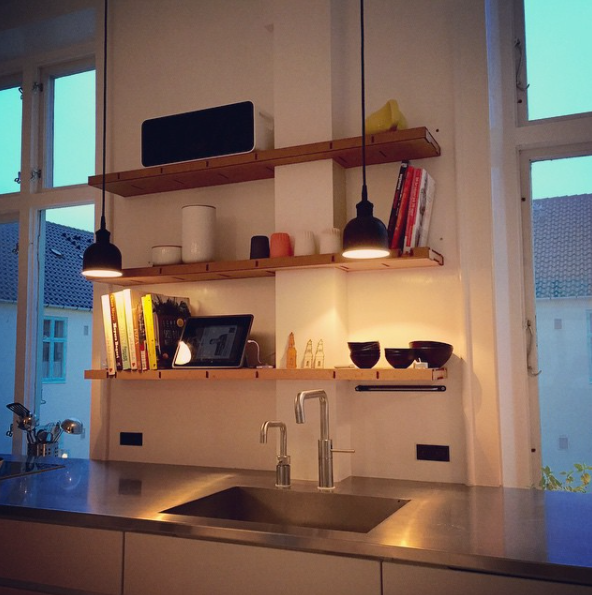
Laser cut, custom-designed kitchen shelves. With the right measurements, you can make sure your shelves fit exactly in your home.
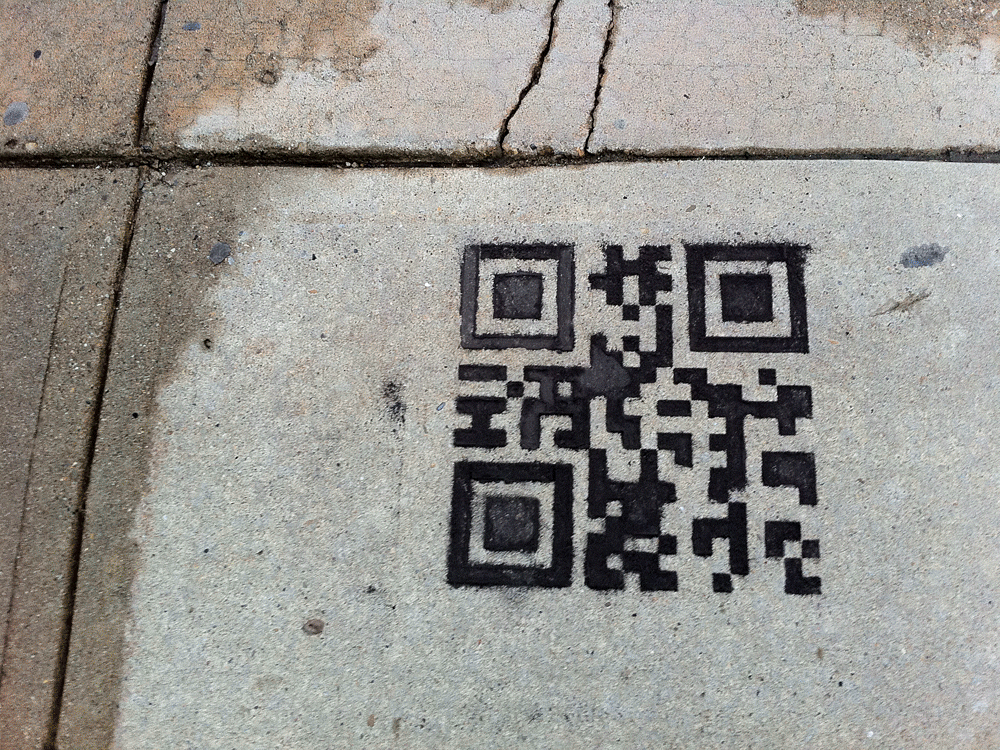
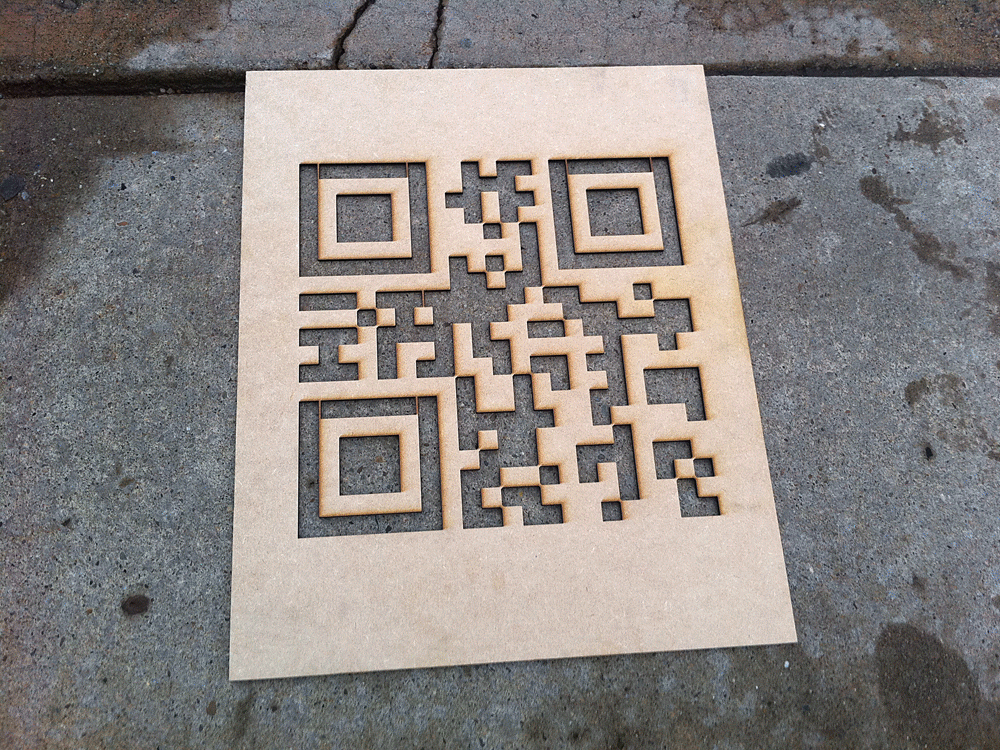
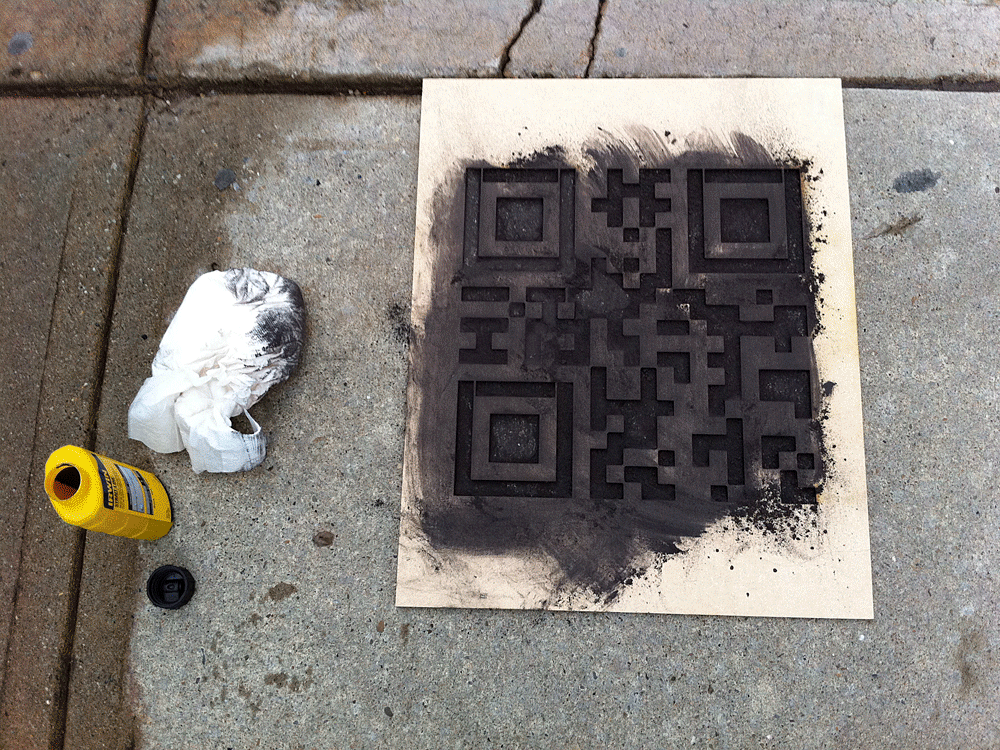
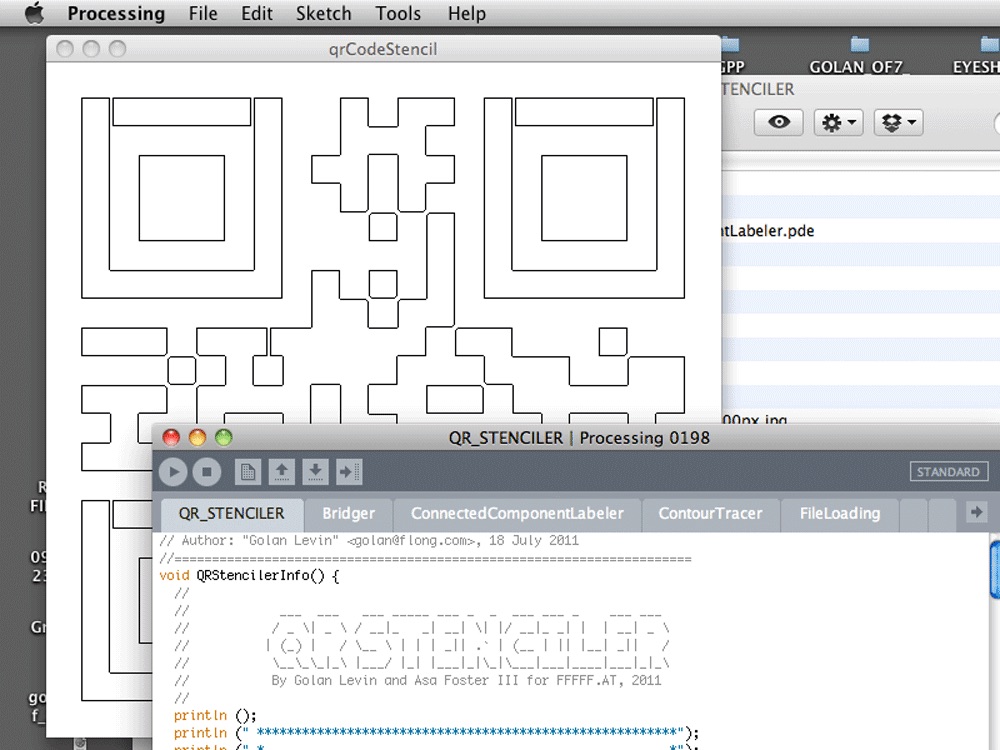
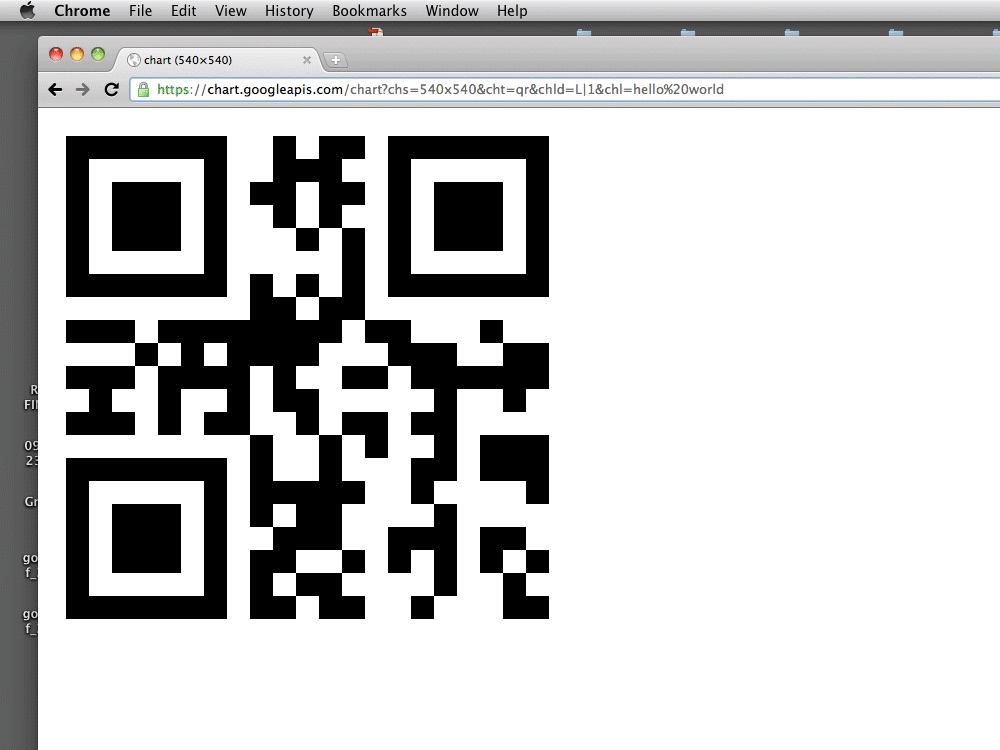
Laser cut QR stencil in 3mm MDF.
via The F.A.T. Lab
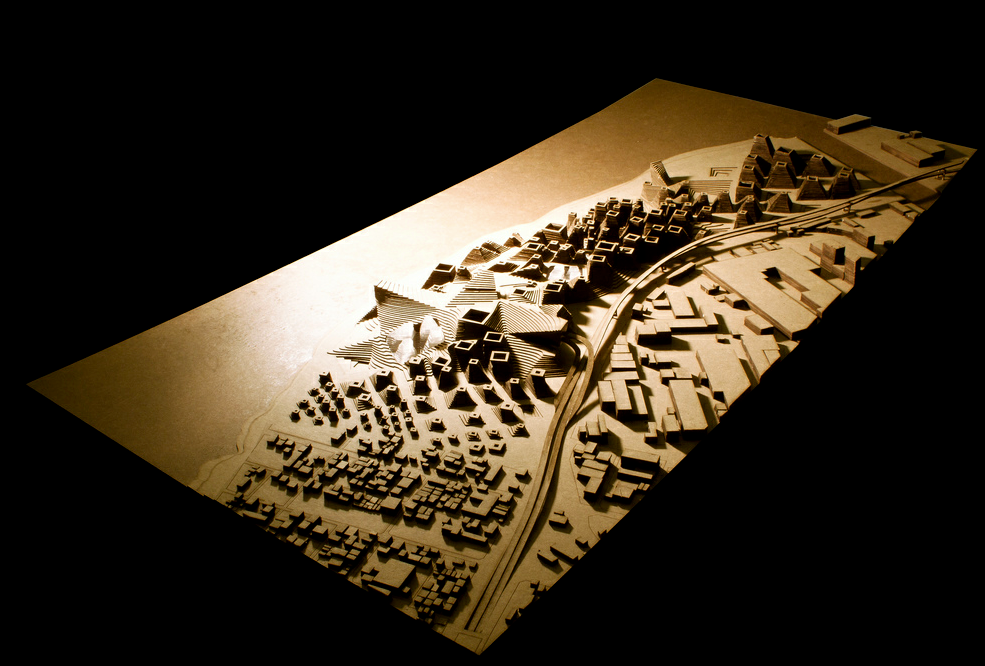
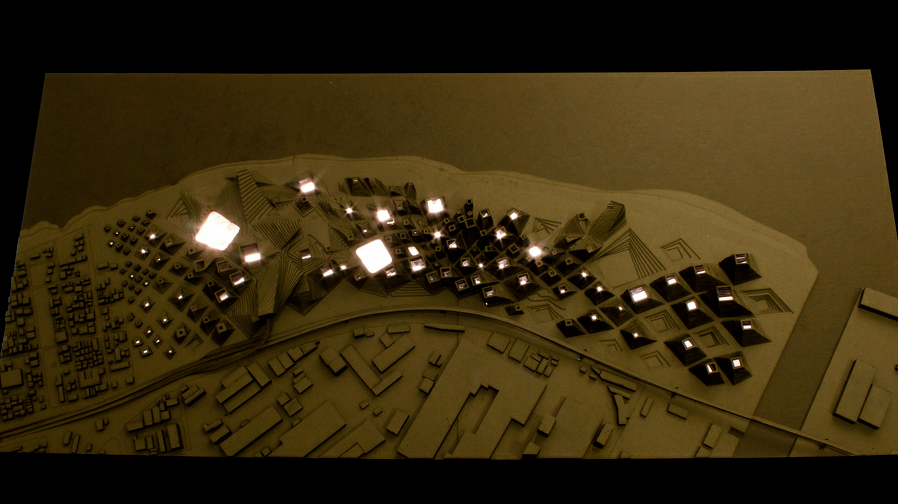
Laser cut architecture model with lighting. Cut in 3mm grey cardboard.
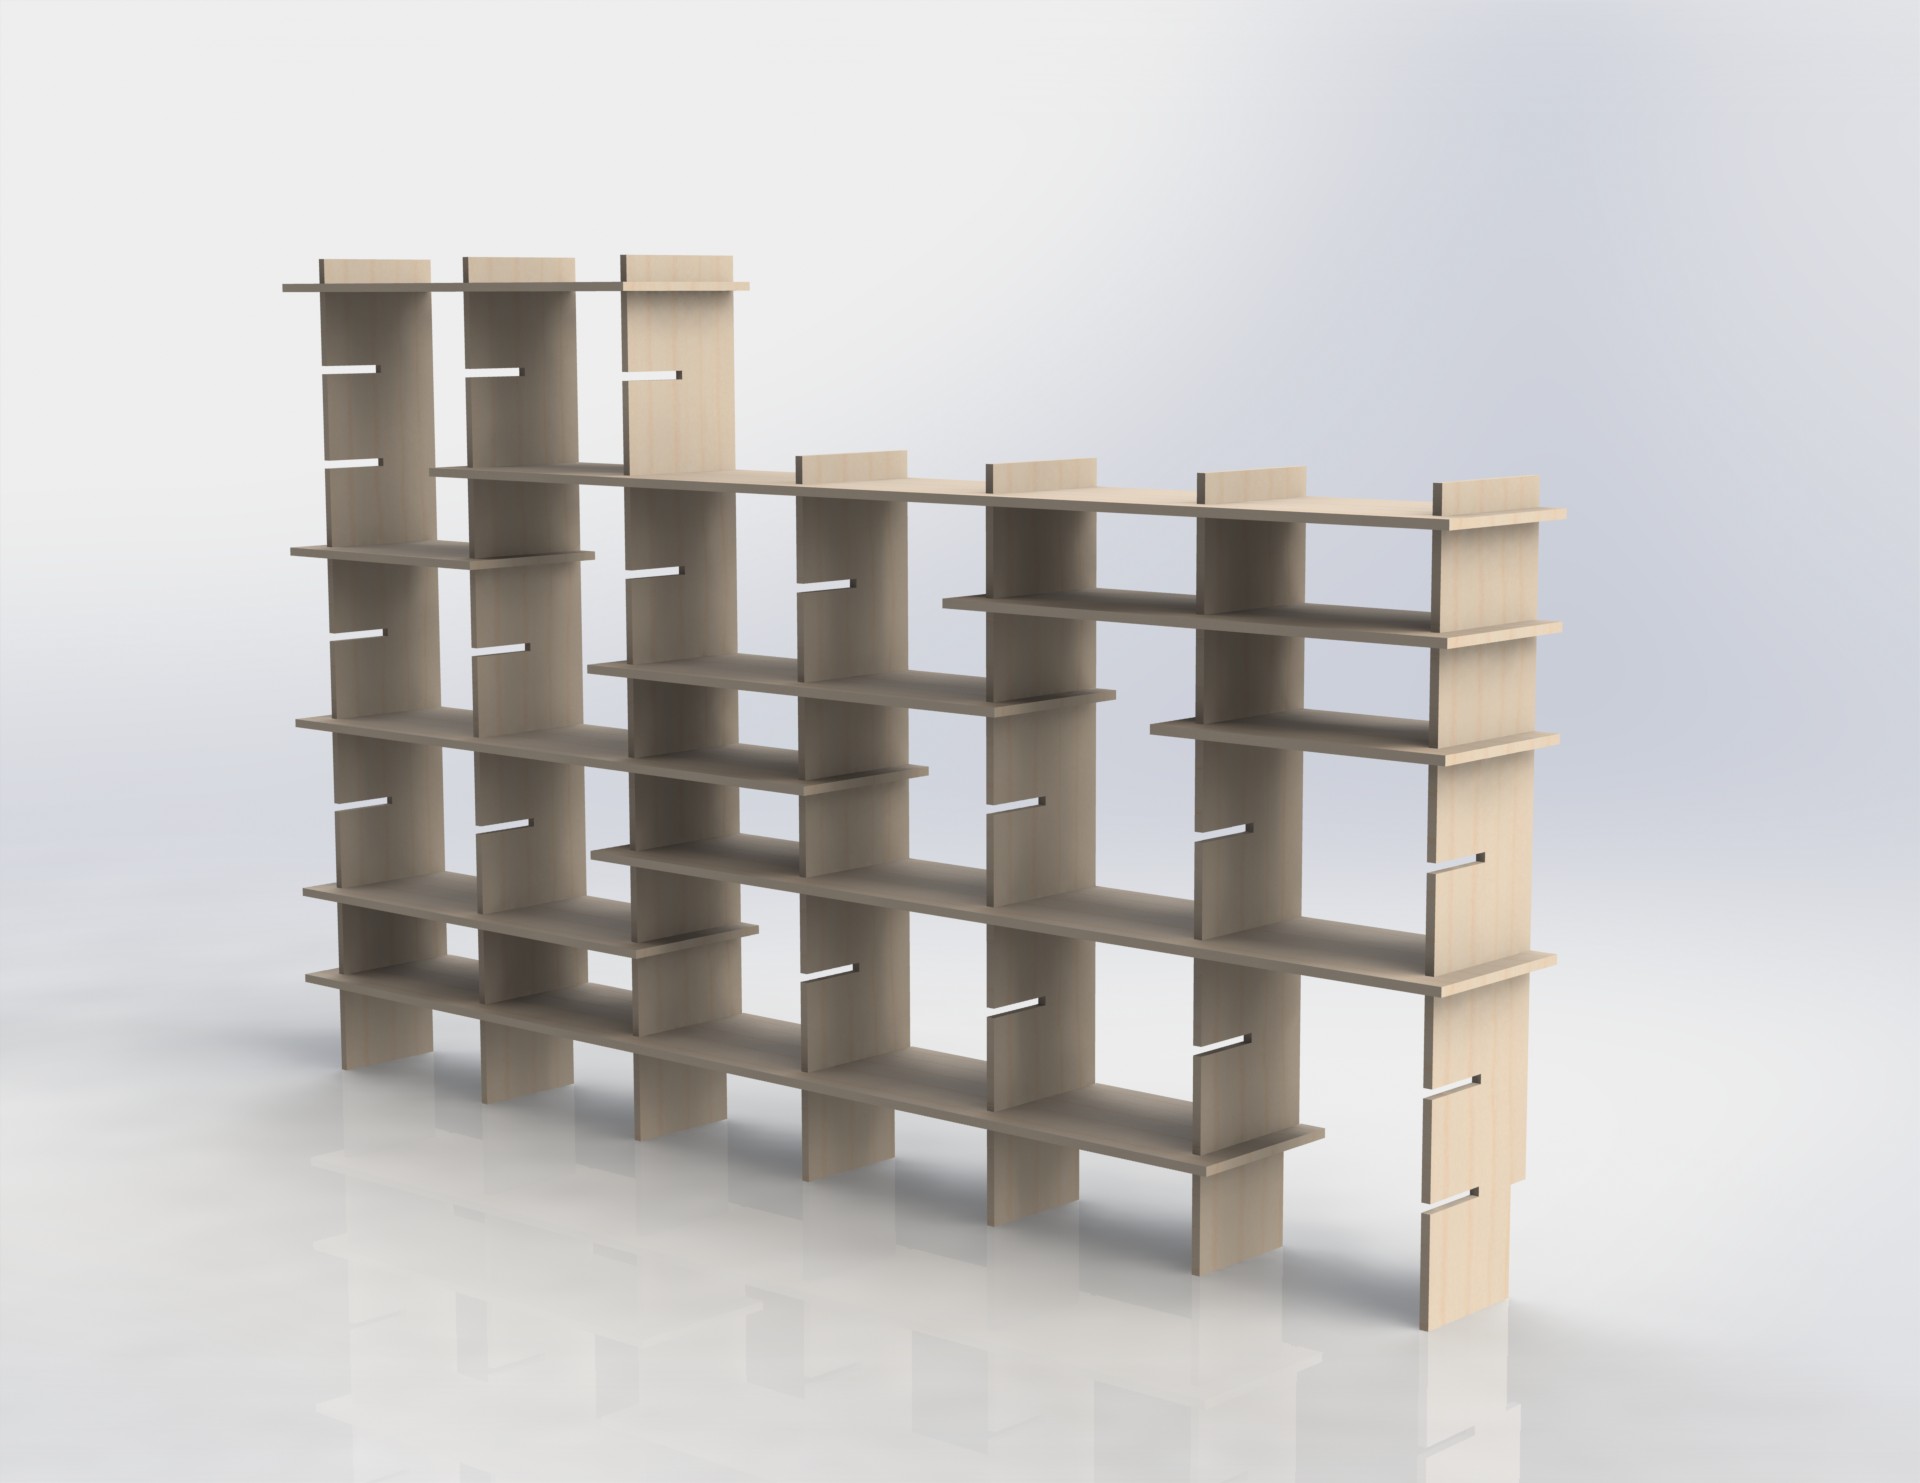
Bookcase by Henriette Søgaard Clausen.
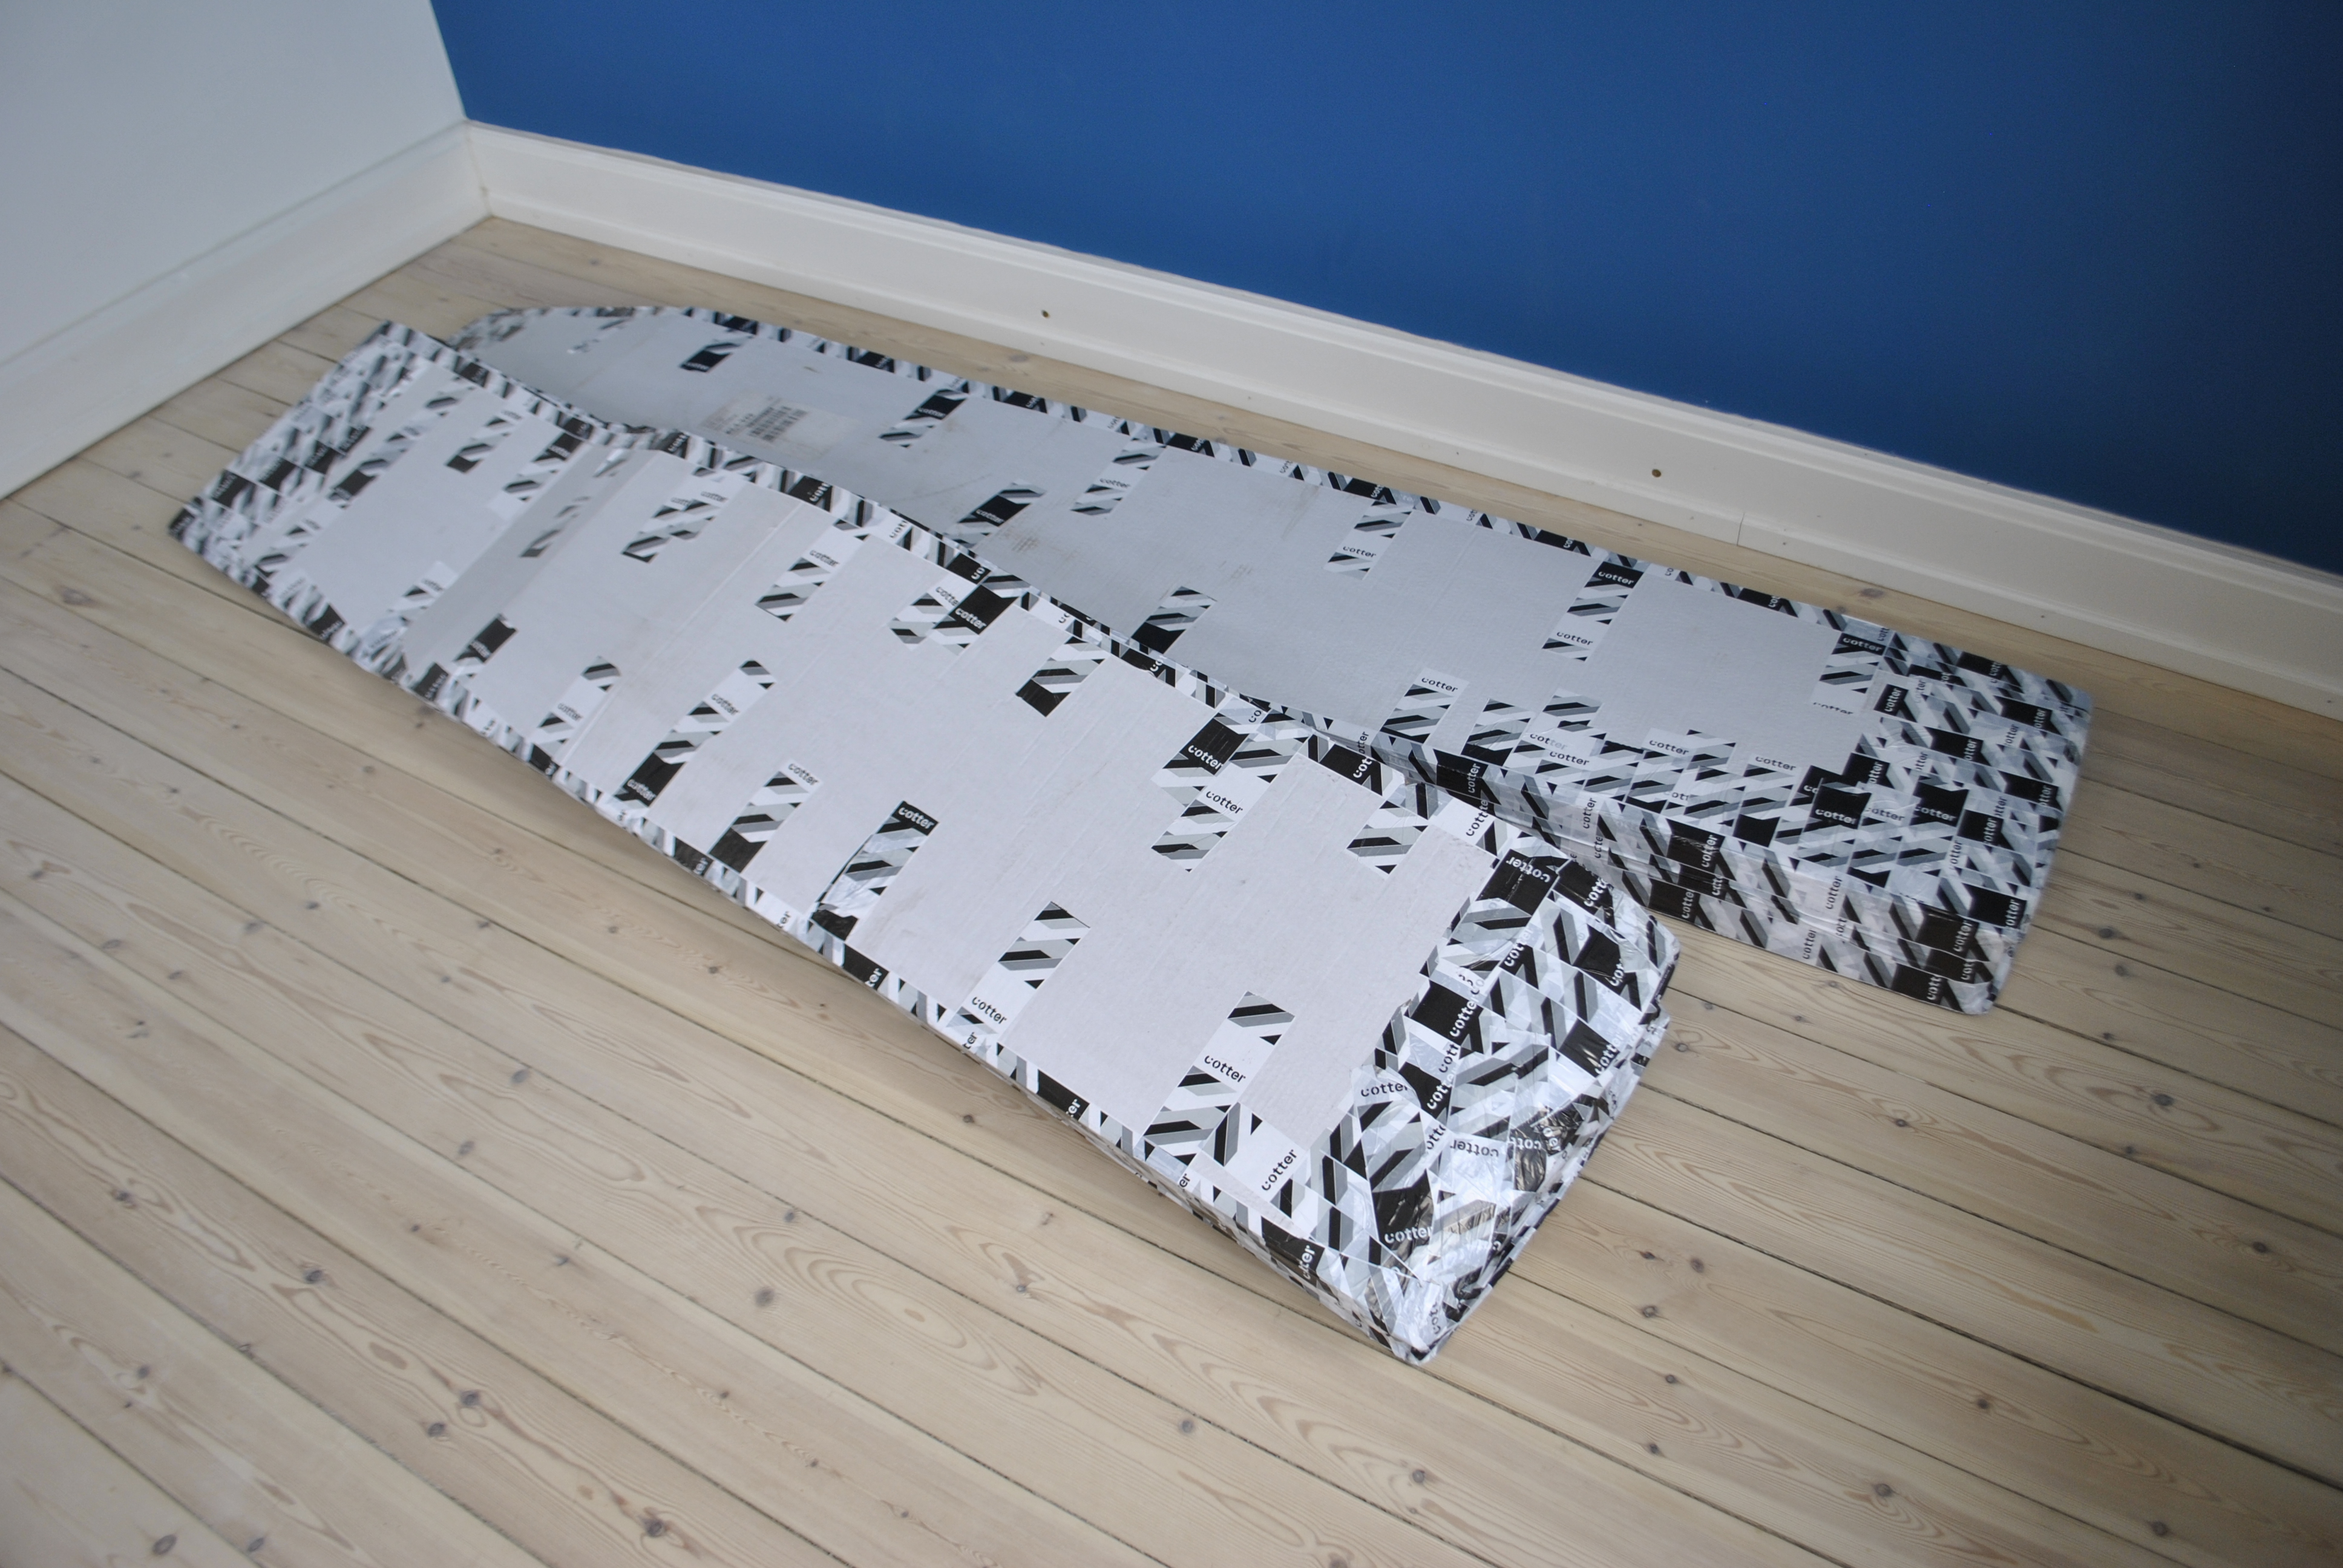
Flatpack package.
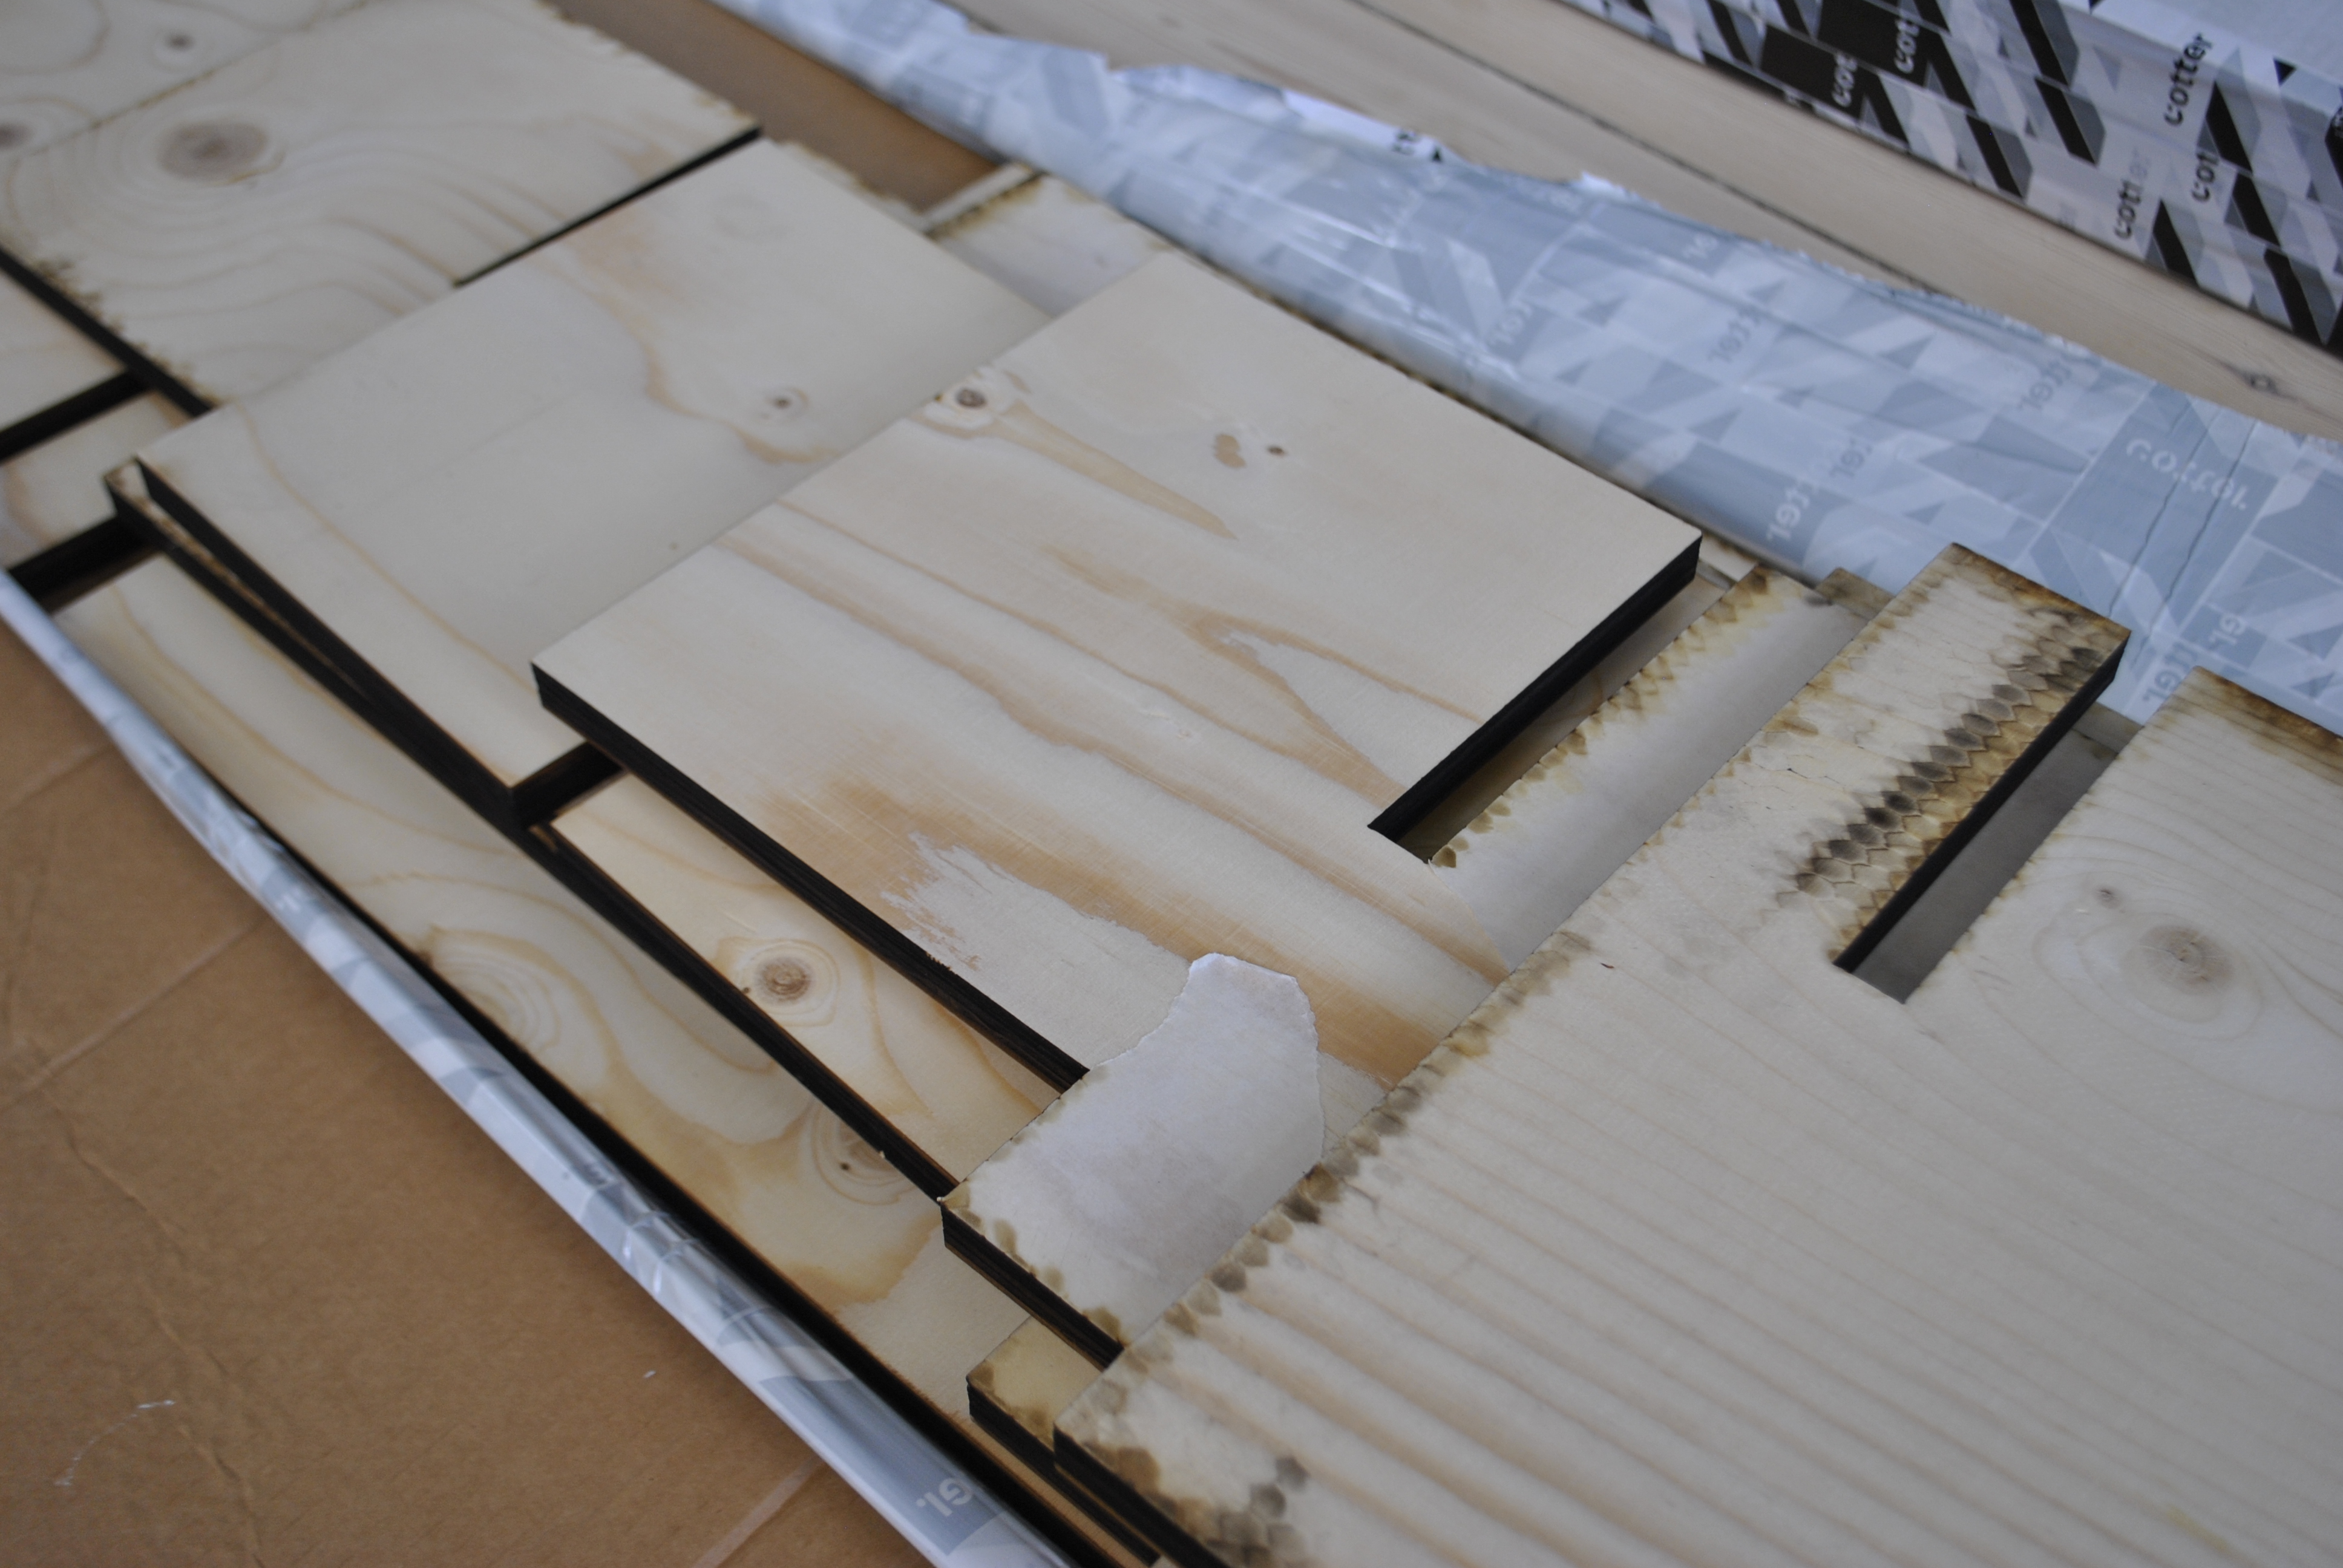
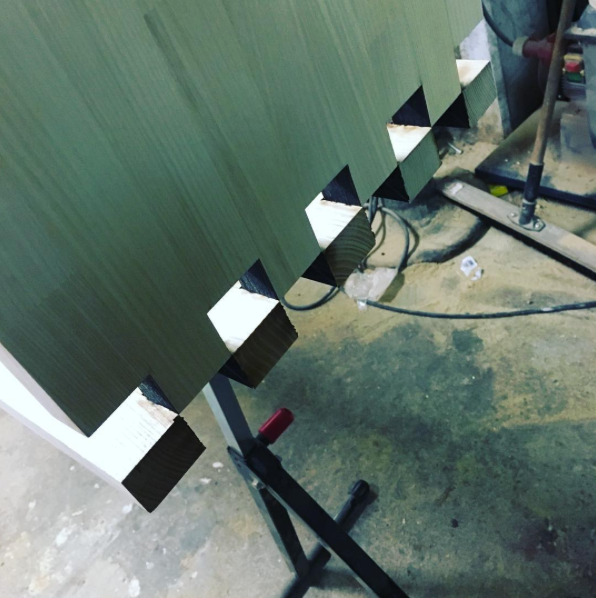
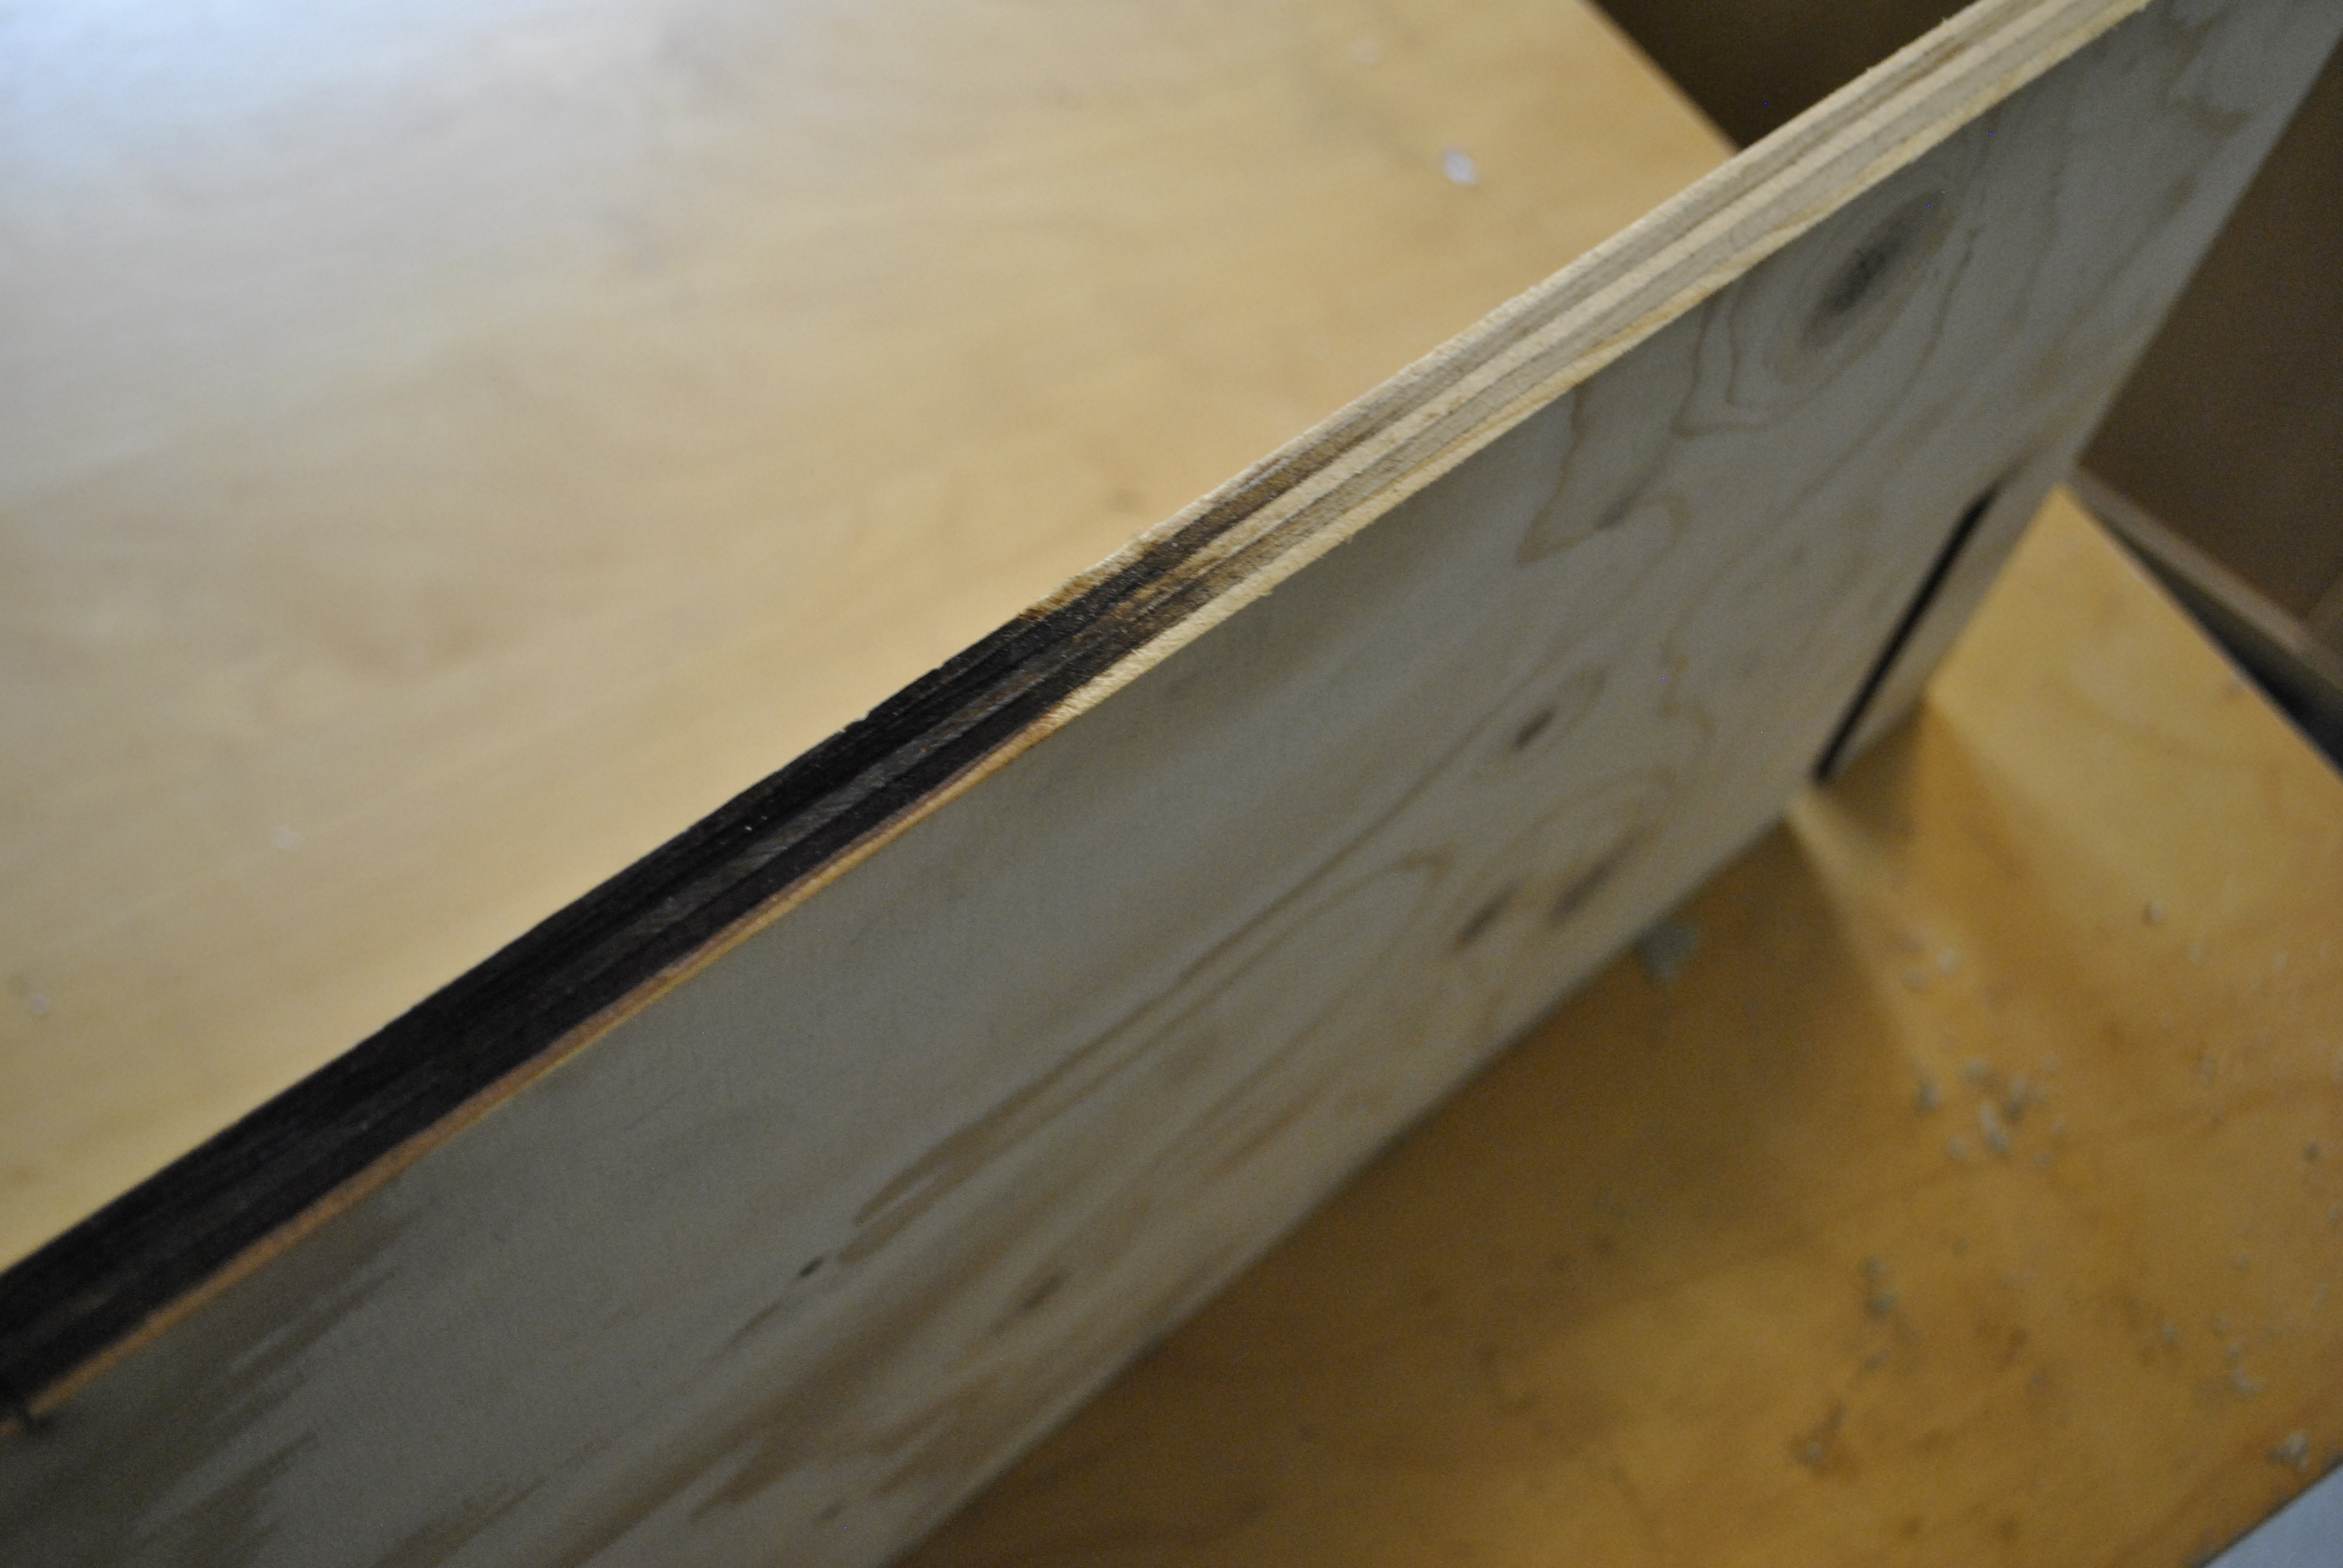
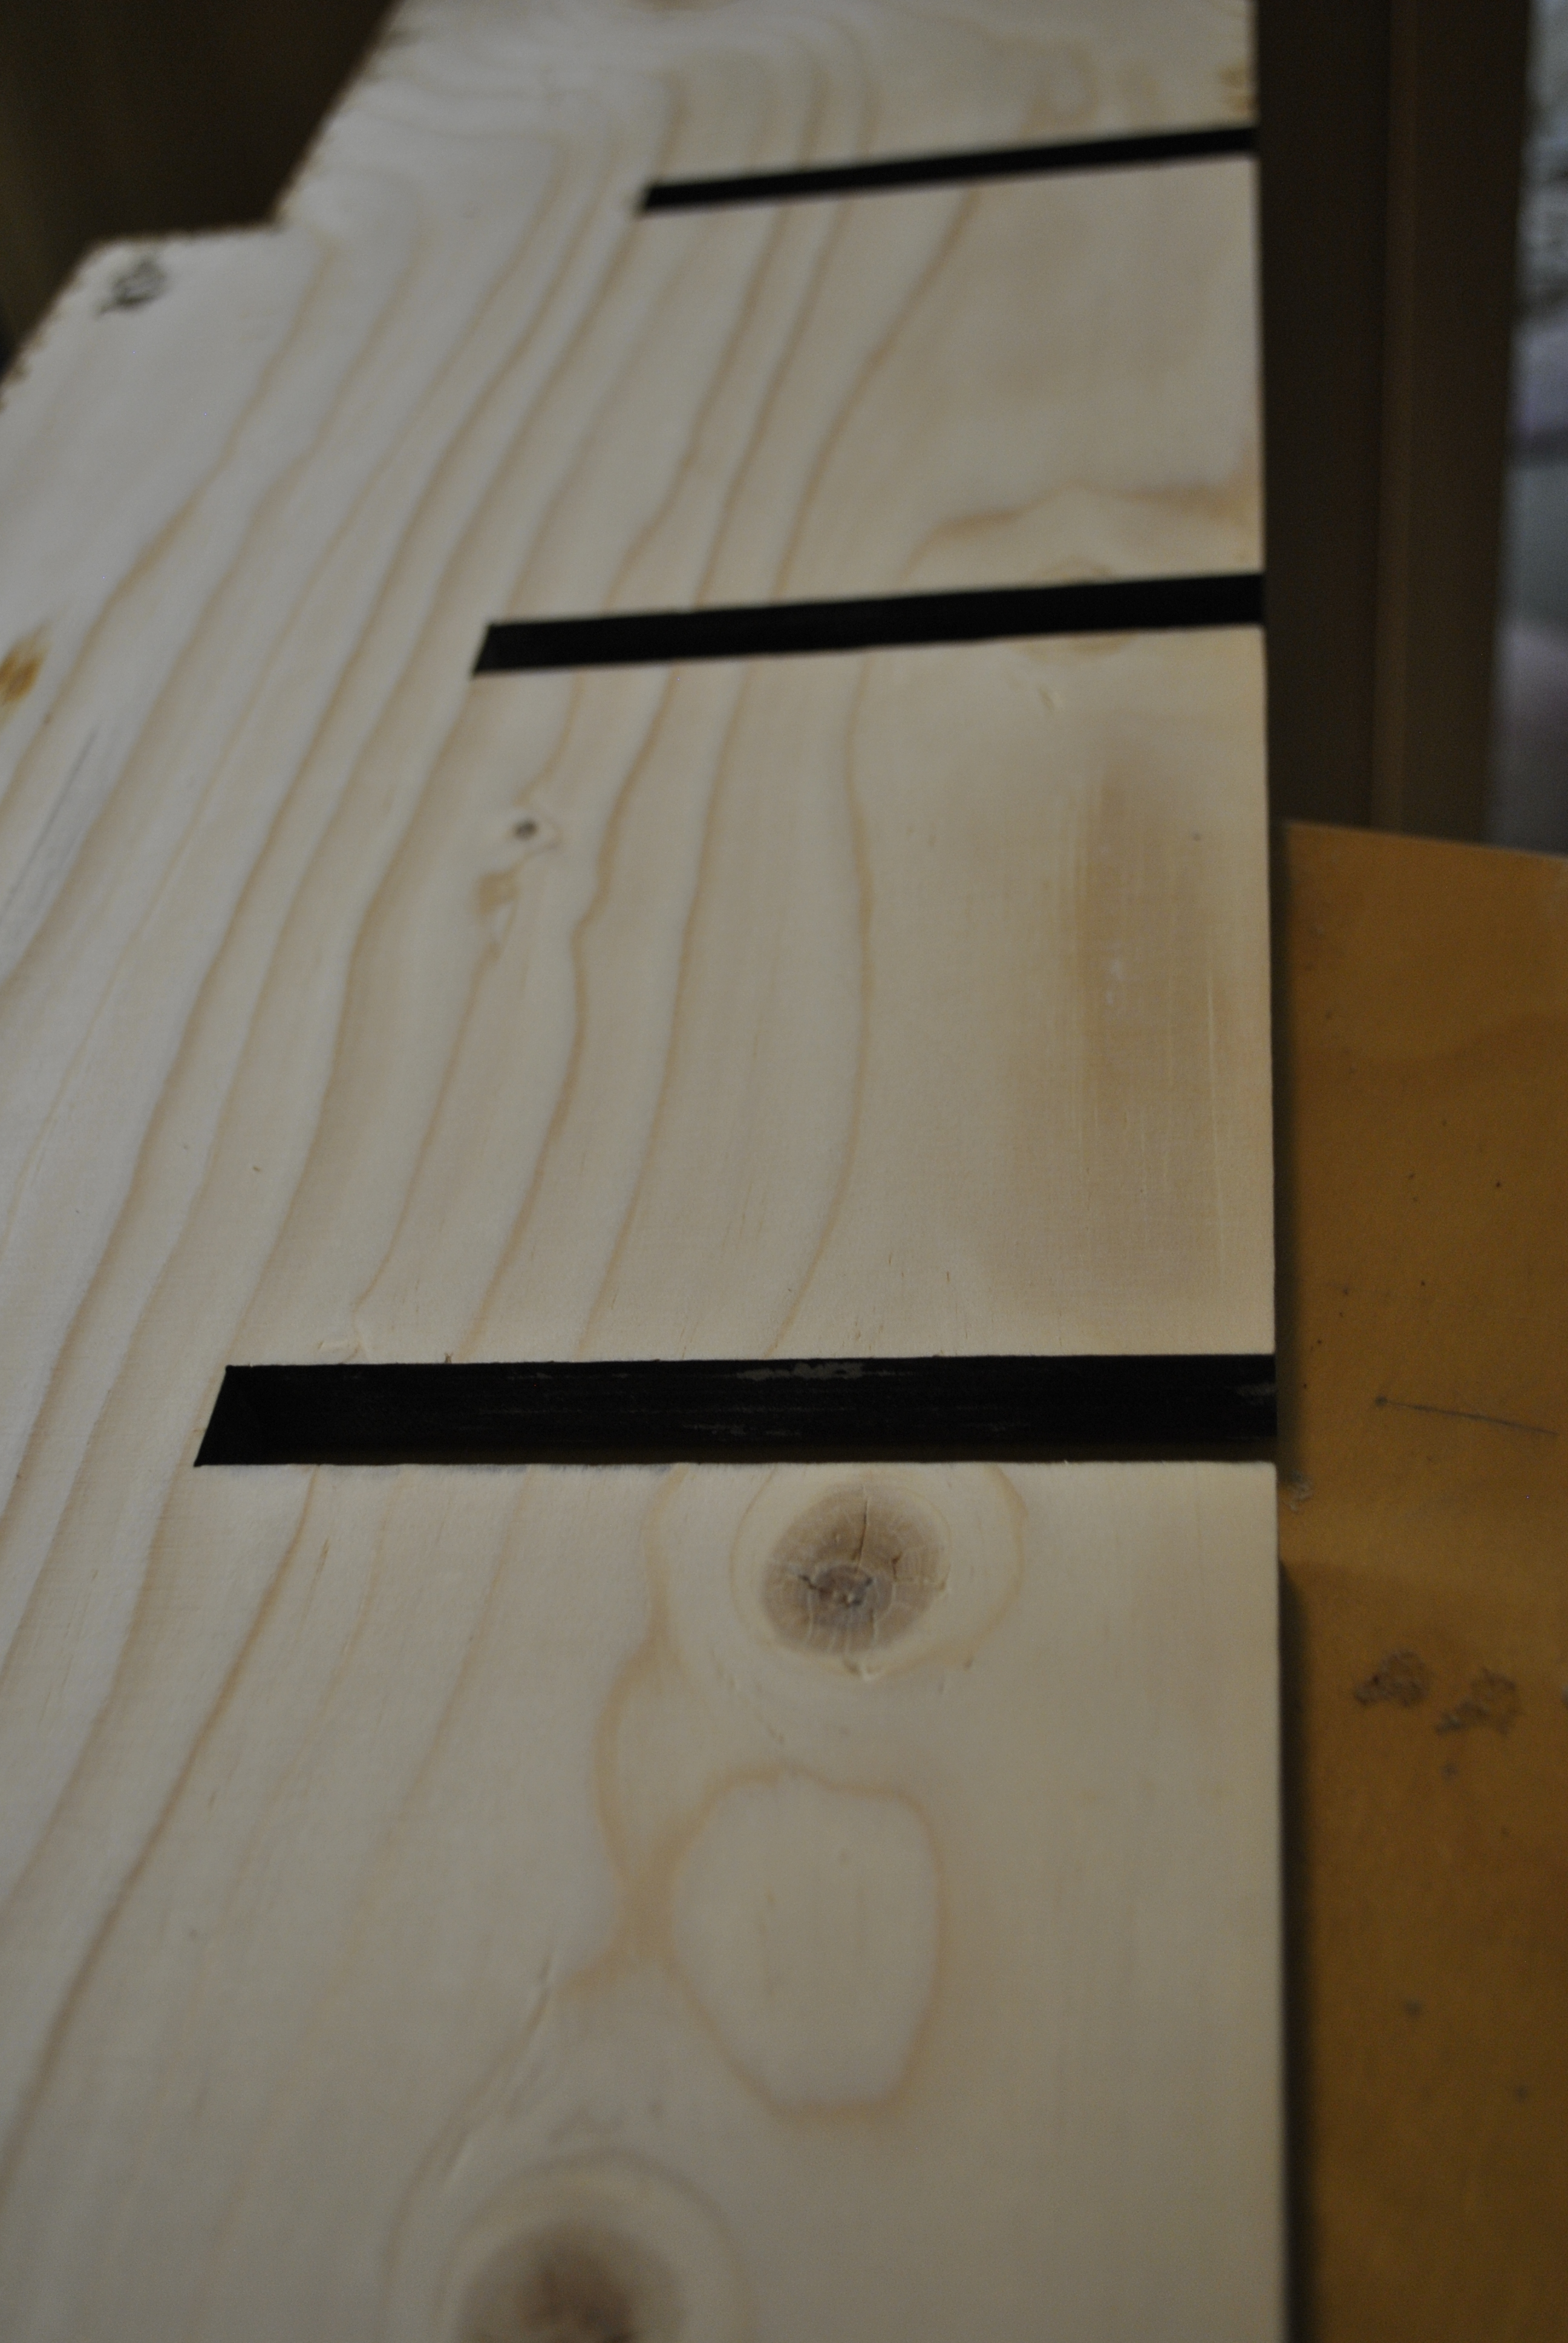
The difference between laser cutting with and without the protective film.
Sanding of edges with grit 40.
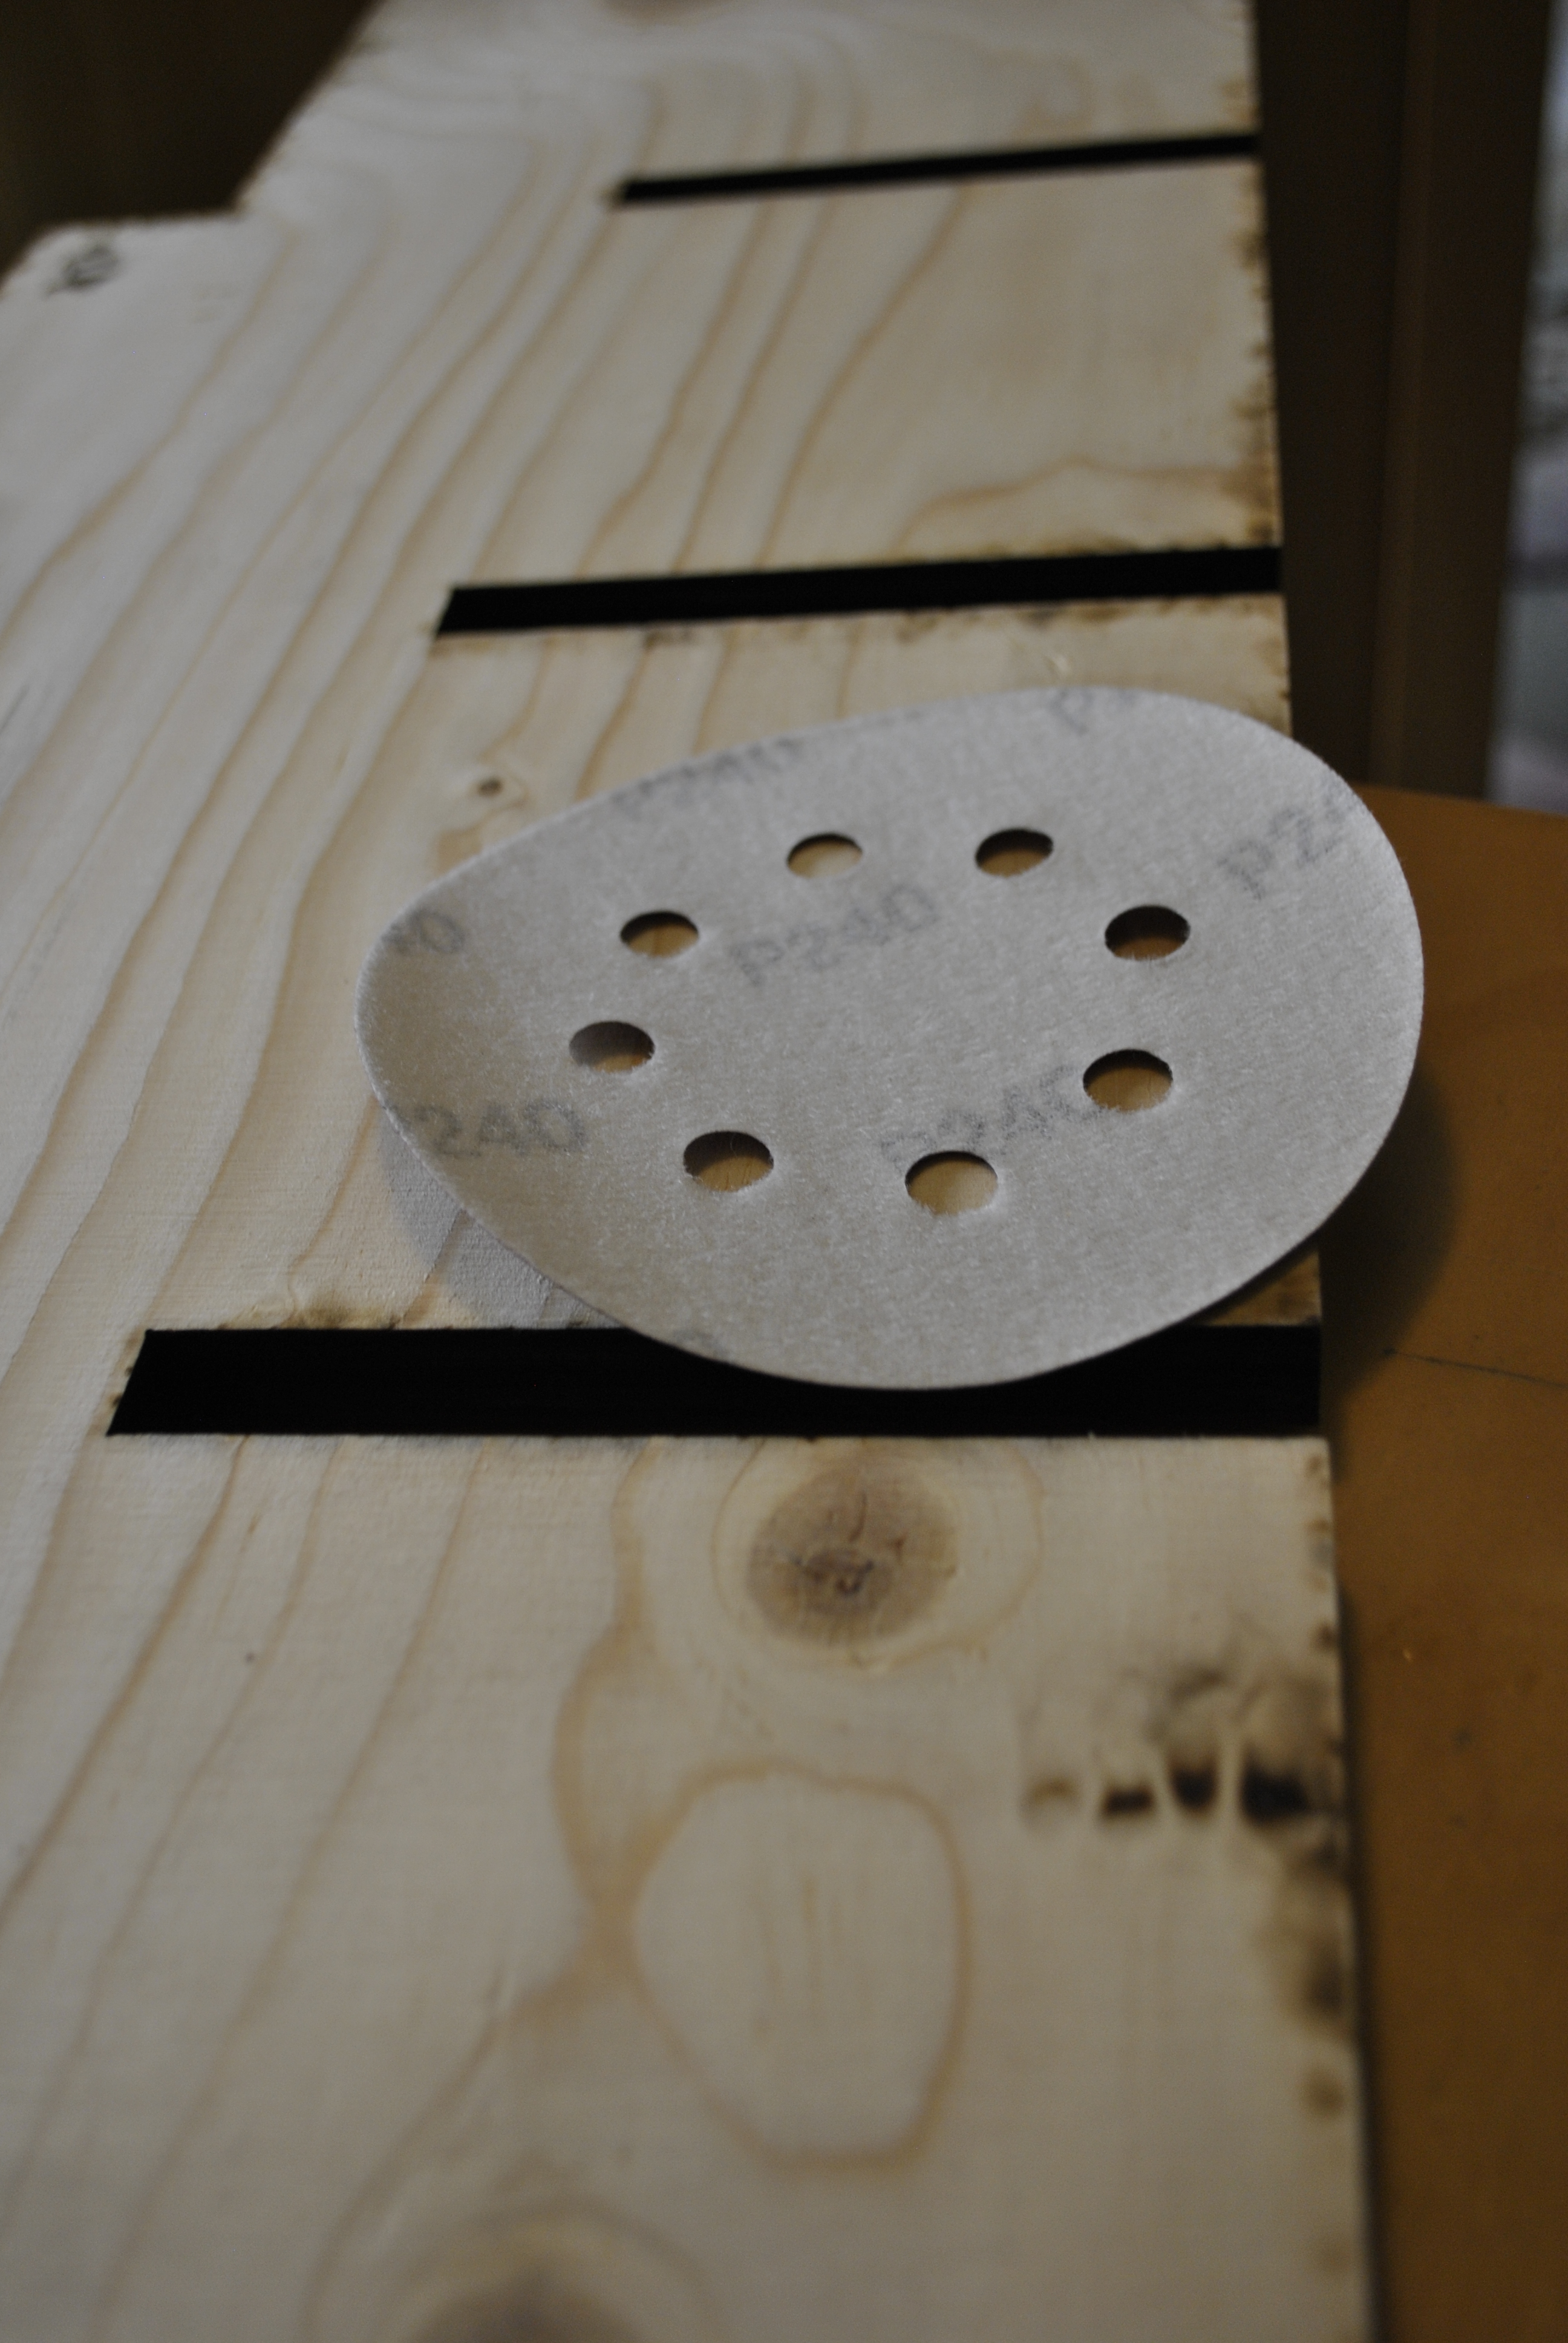
For an extra smooth surface, sand with grit 240. Before sanding.
After sanding.
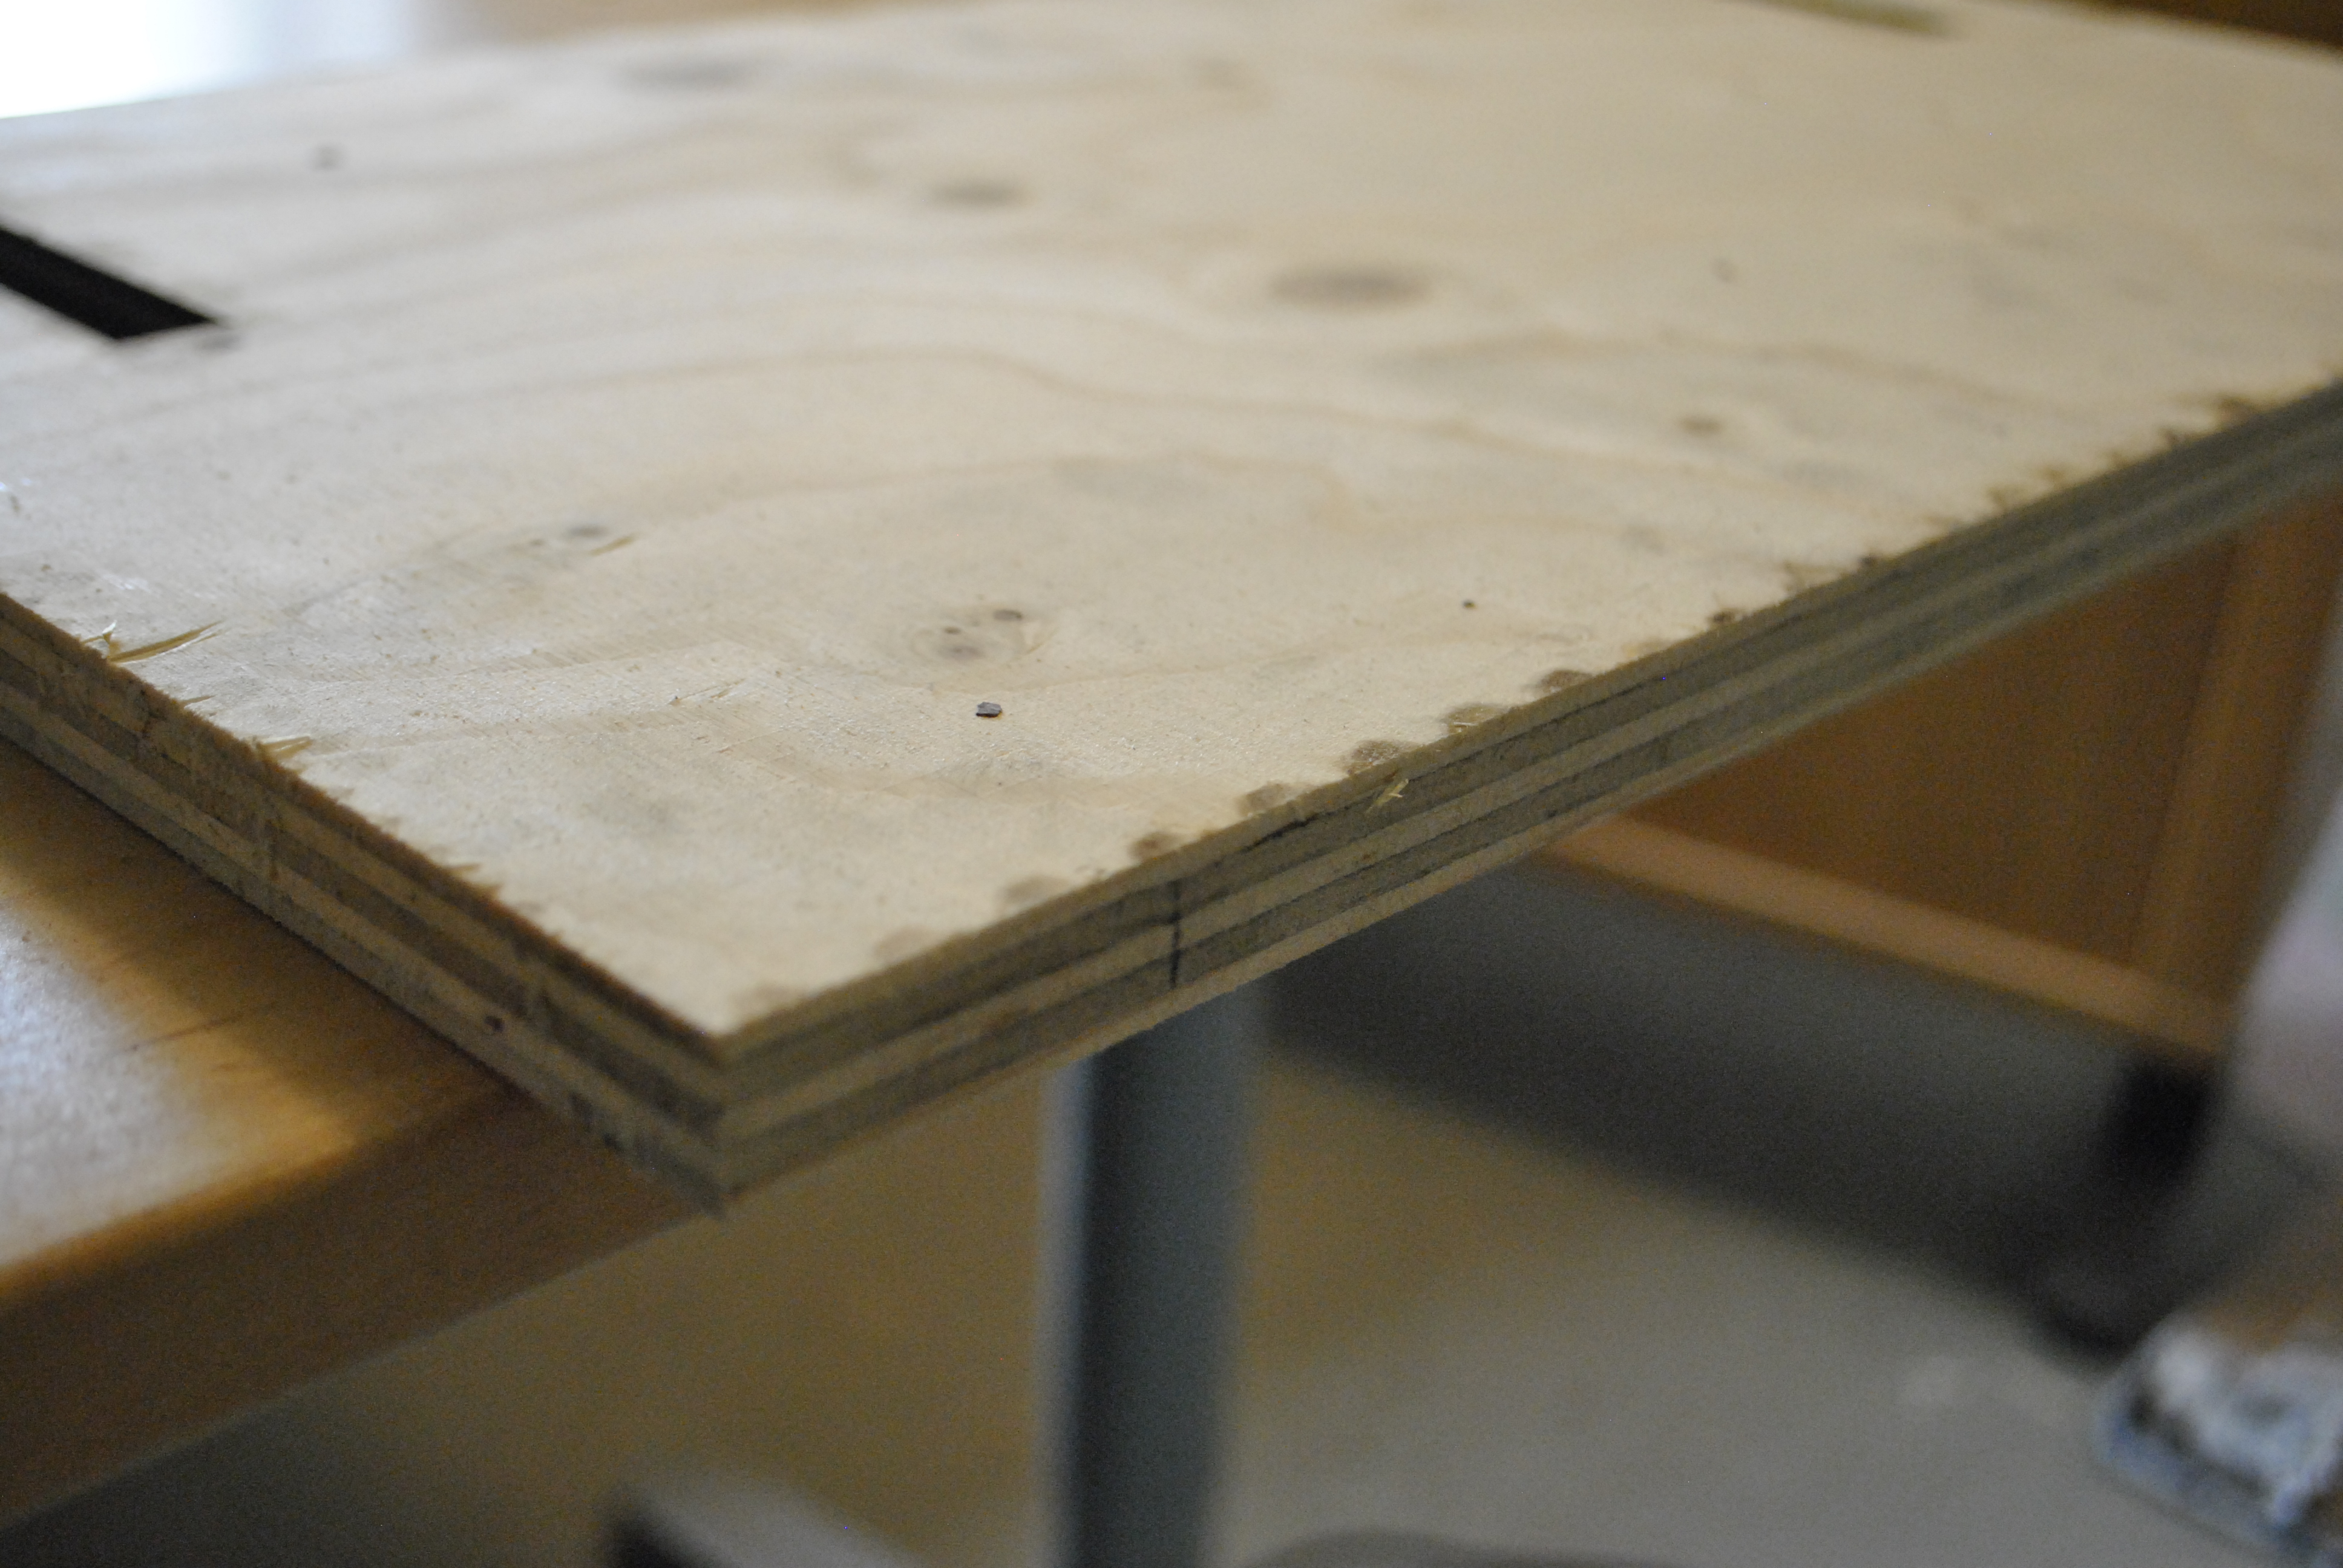
Before sanding, surface.
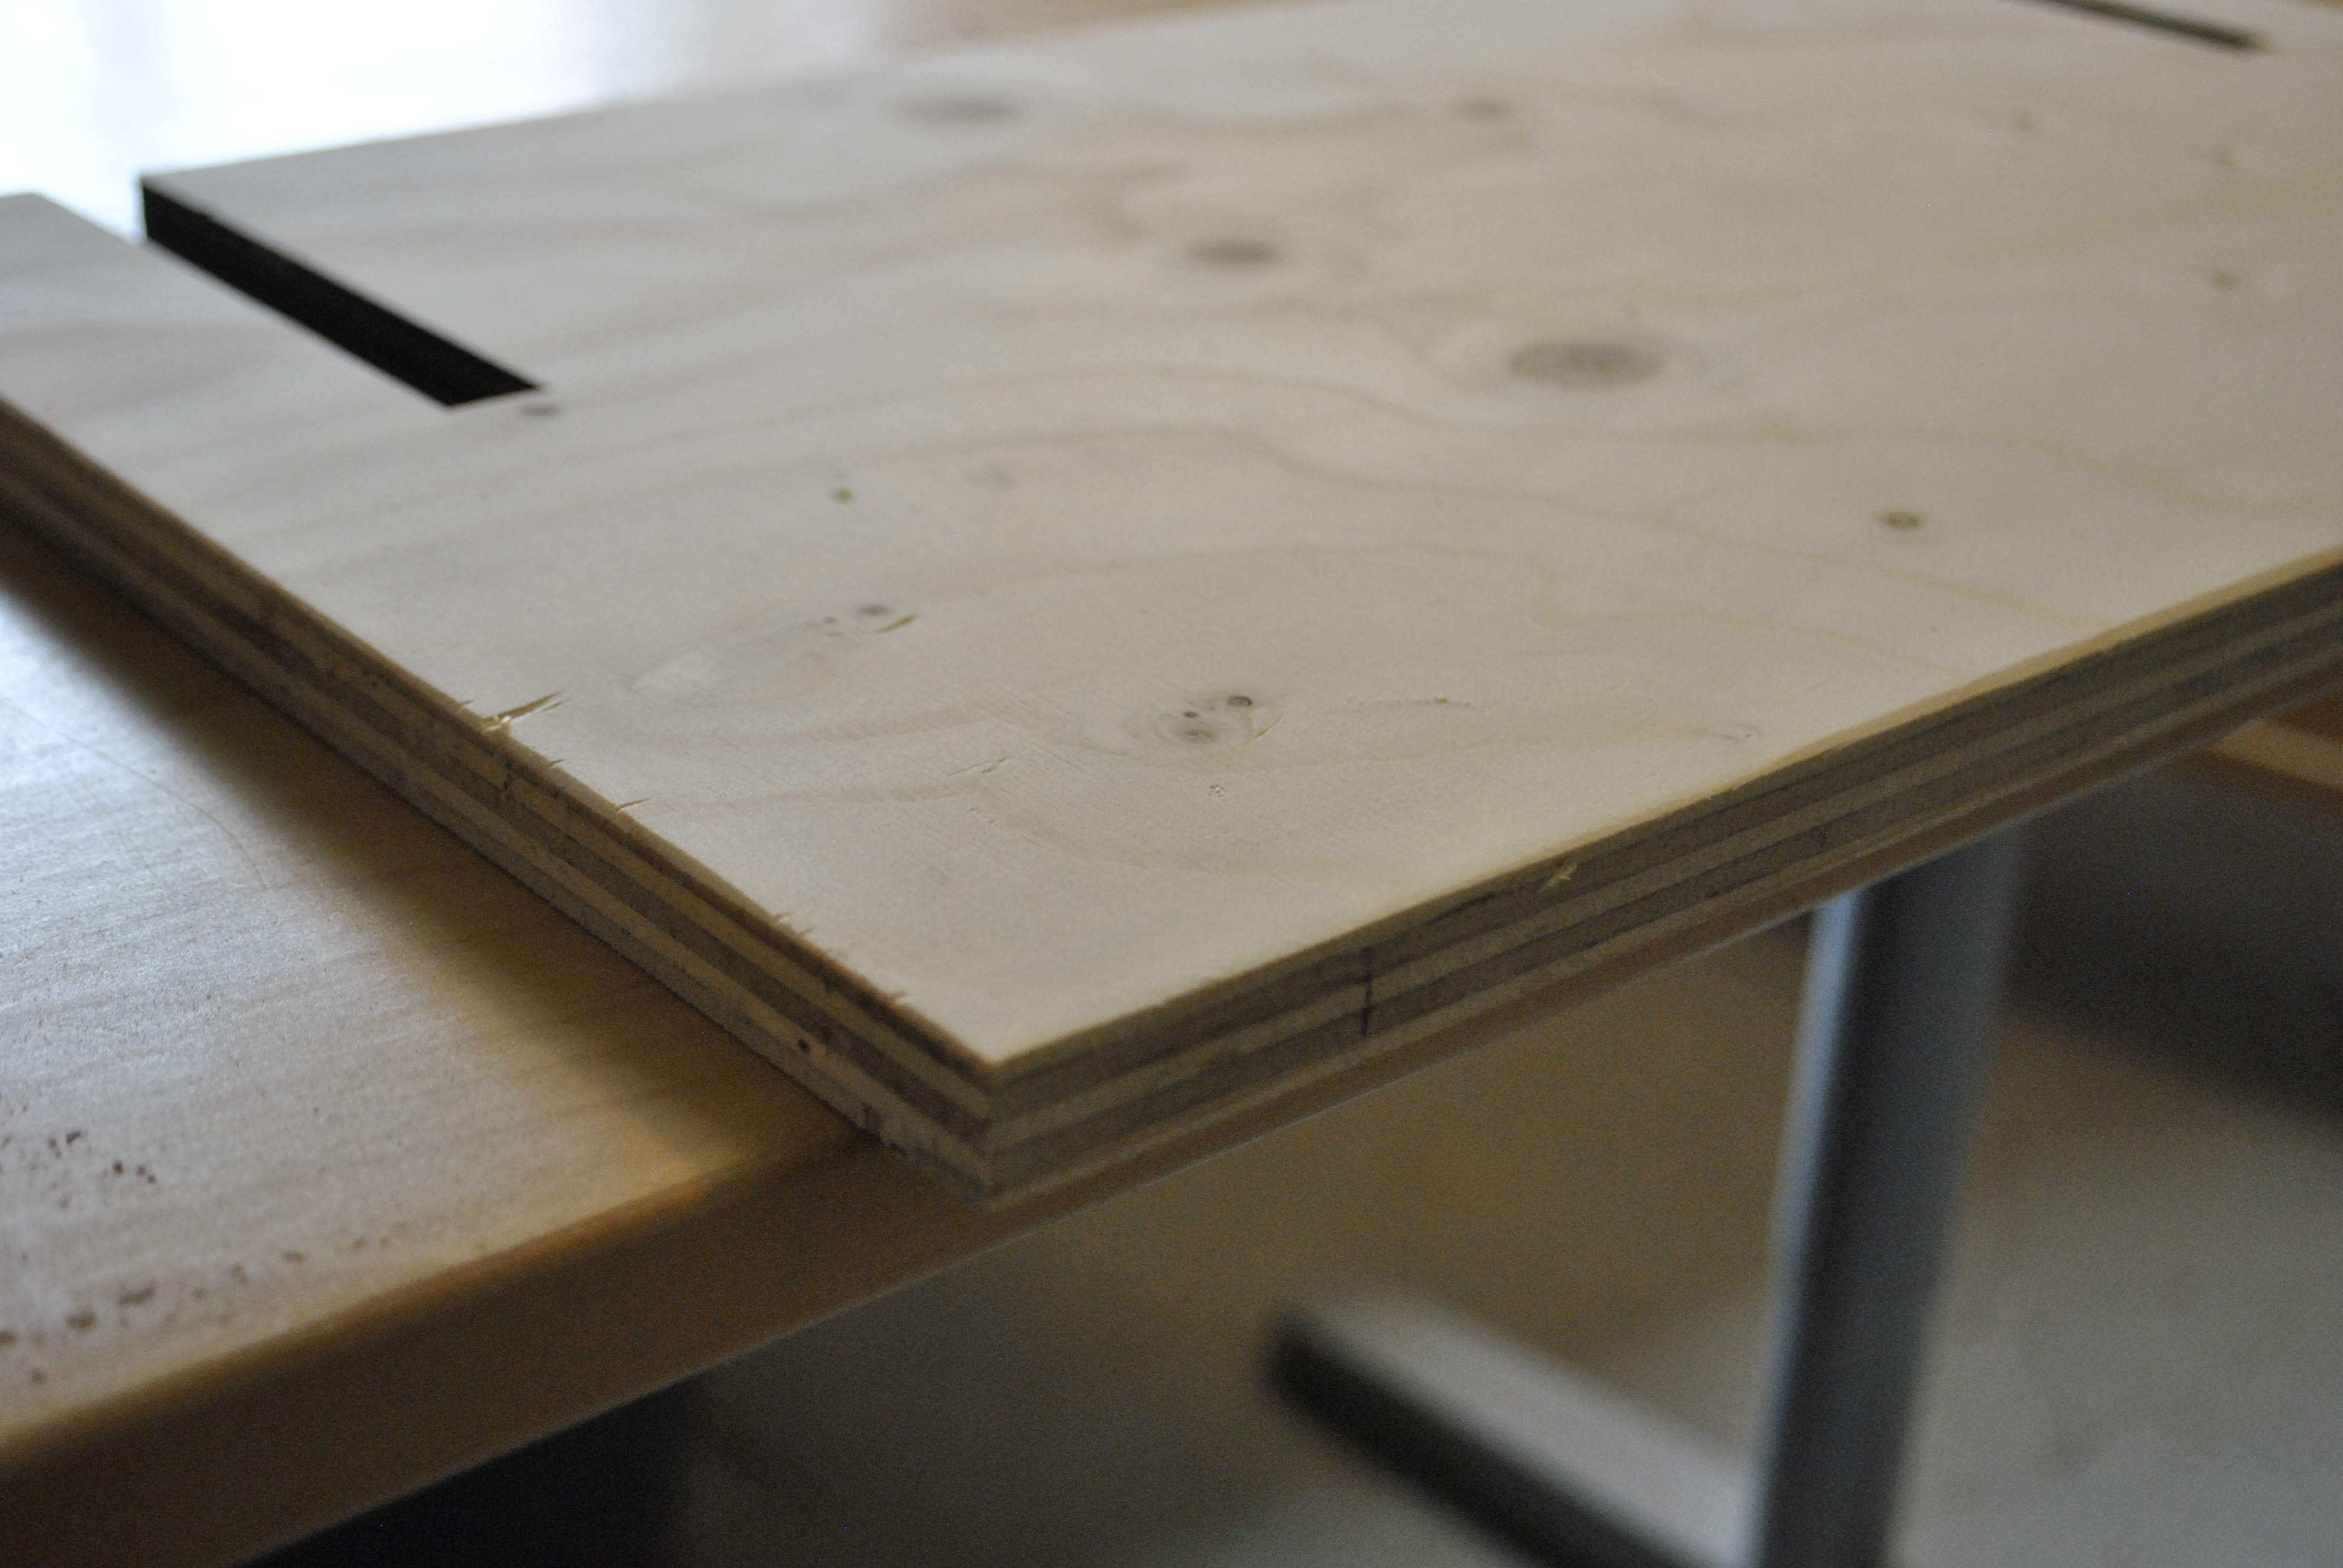
After sanding, surface.
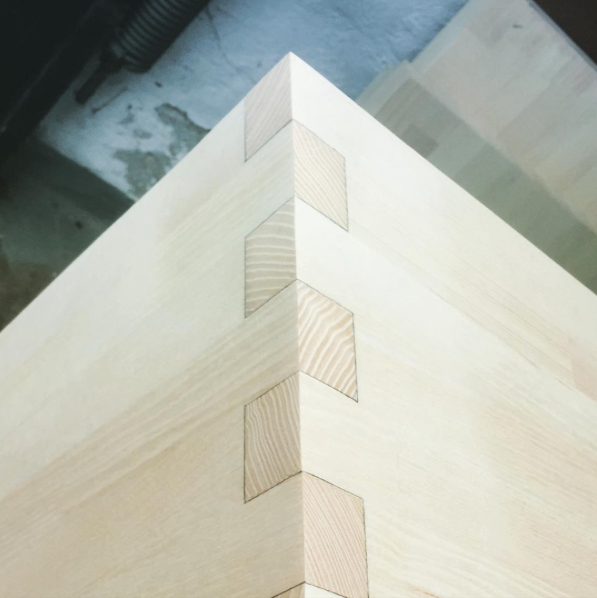
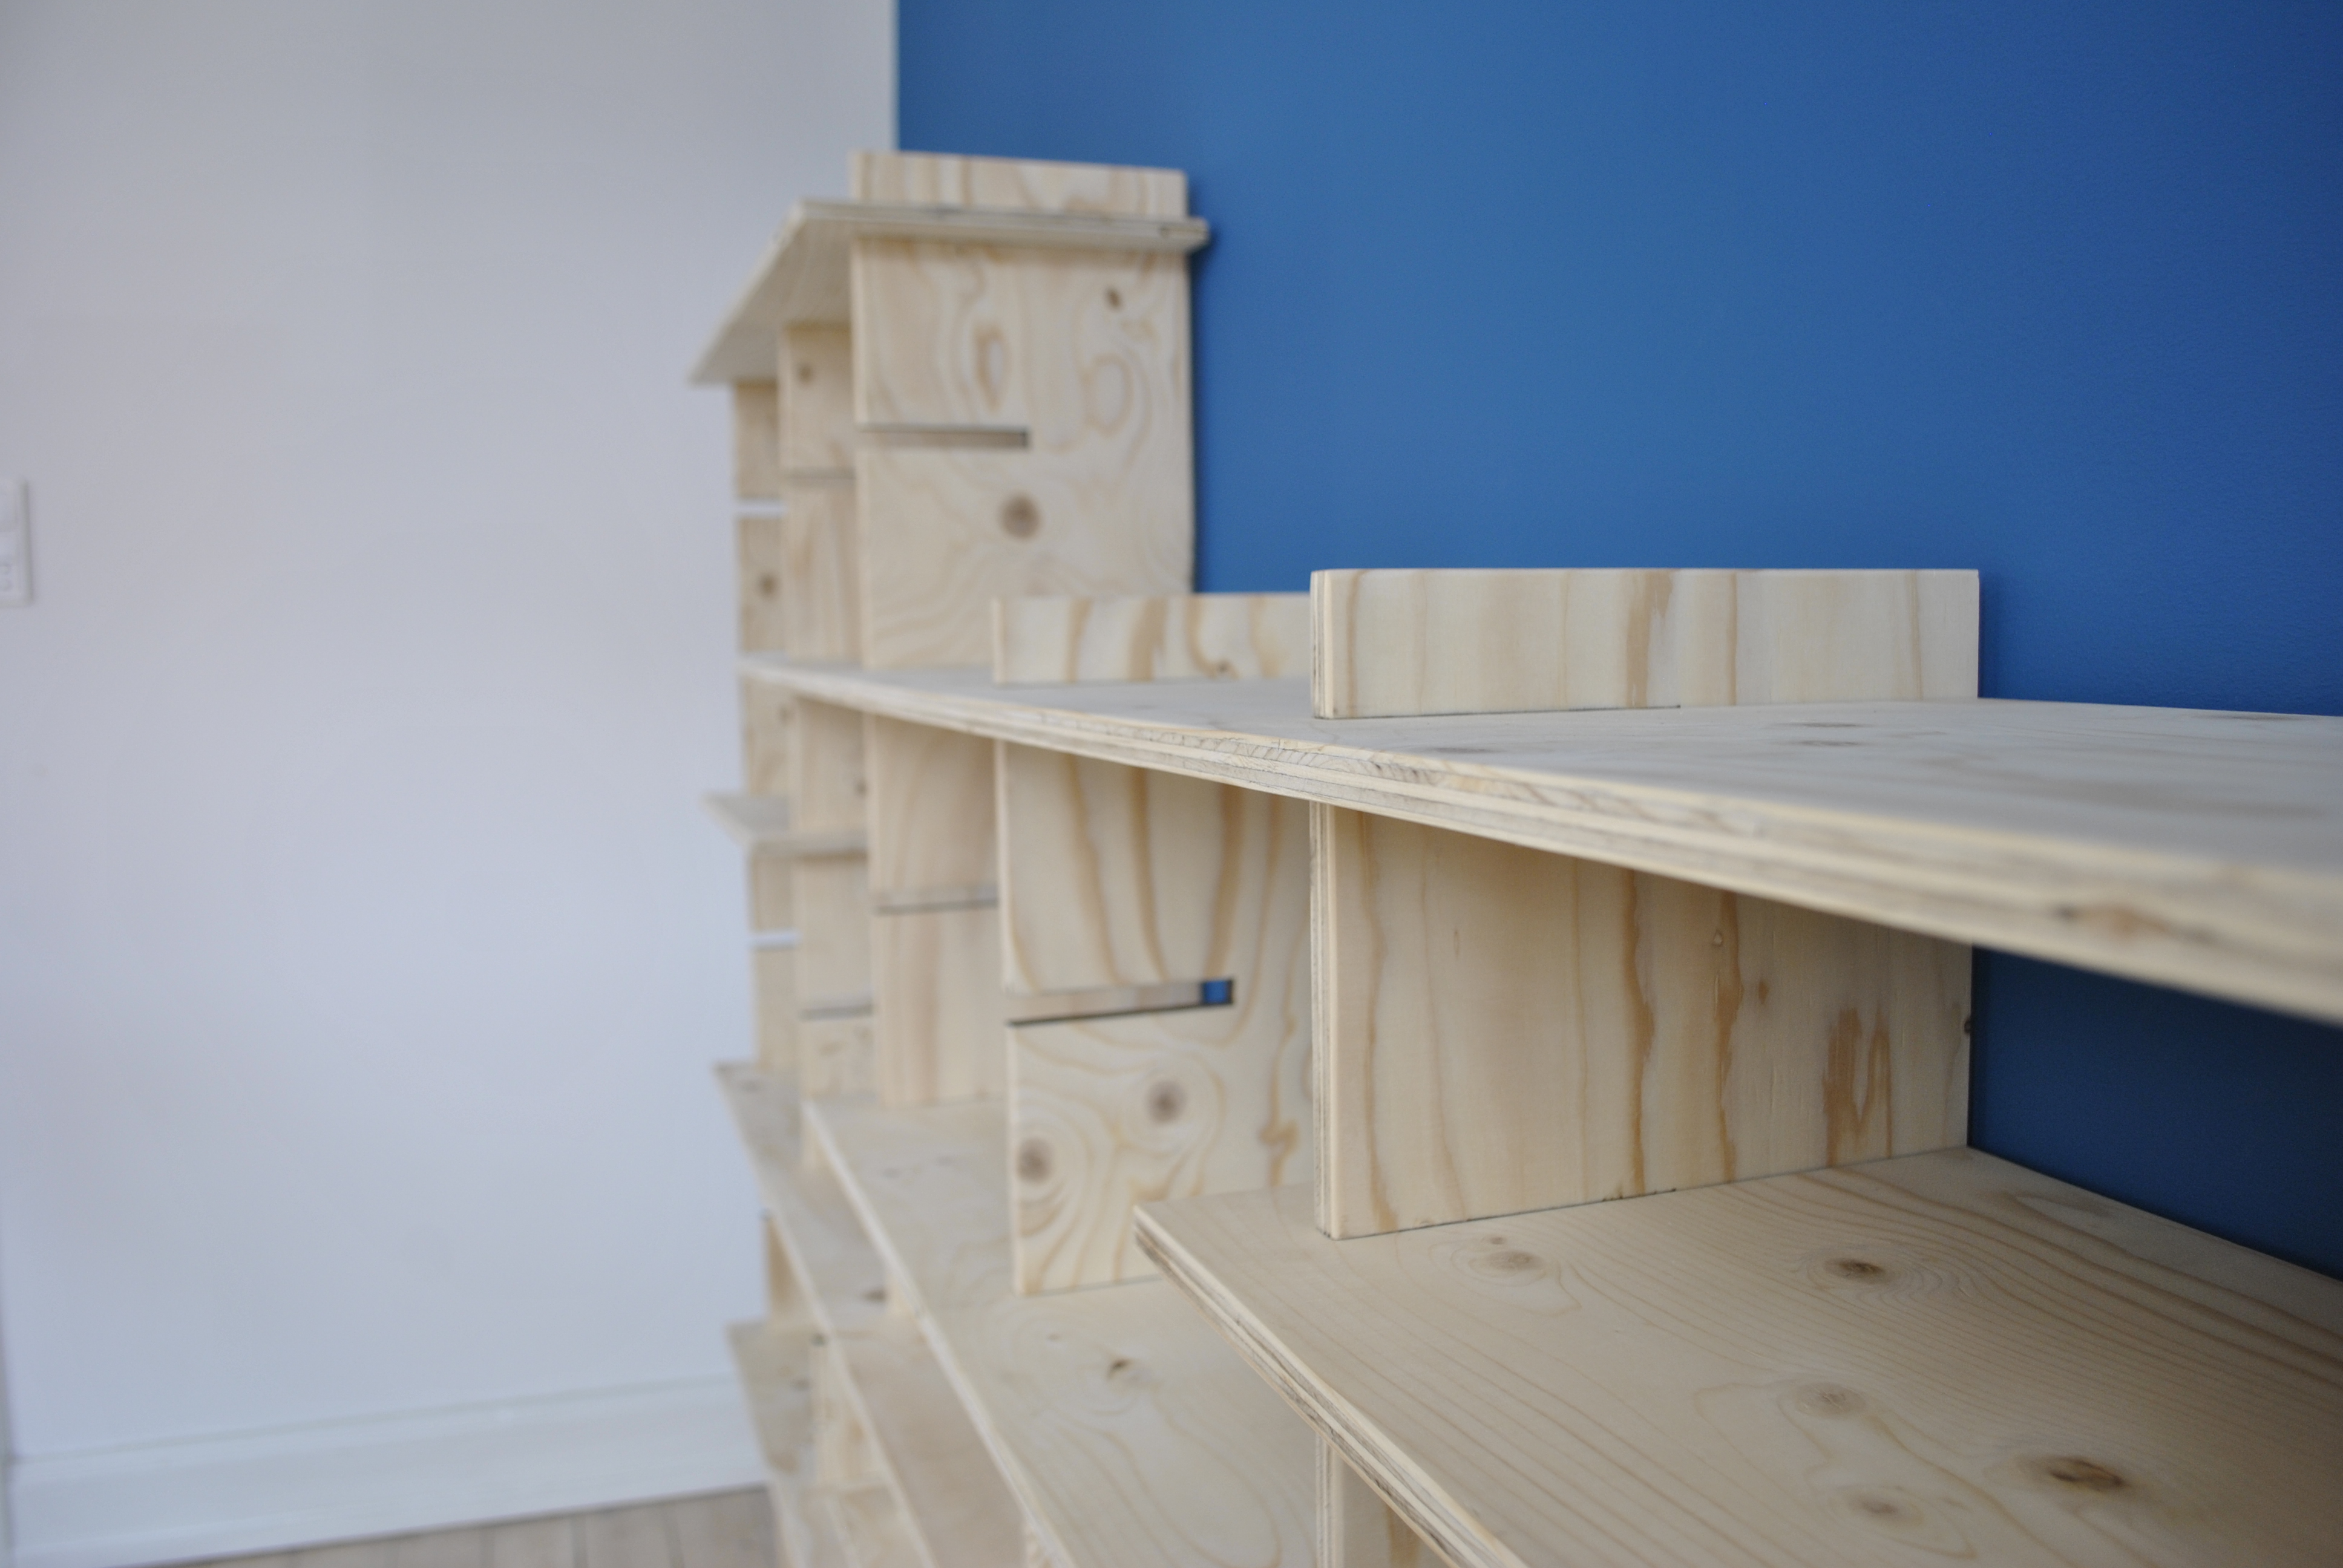
Joint.
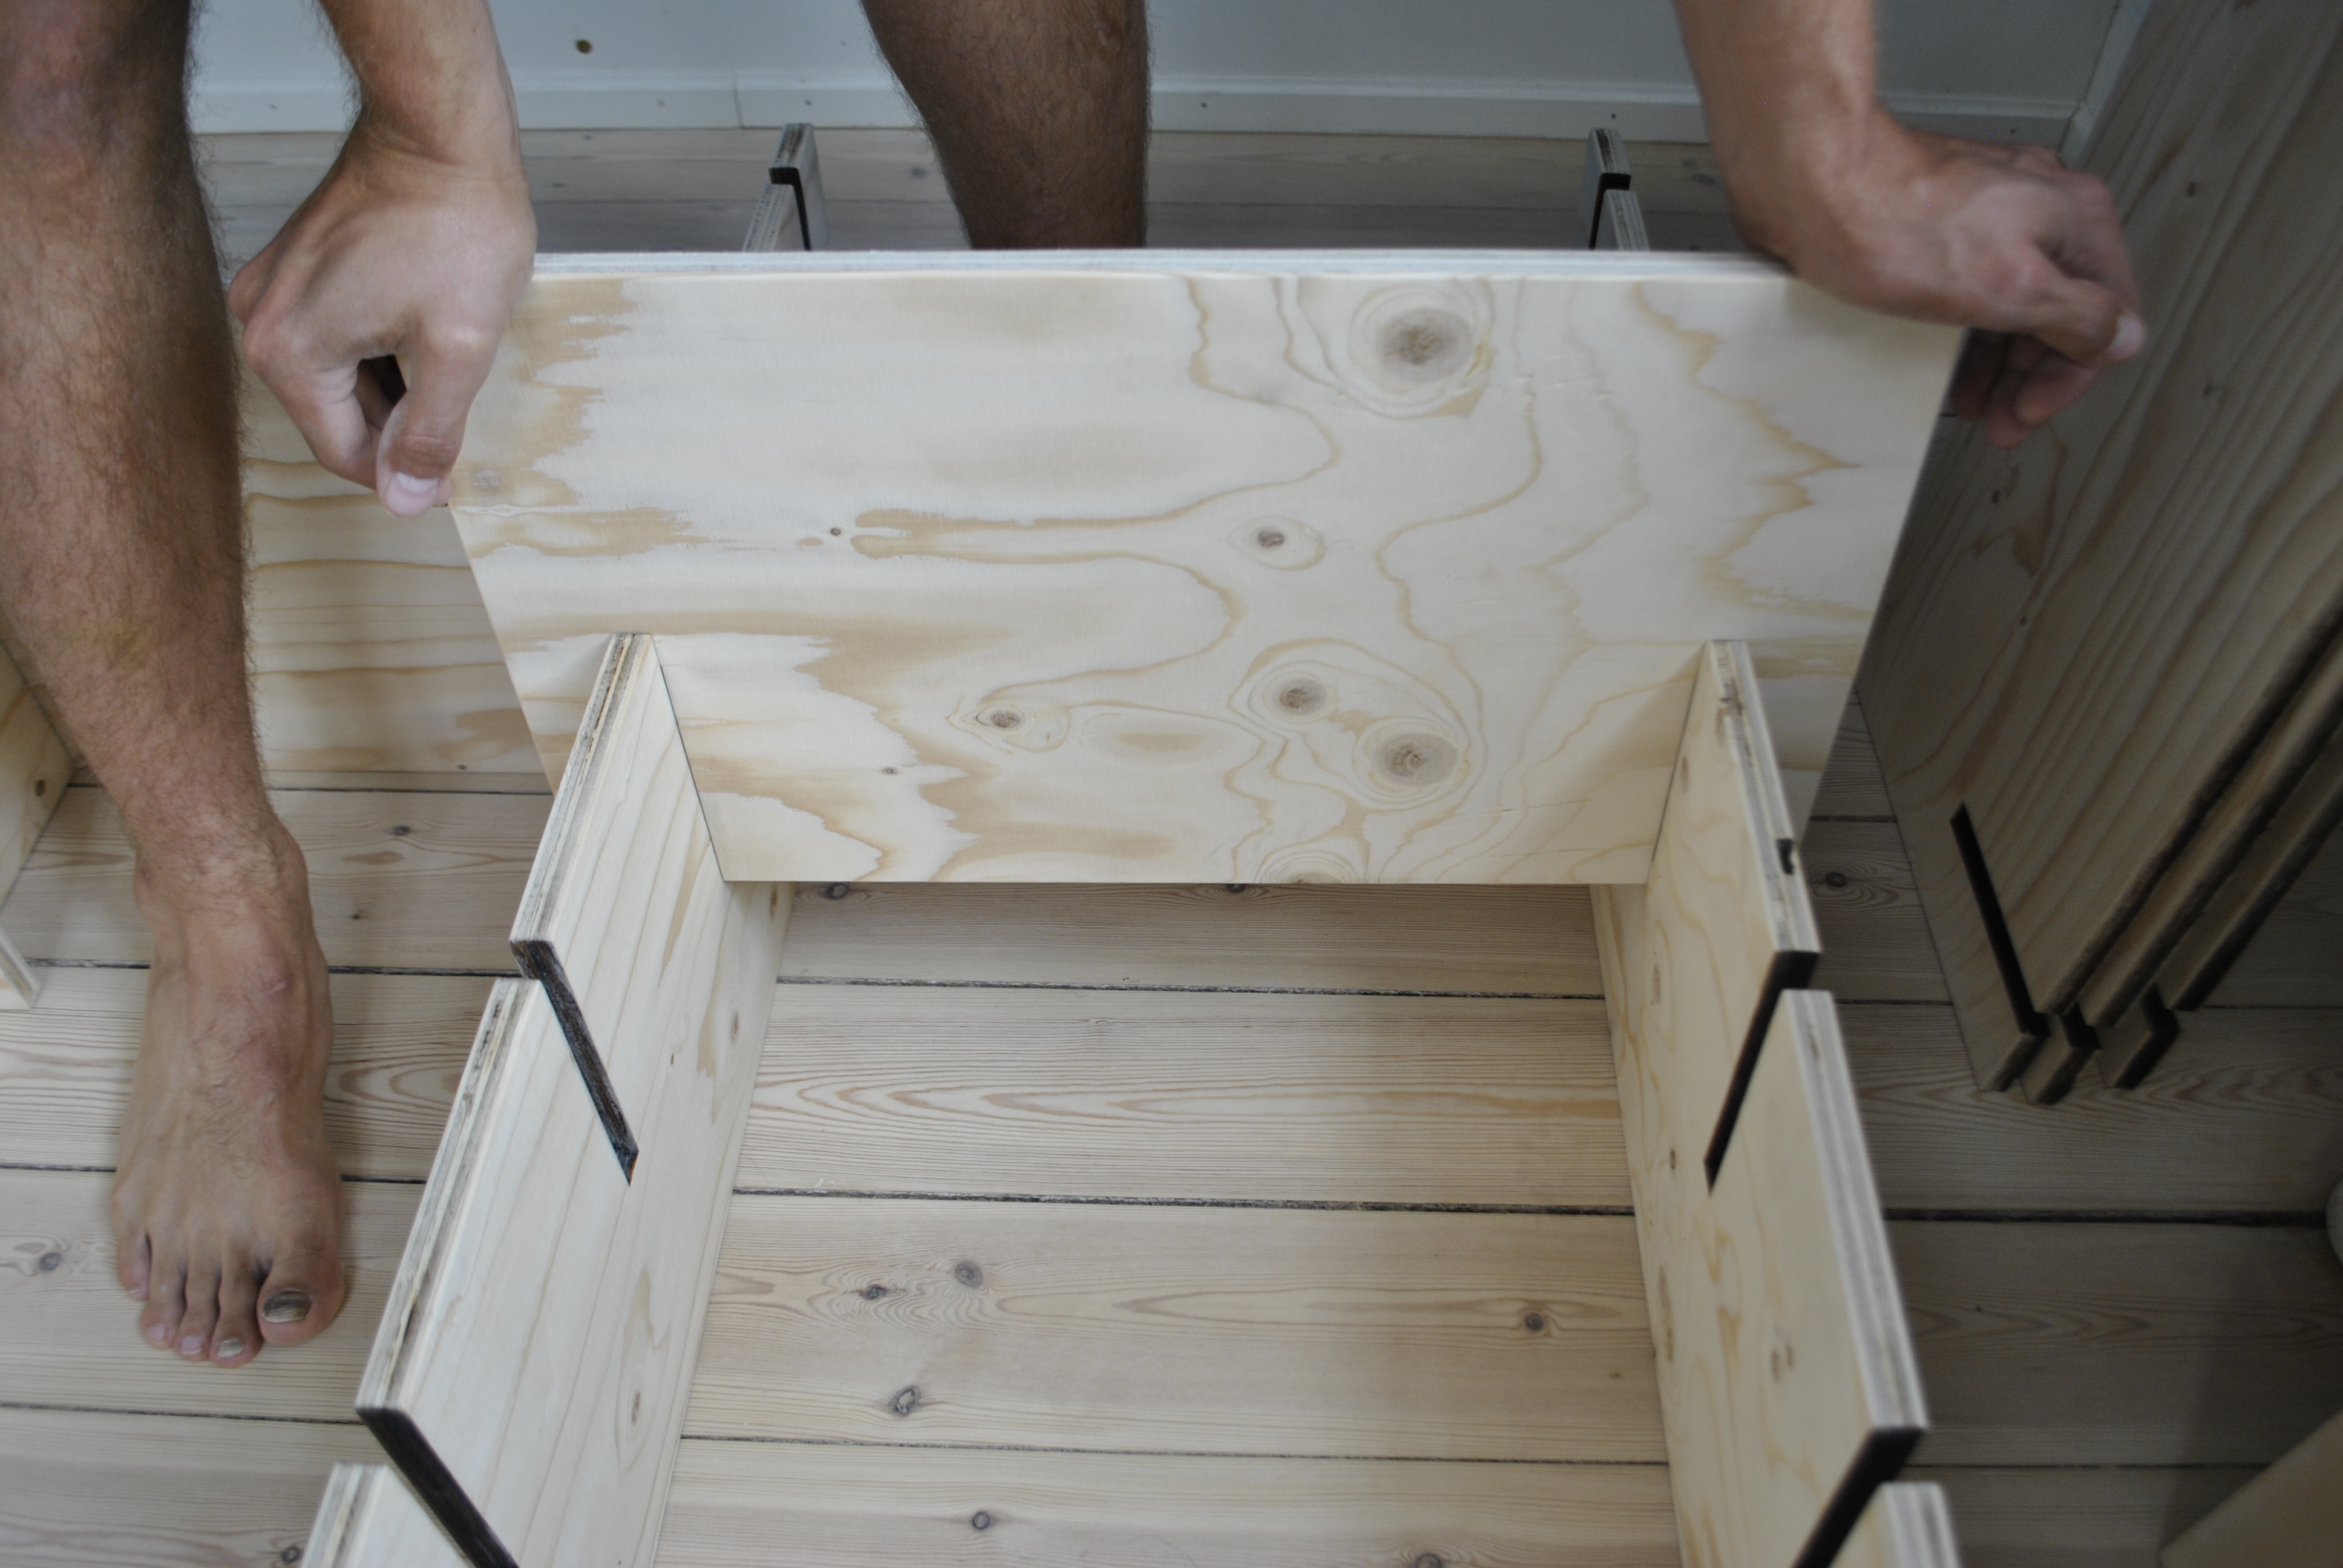
Joint.
Joint.
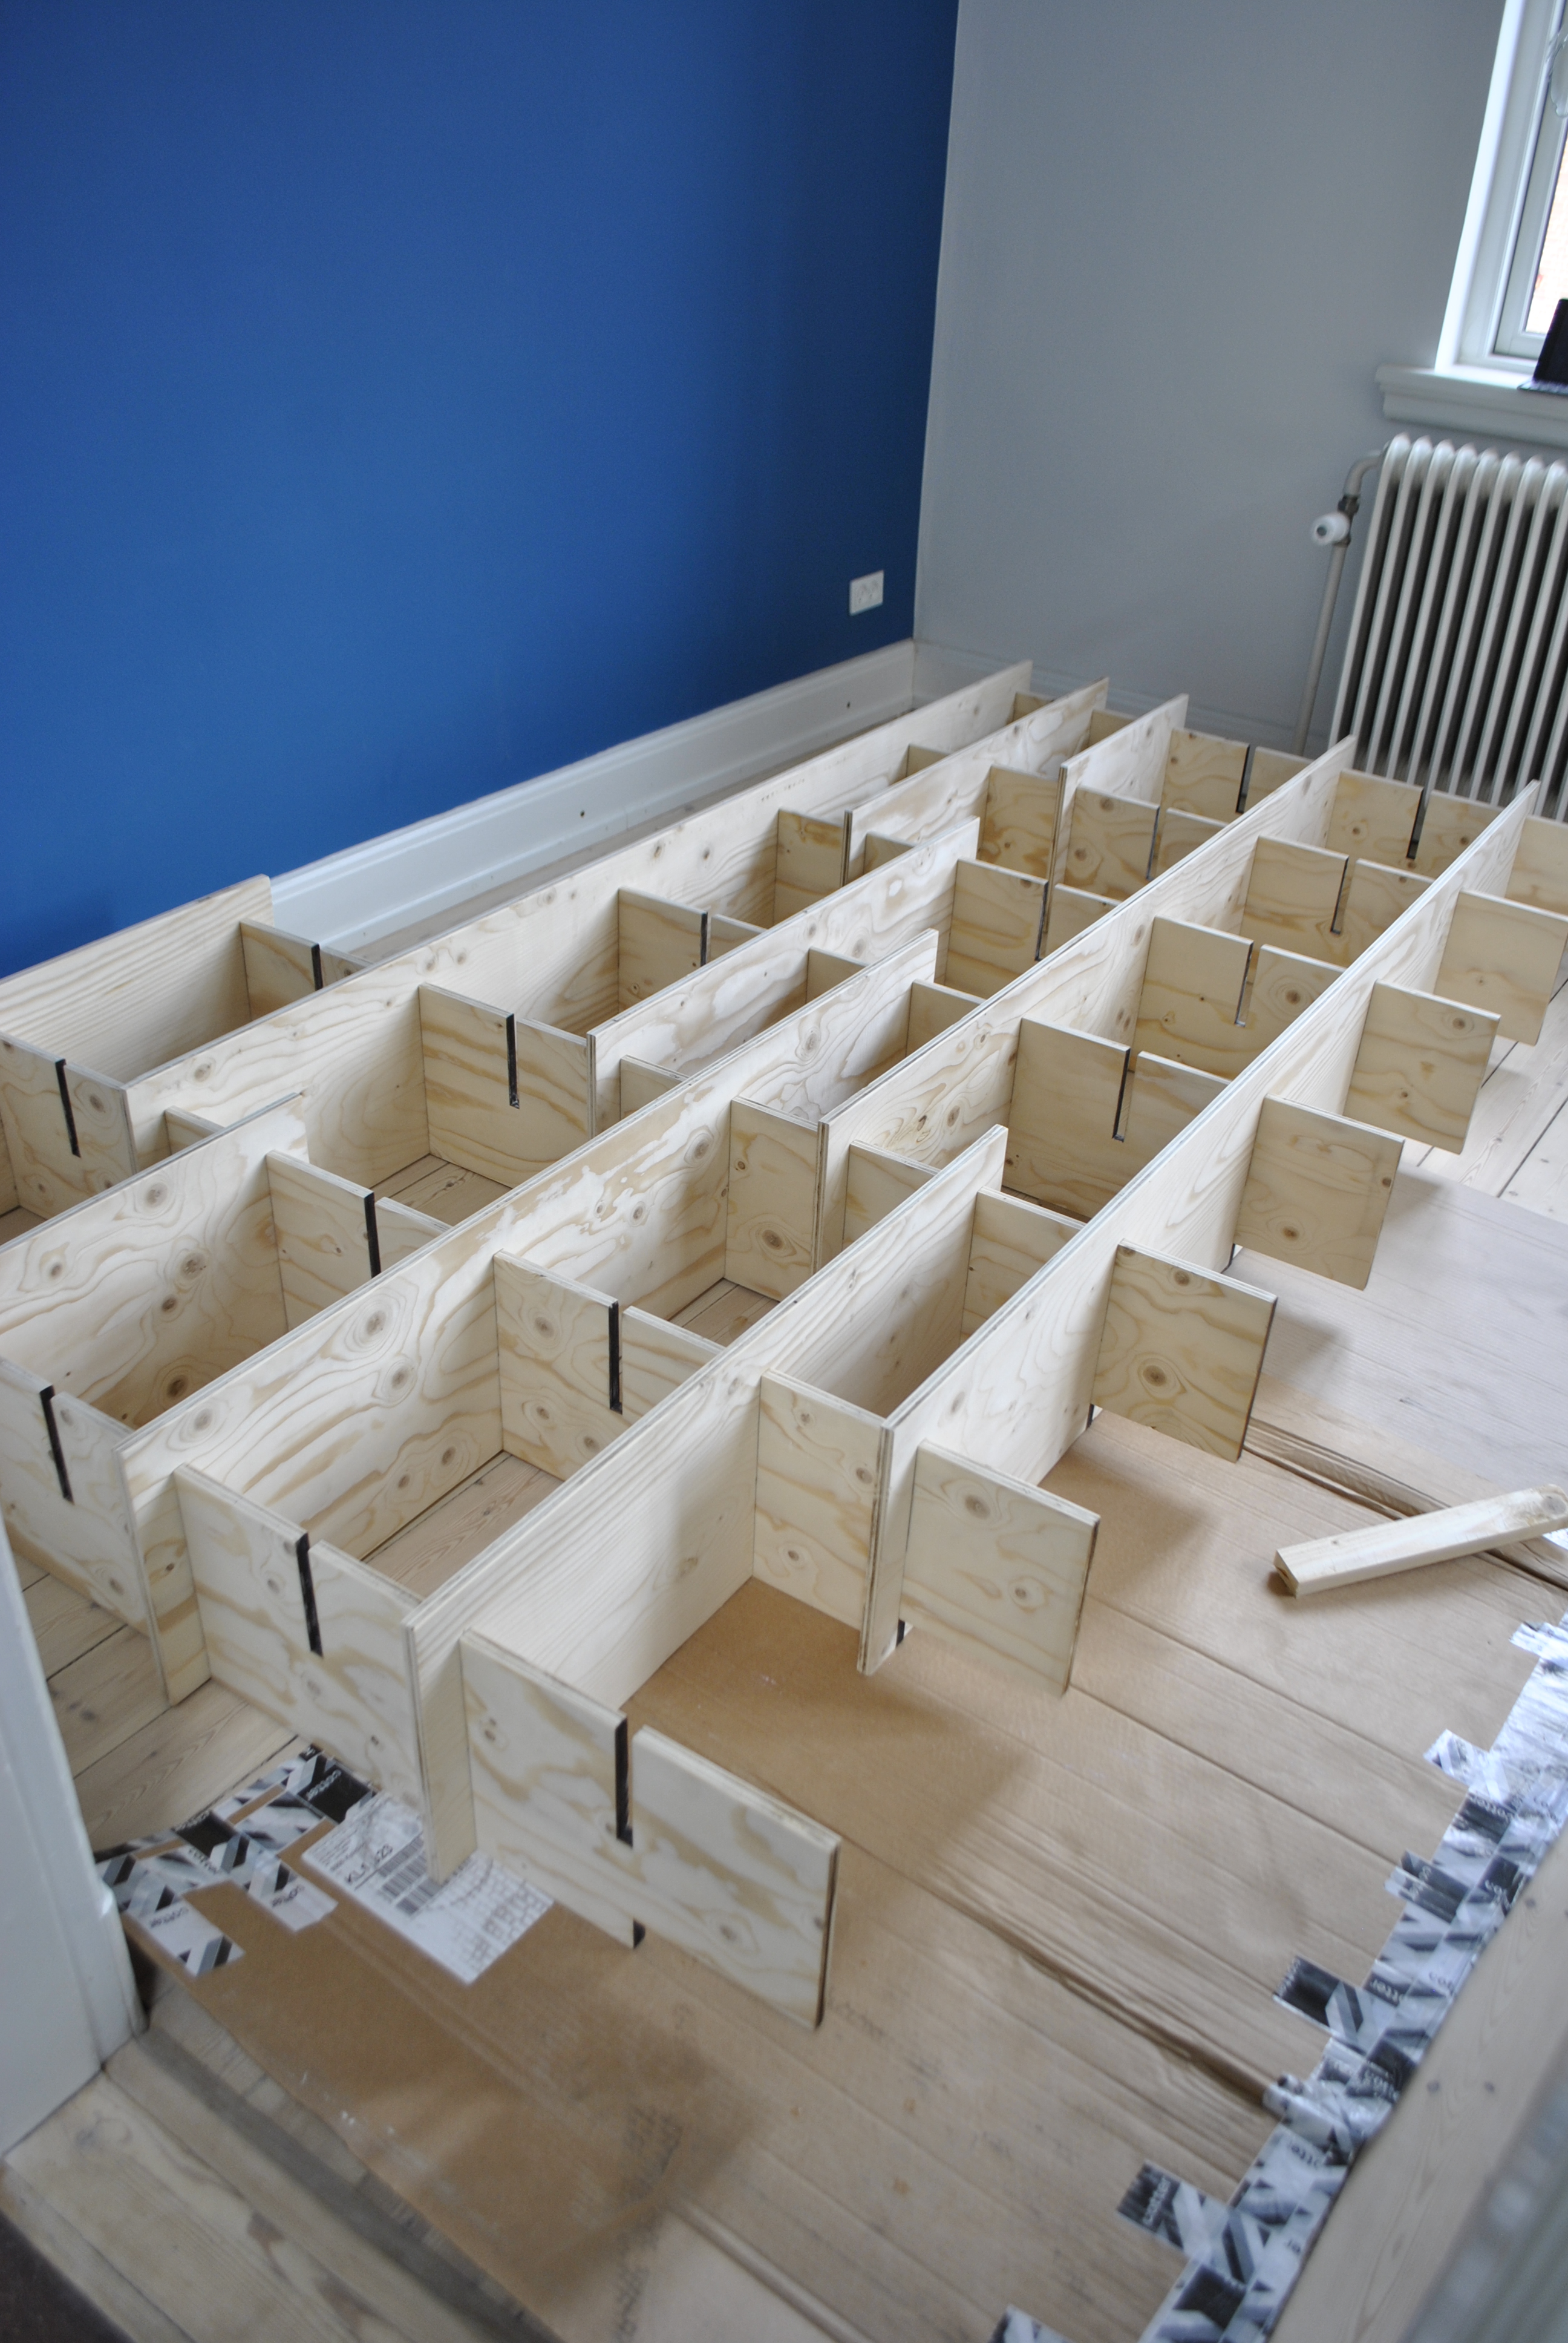
Completely assembled.
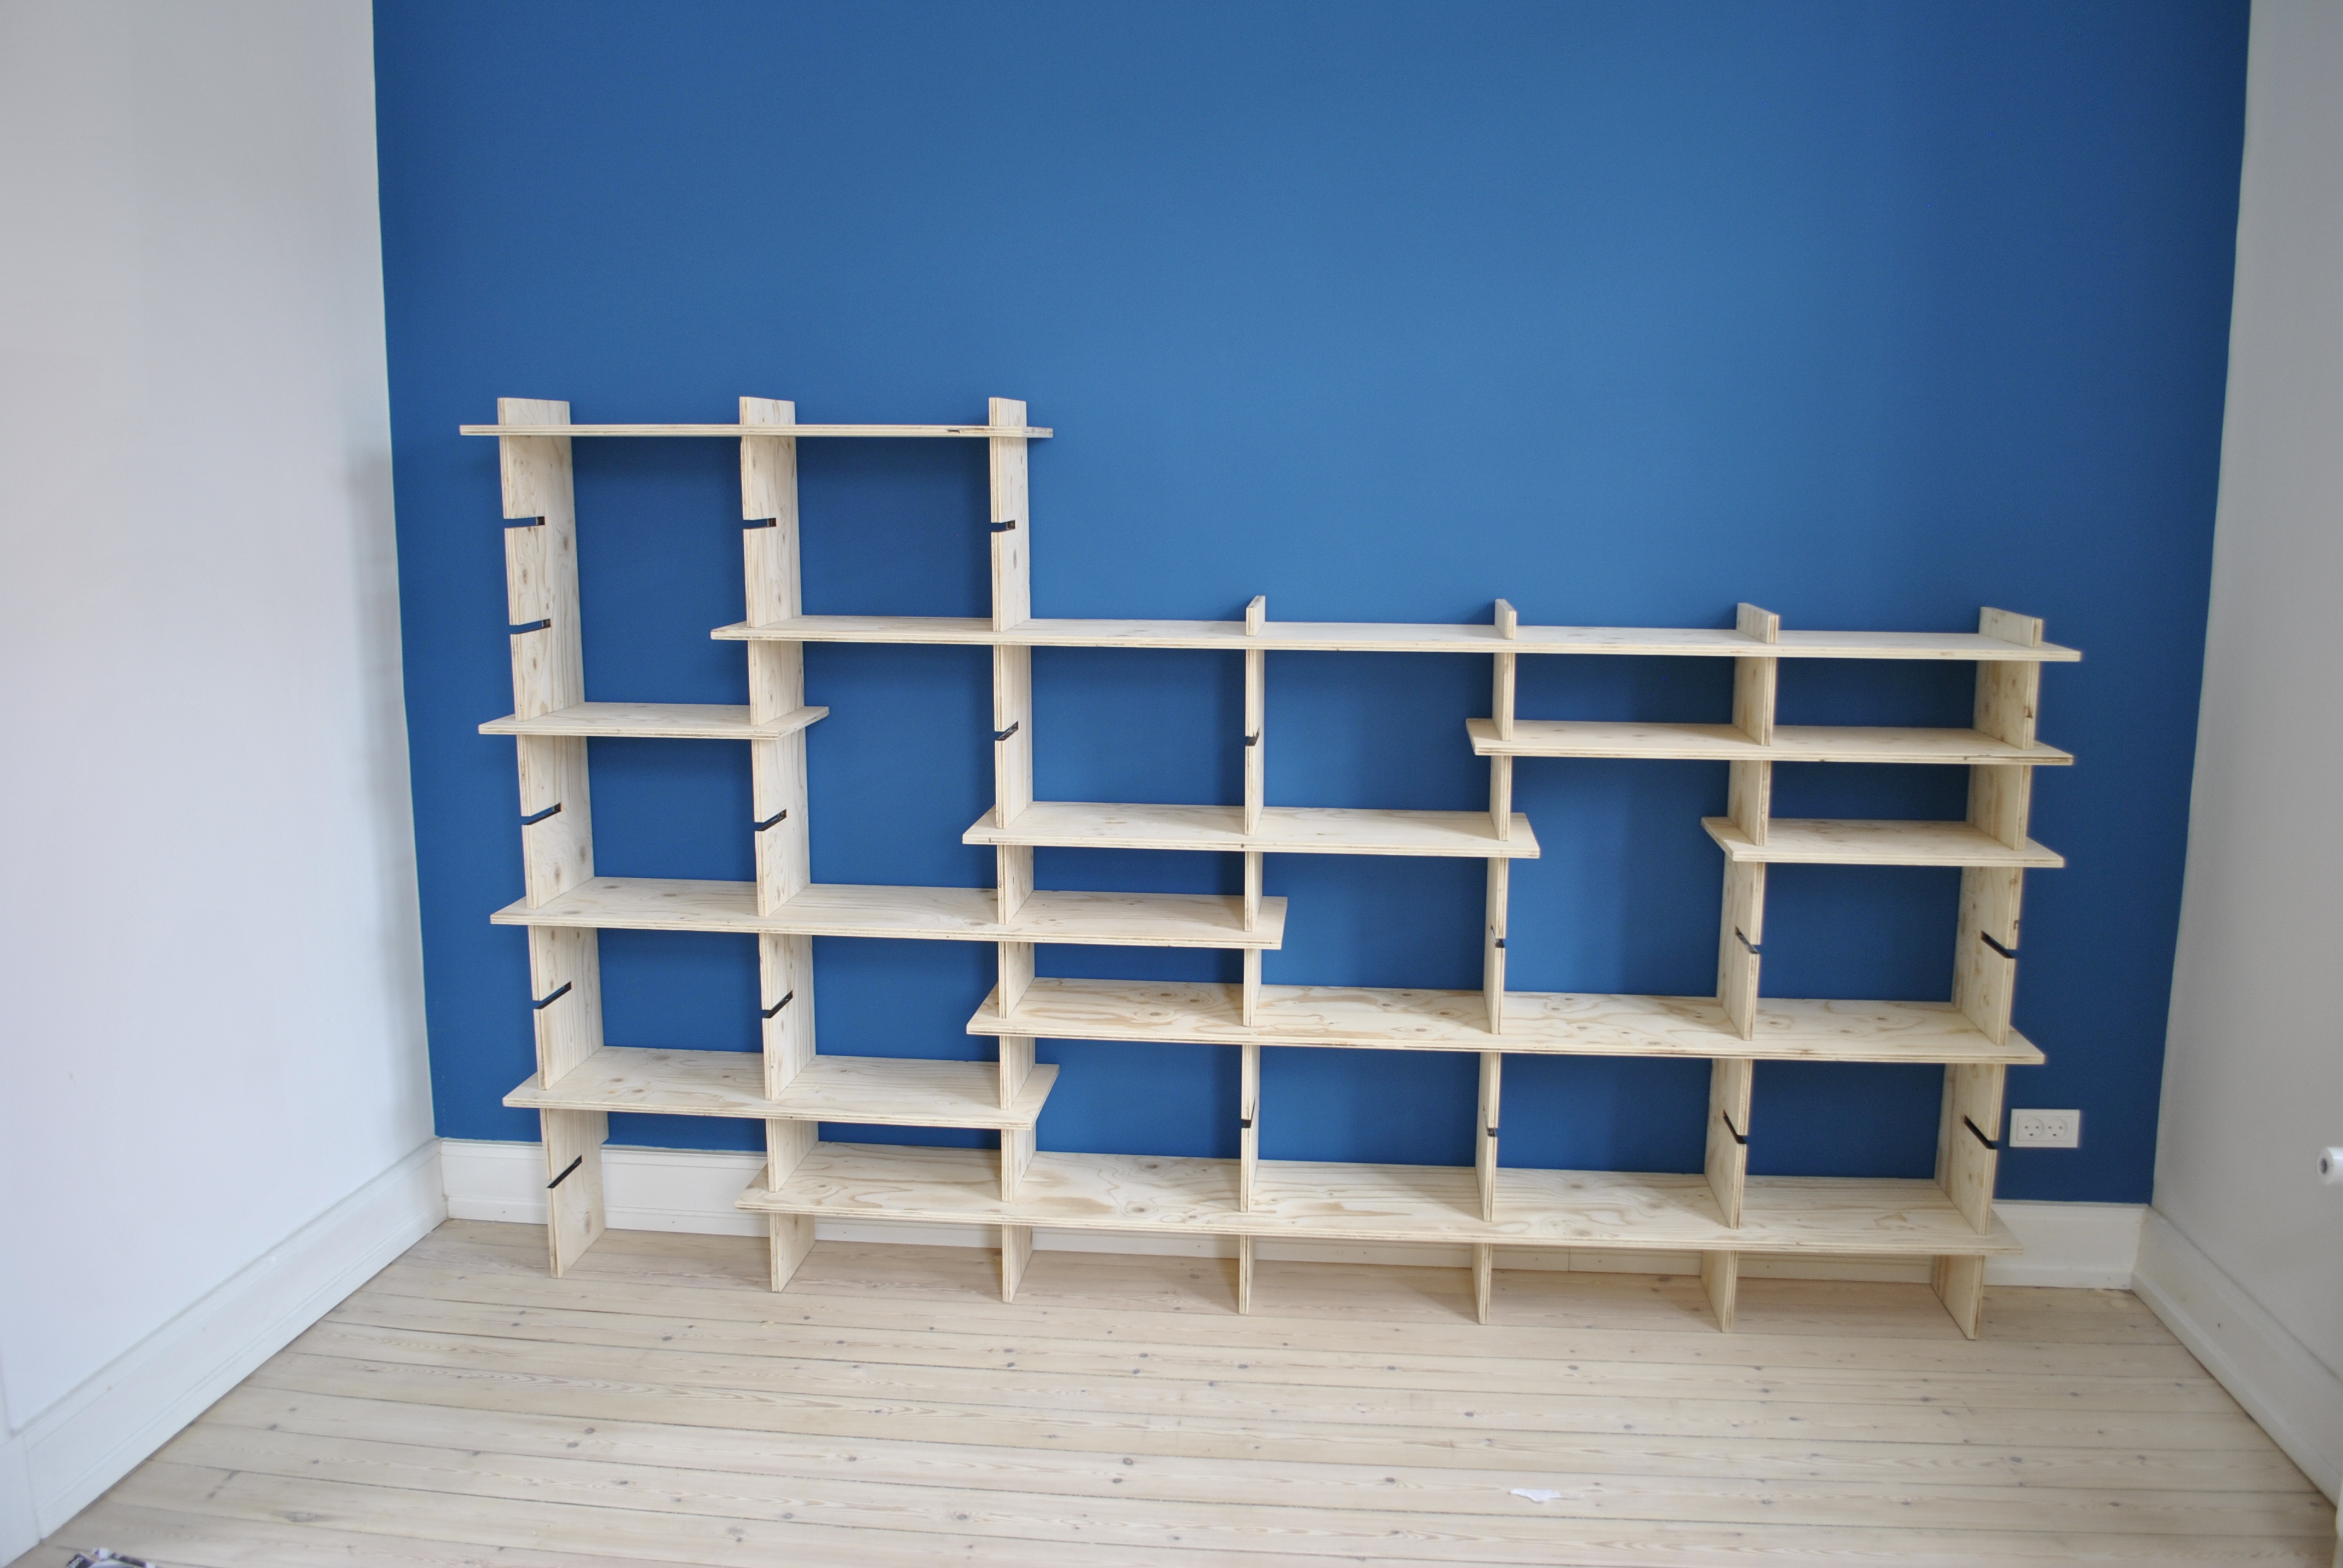
Finished bookcase.
Finished bookcase.
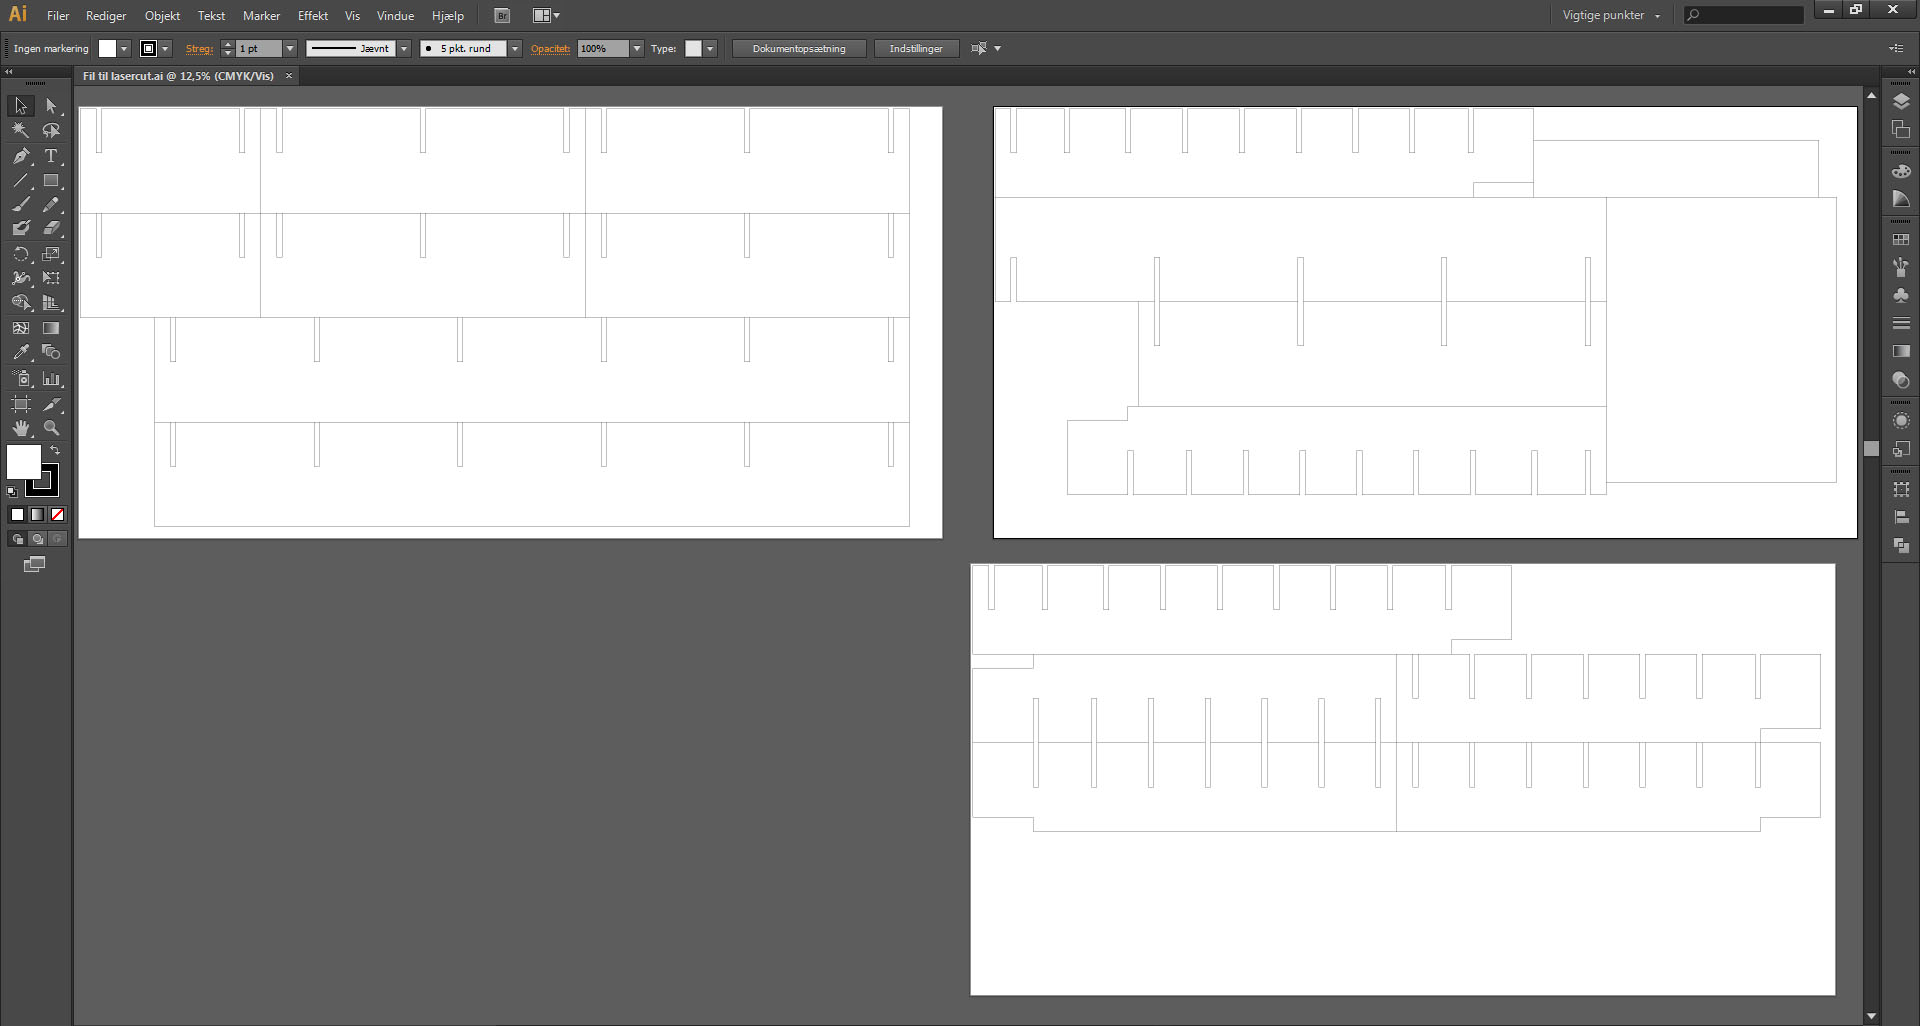
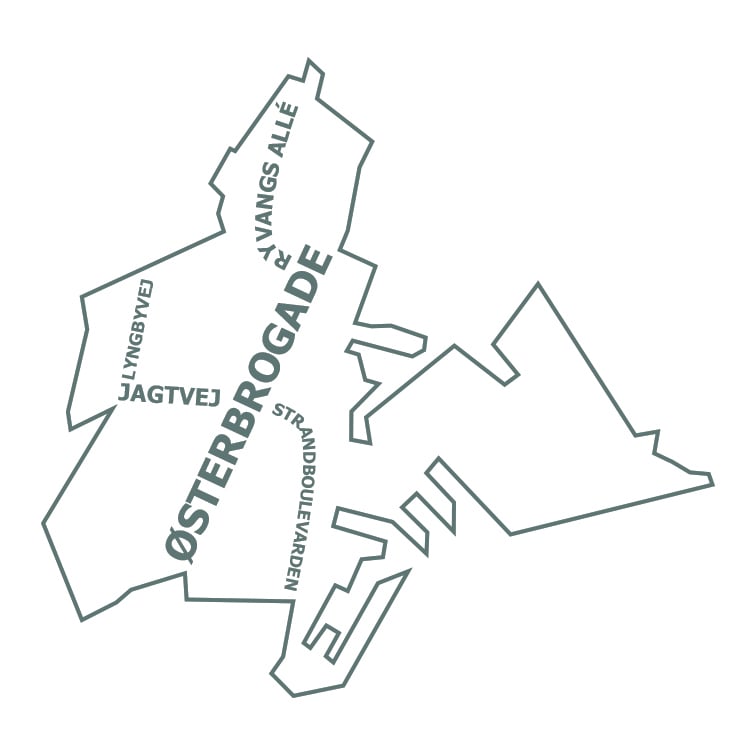
Cutting files in Illustrator.
Henriette has been kind enough to share her entire process from received order through to finished shelf.
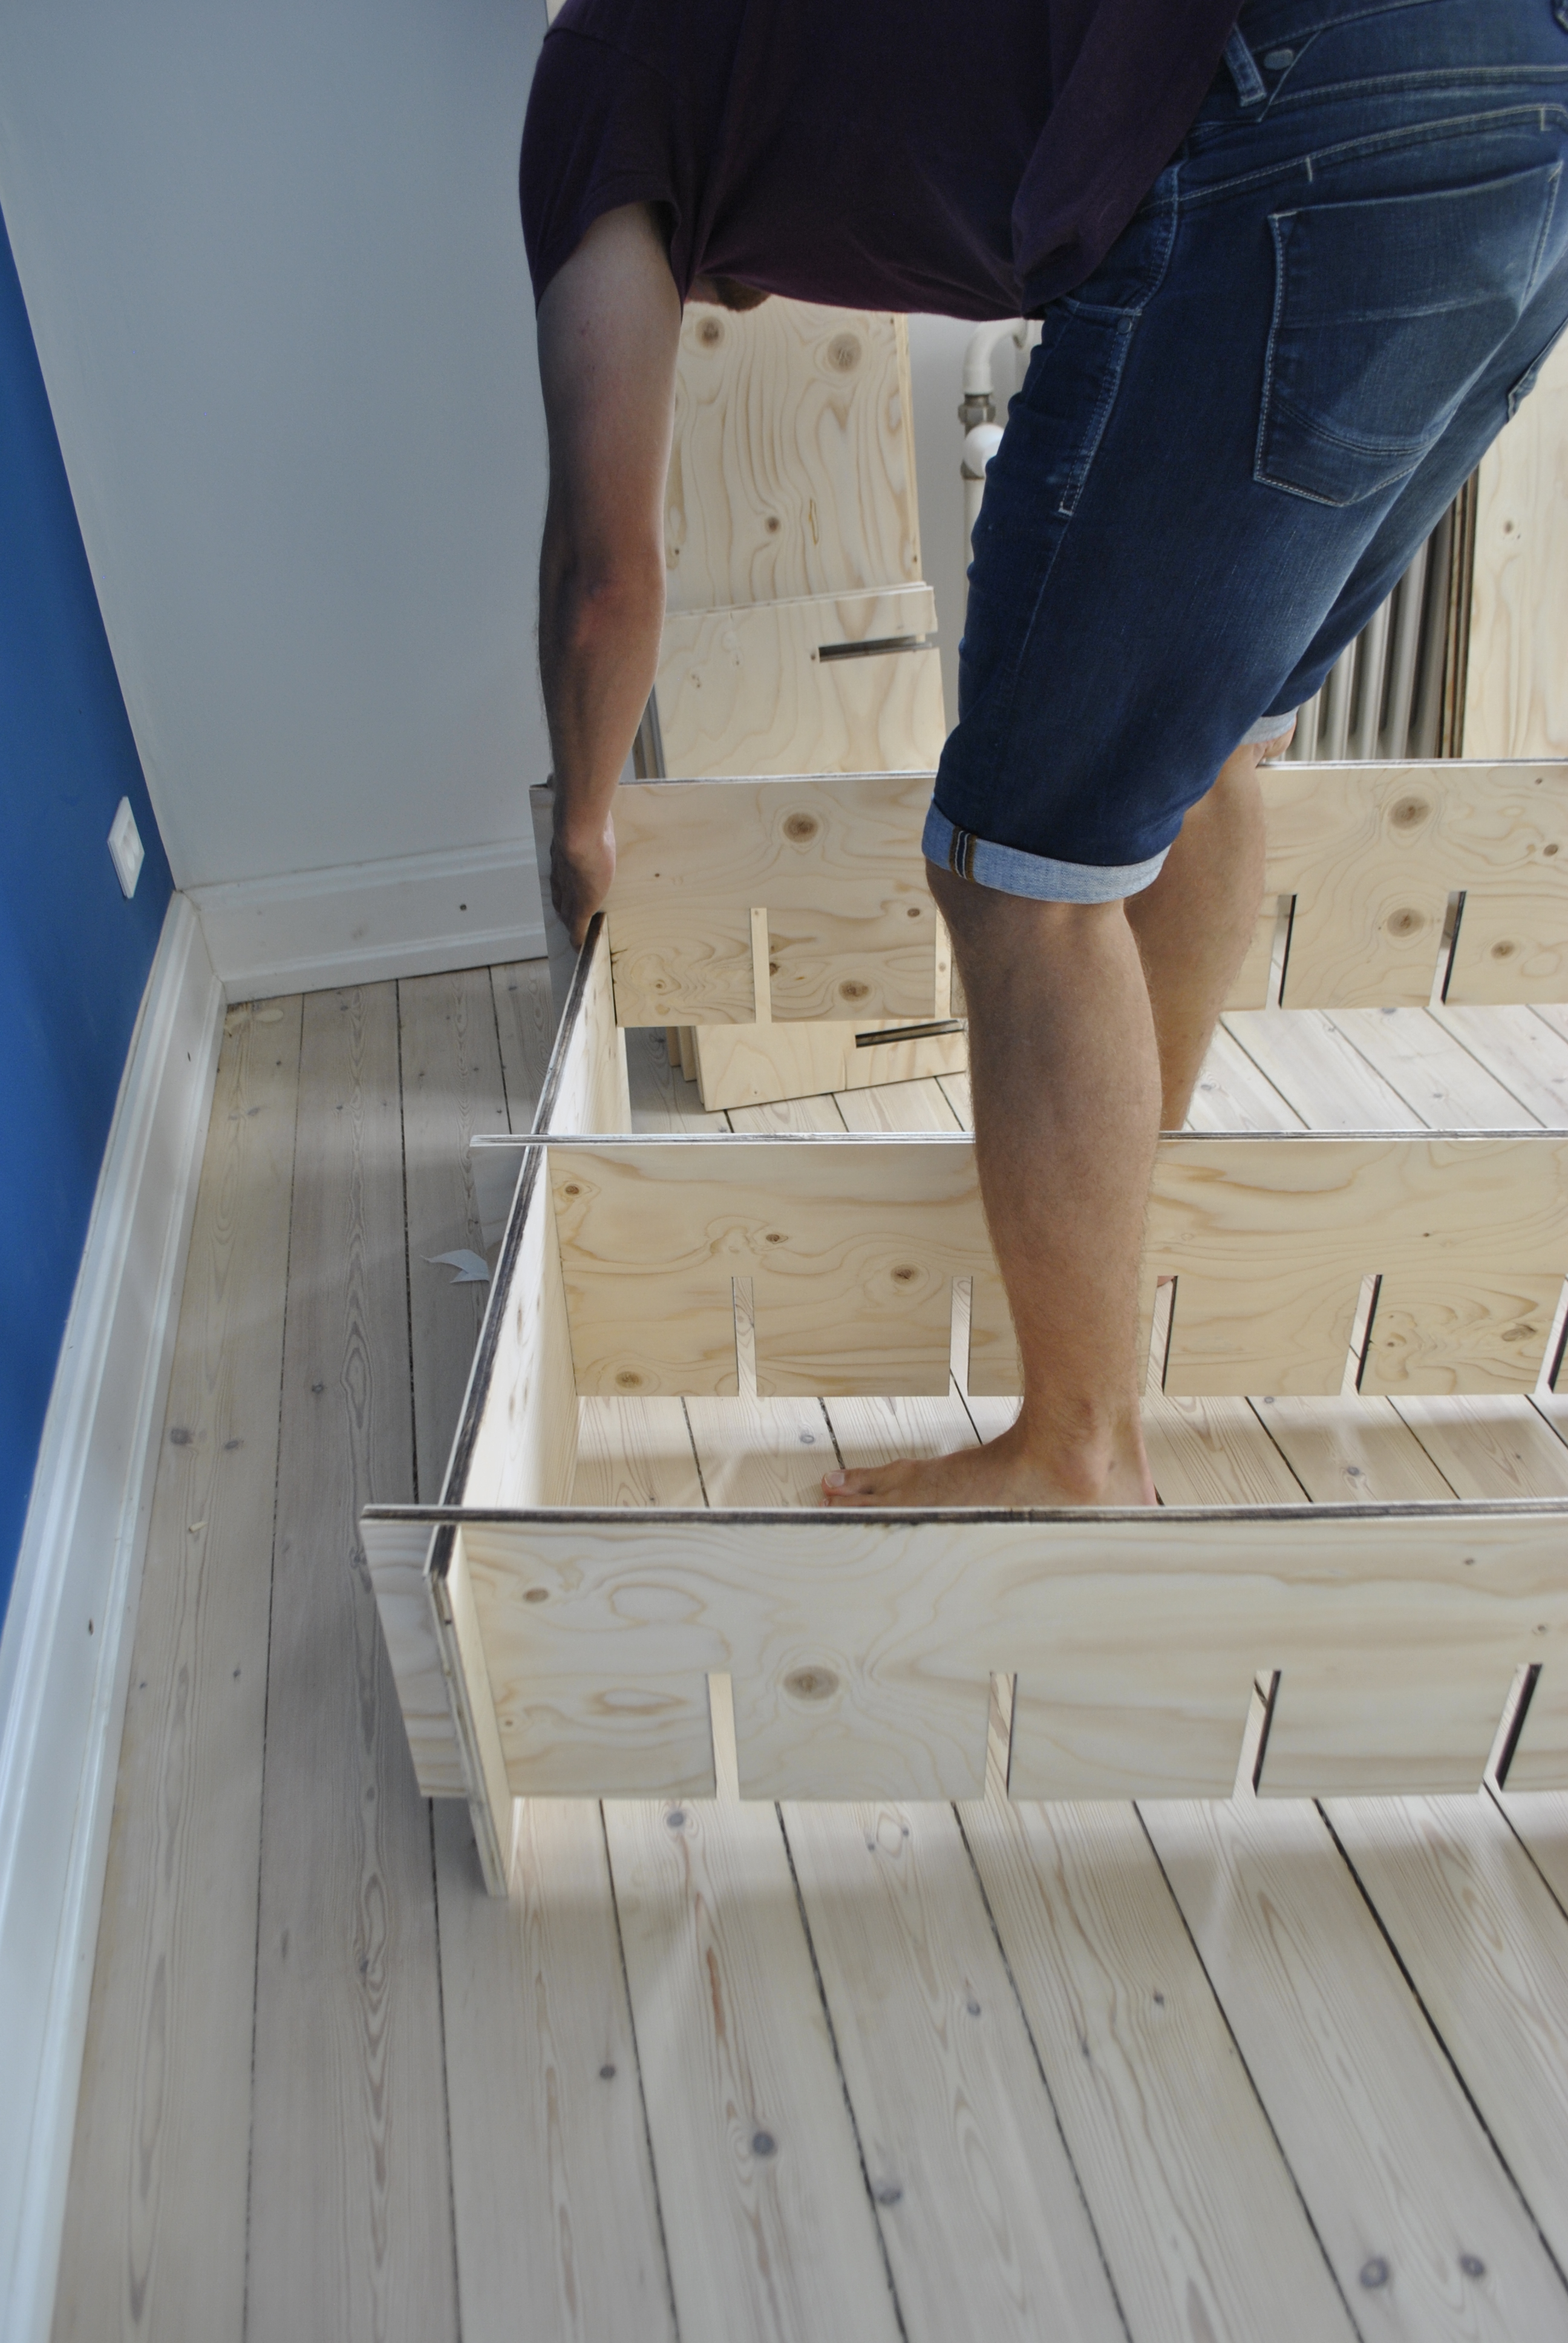
The bookcase is laser cut in 15mm construction plywood.
Read the full process here:
“
The sides that are laser cut – and therefore that are completely black – I sanded down with a random orbital sander with sandpaper grit 40. It goes pretty quickly once you’ve got the right technique. I finished the sides that will be touched with grit 240 to give them a silky smooth surface.
I only ordered a single sheet with protective film to see the difference with and without. If I didn’t have to sand it anyway, it would probably be easiest to order everything with the film on. But since I already had lots of sanding work to do, it wasn’t much of an extra effort to run across the surfaces with the random orbital sander with sandpaper grit 240.
The surfaces become really even and smooth after a quick going over – without actually being able to see that the wood has been sanded down.
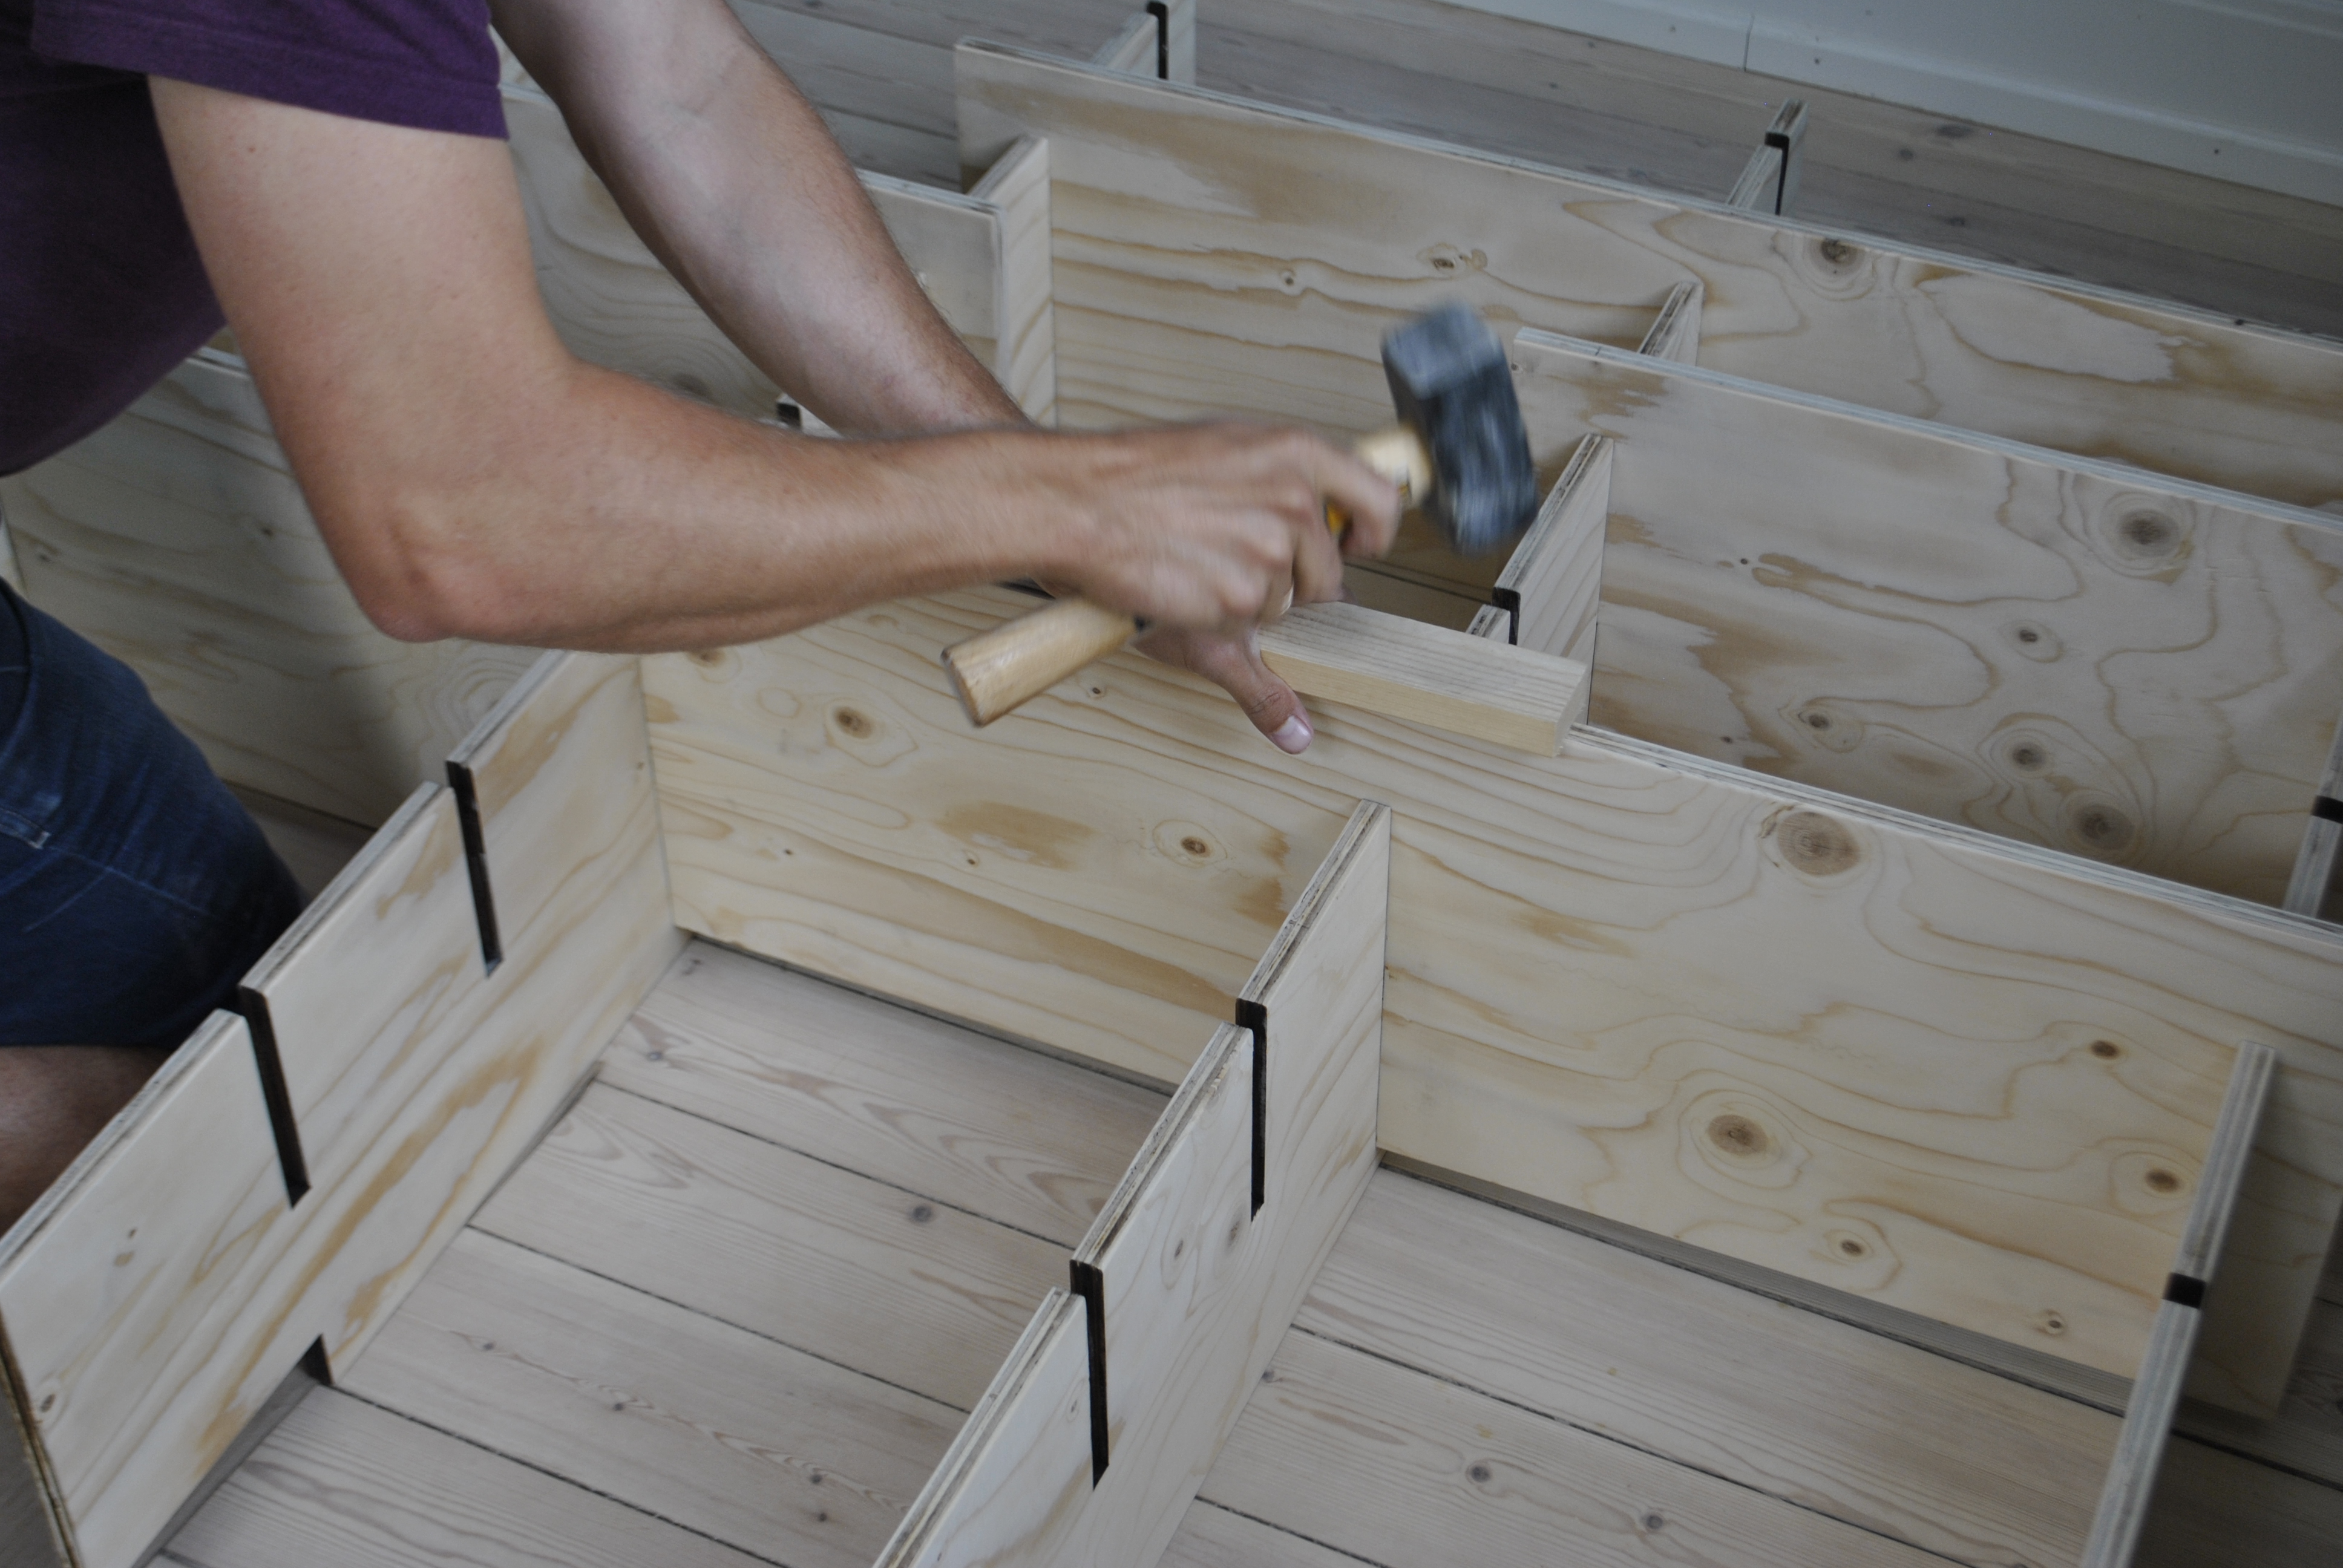
After sanding the sheets down, all that was left was the assembly part. I was rather excited about this part because I hadn’t made any tolerance to the joints as I was afraid the shelf would become unstable. I think now the joints could have withstood a tolerance of e.g. 1mm, so they could have slid together more easily. But with the right angle and a couple of knocks with the hammer, it all worked out fine.
If you wanted to fully utilise the bookcase’s design and regularly move the shelves around, it would make sense to have slightly more air in the joints to enable the shelves to easily slide in and out.
“
Design and pictures by Henriette Søgaard Clausen.
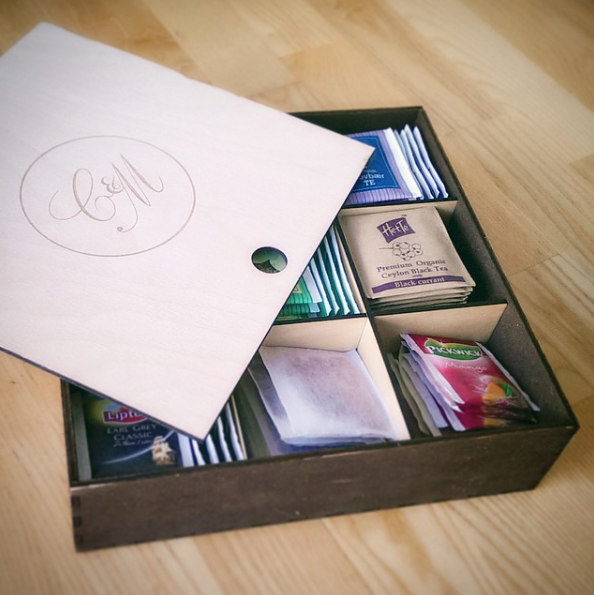
Sorting box for i.e. teabags. Lid and contents laser cut at cotter.dk.

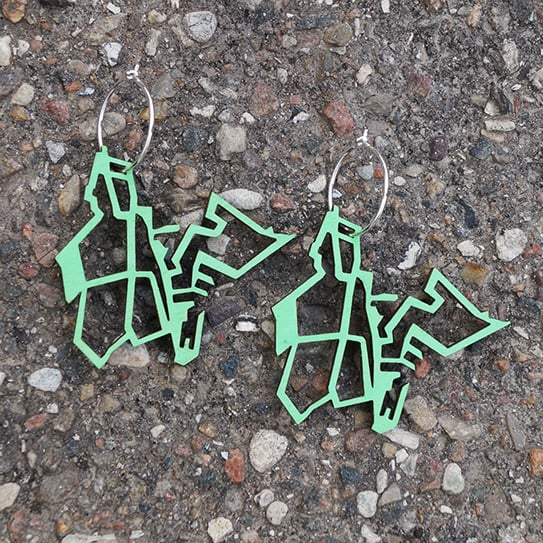
Laser cut necklaces in coloured acrylic, which are subsequently glued together.
Via DEKORJiNAL.
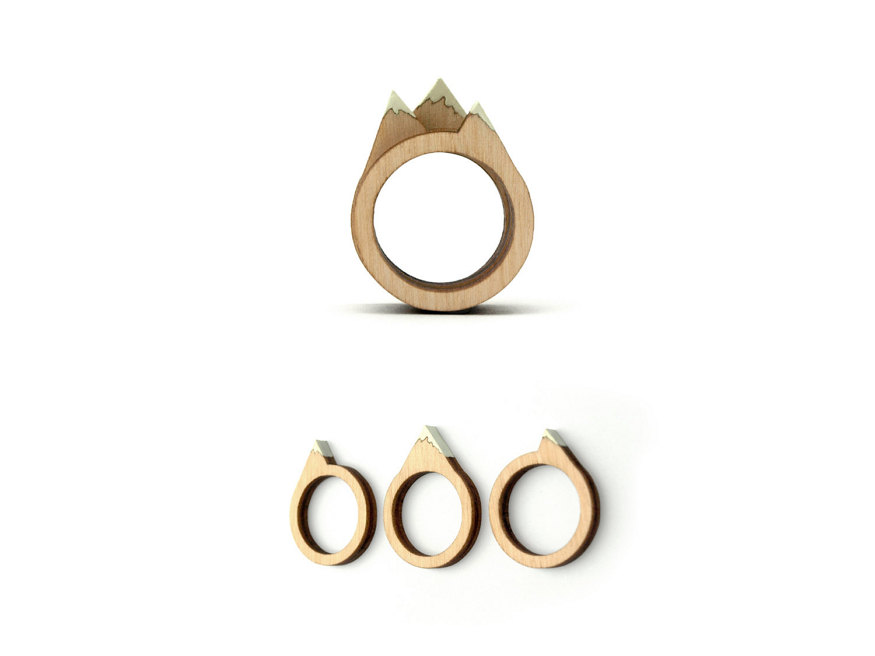
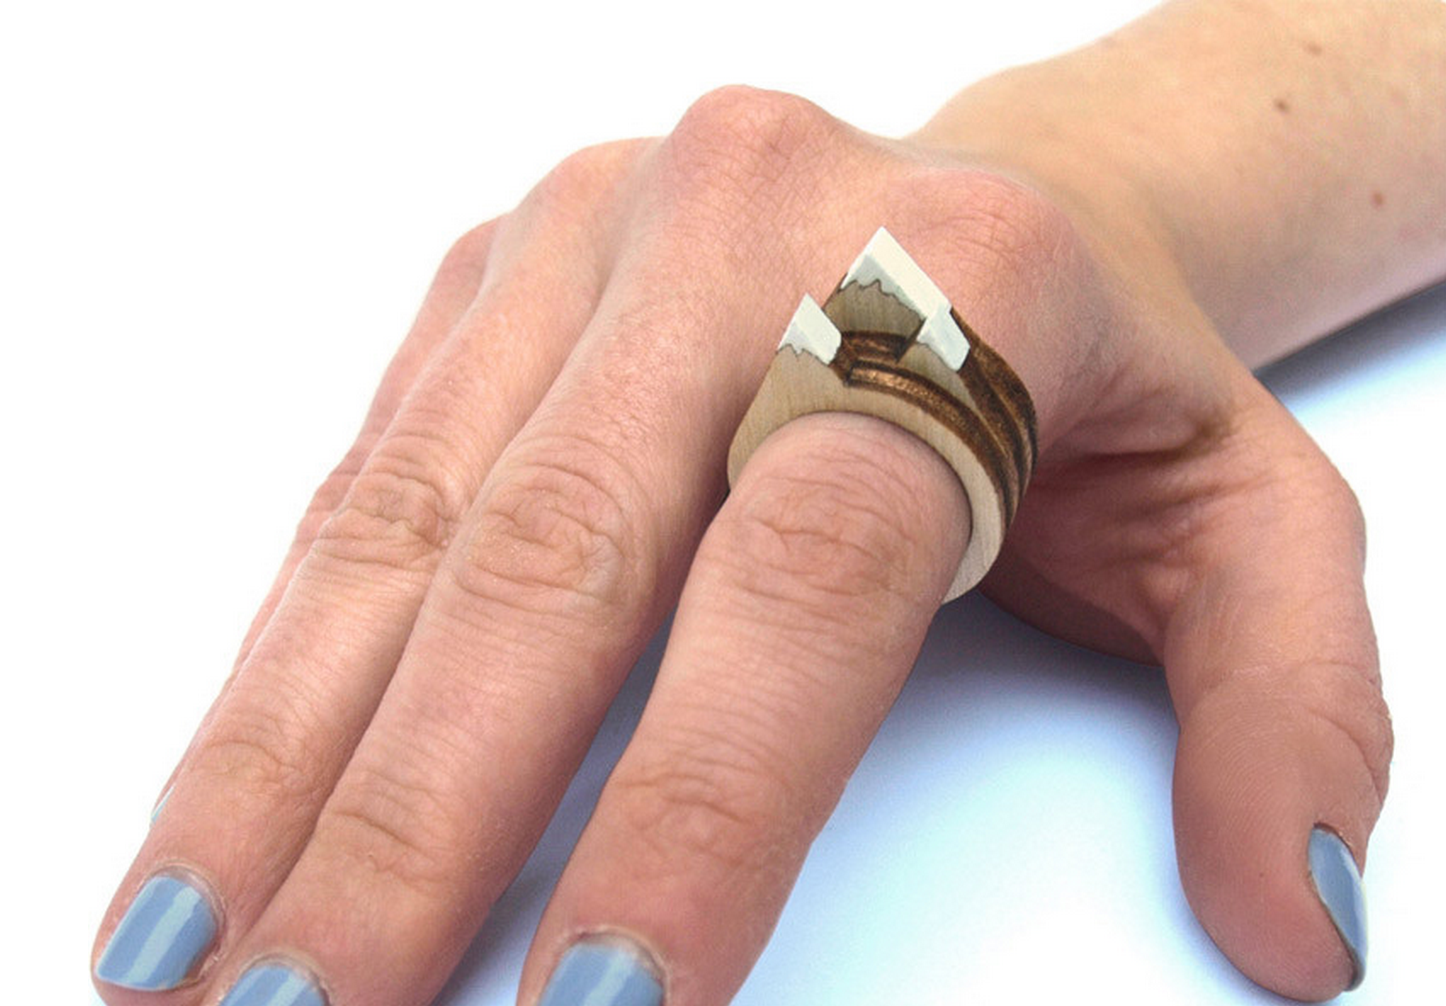

Lovely finger rings in laser cut birch plywood from Roddy Design, the rings are painted by the designer after they have been laser cut.
Via Etsy
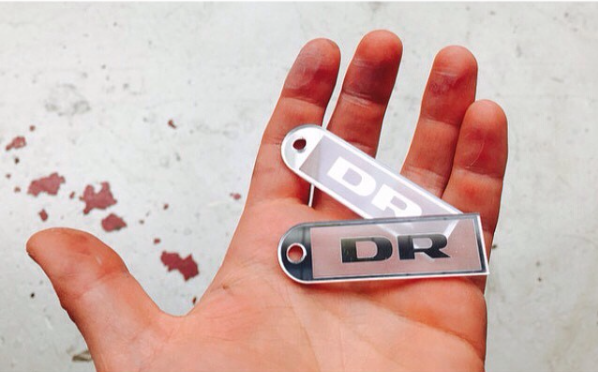
Laser cut and raster-engraved keyrings for DR in silver, mirror acrylic.